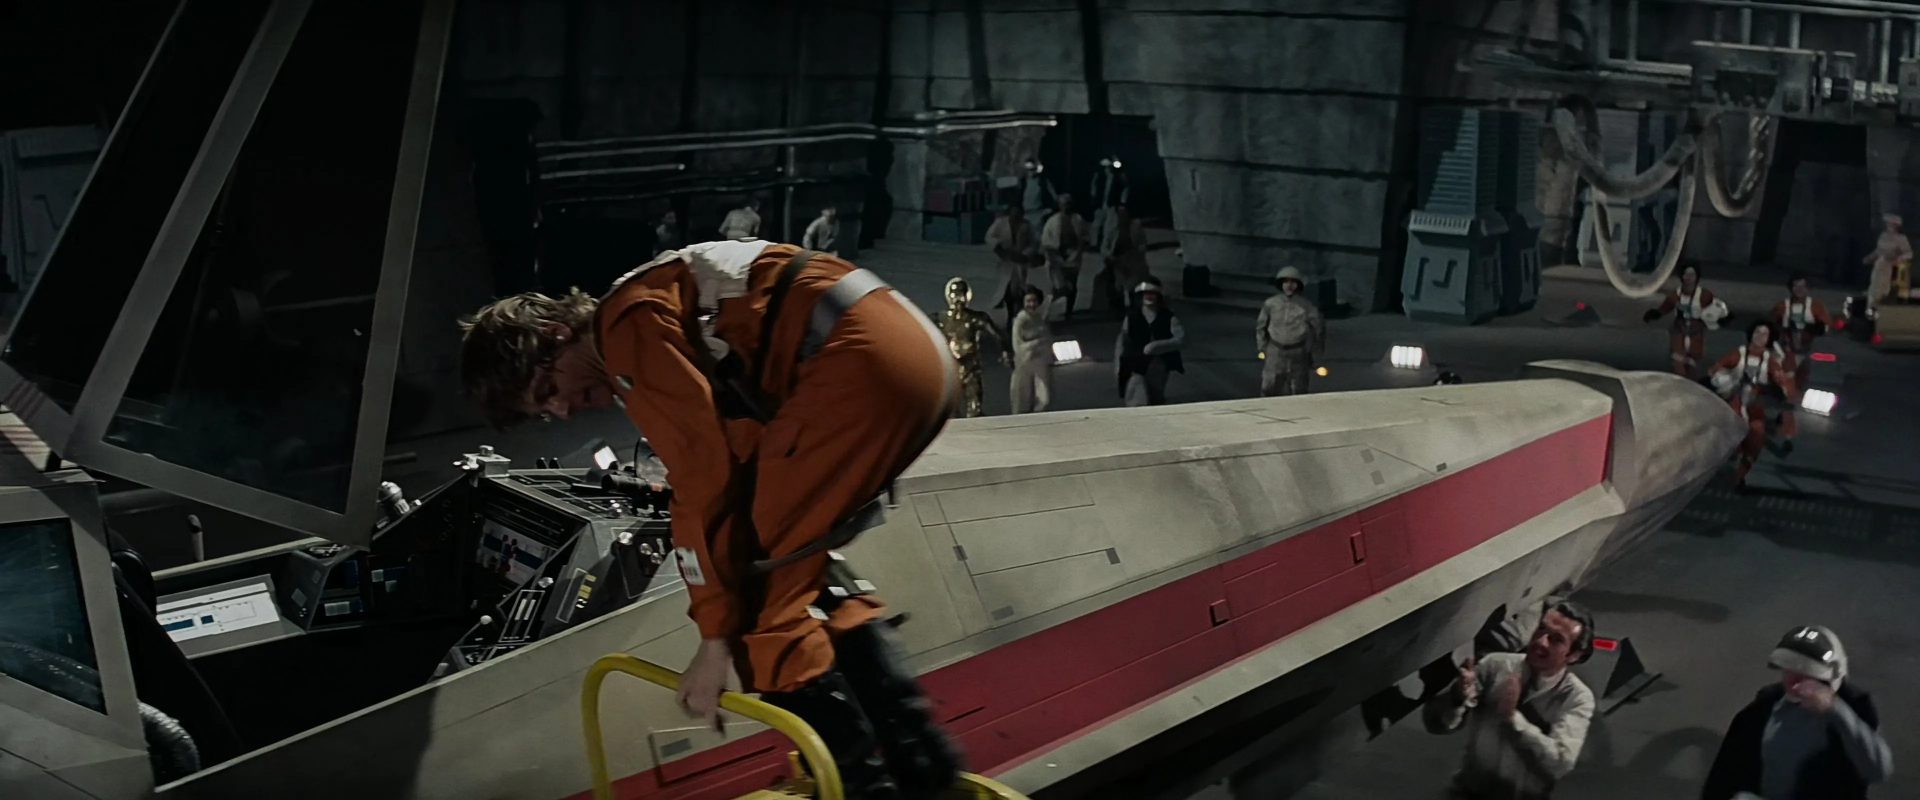
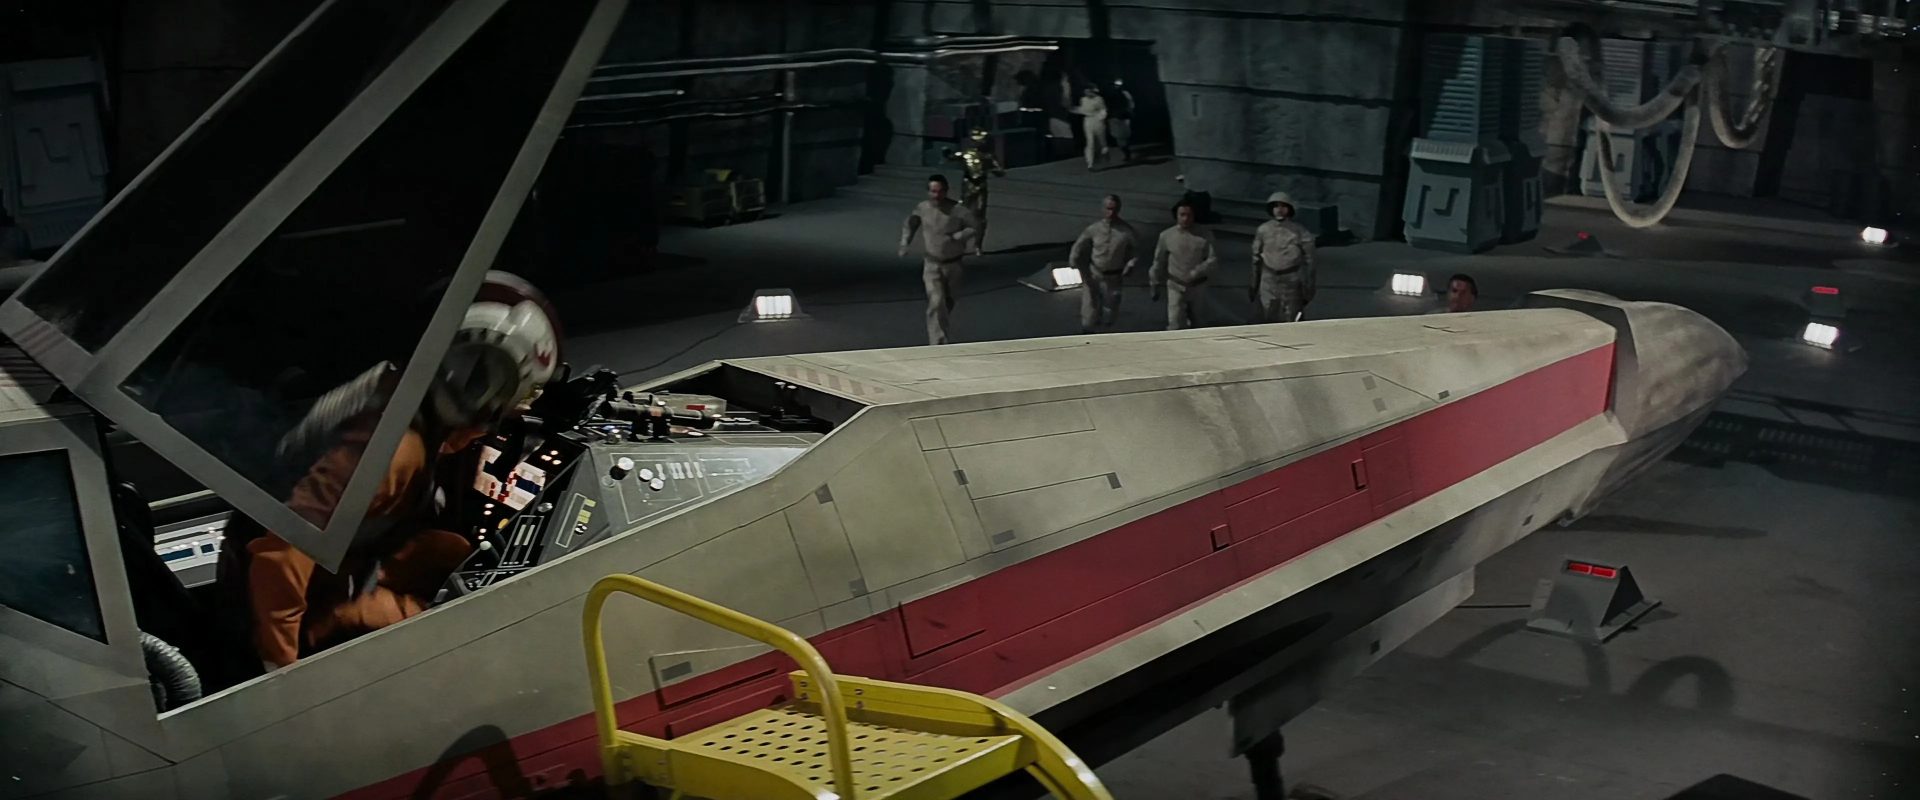
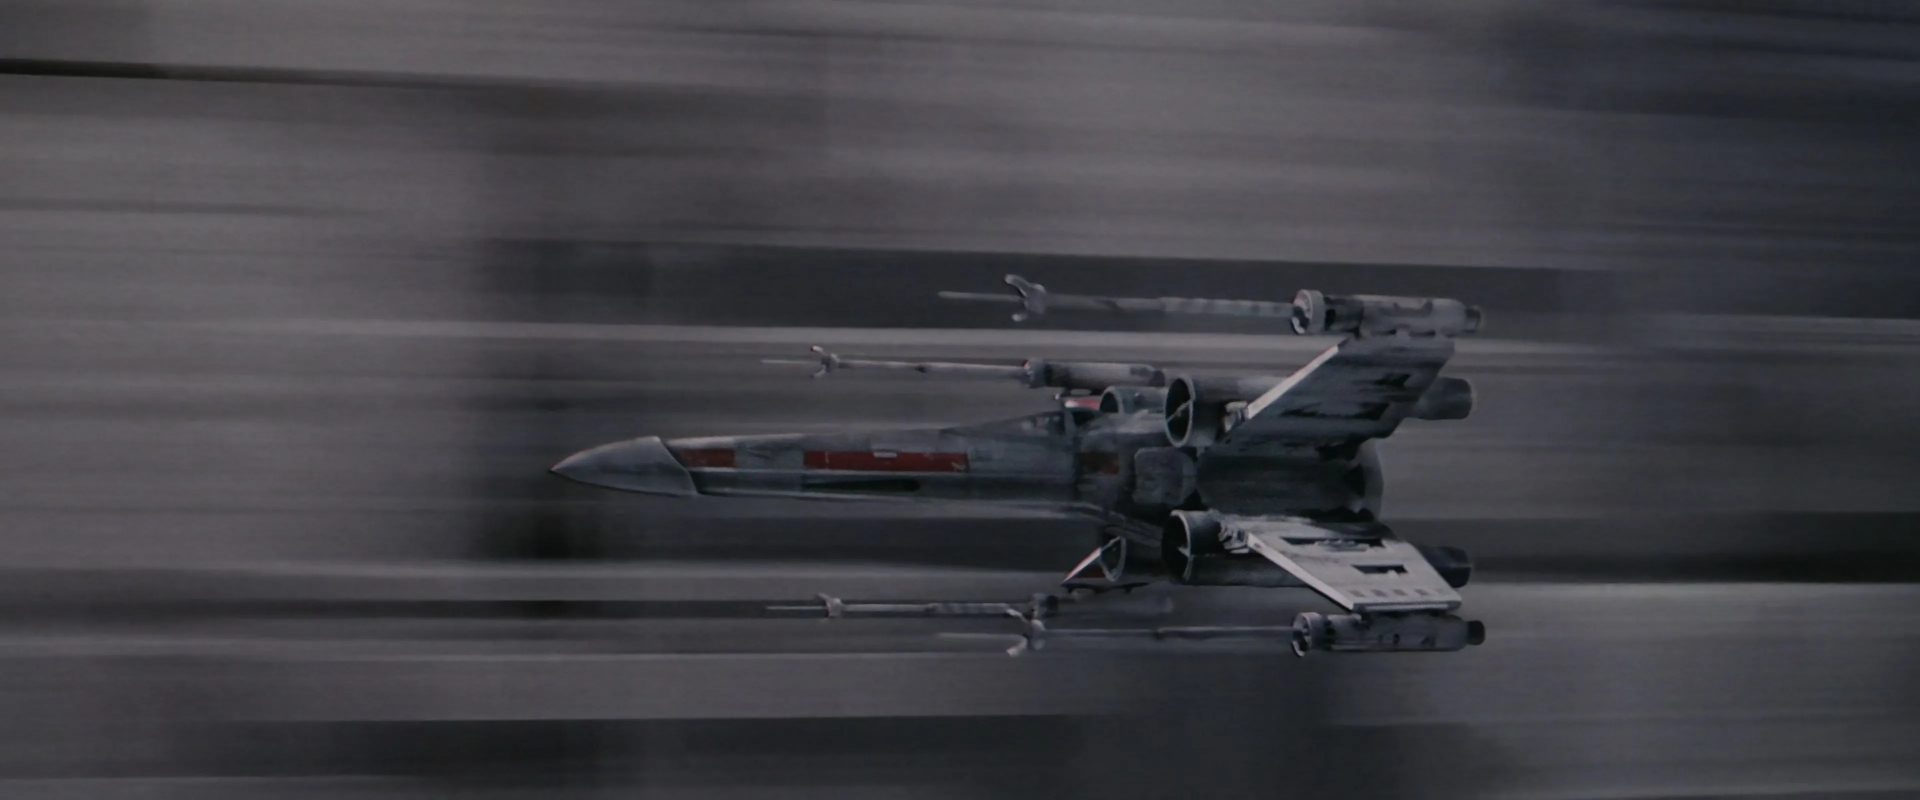
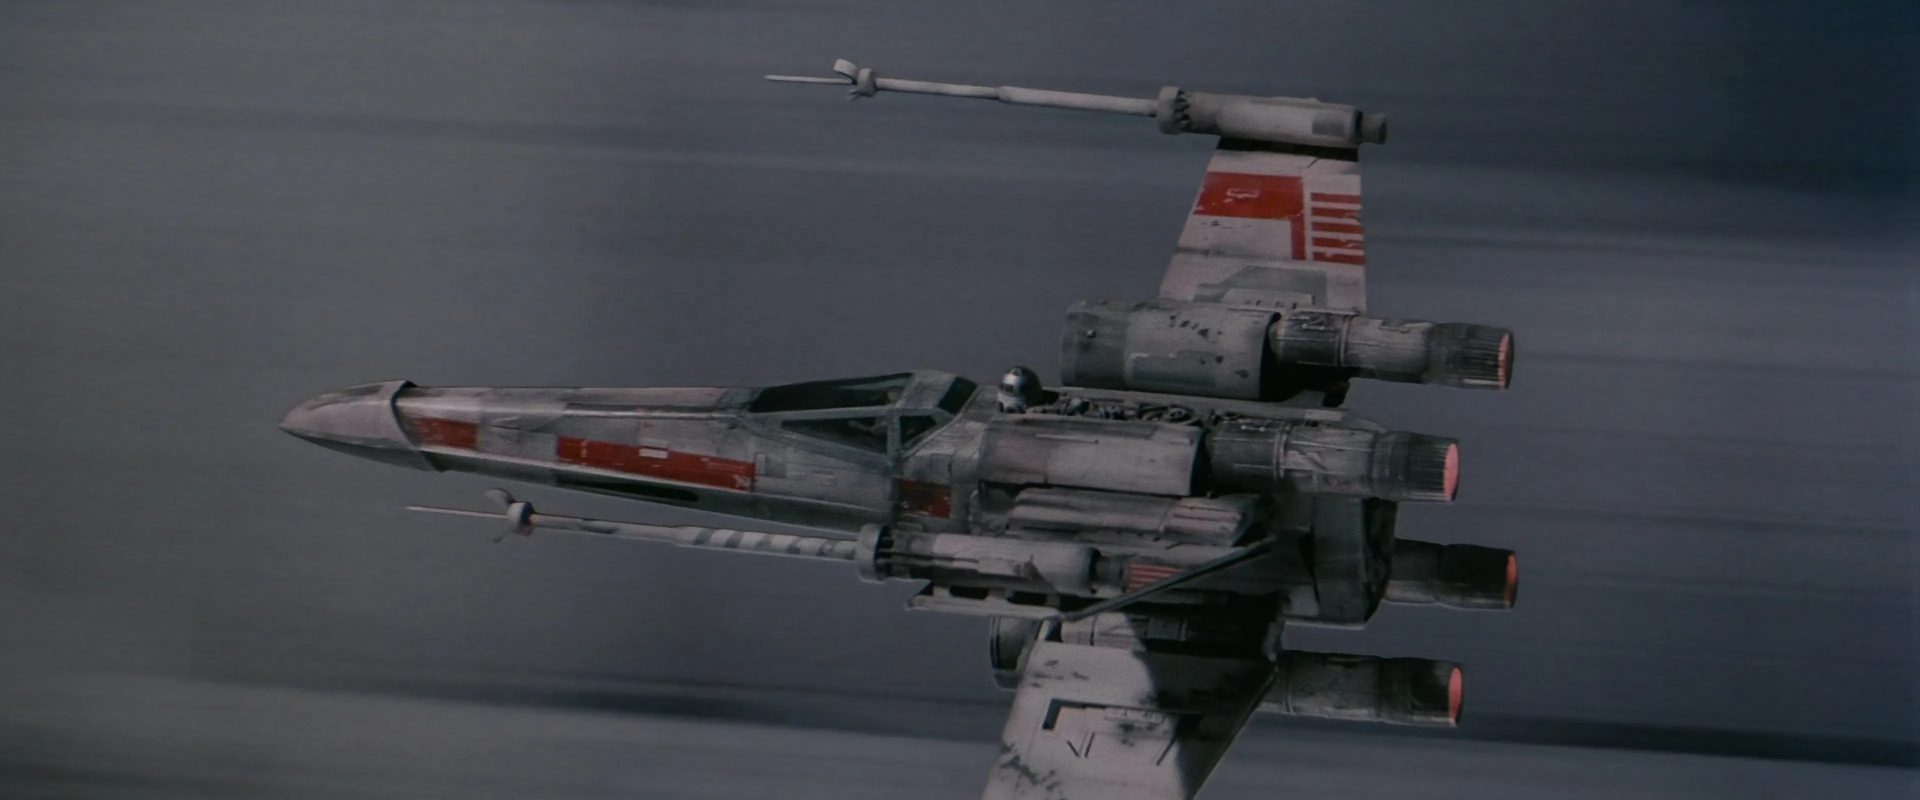
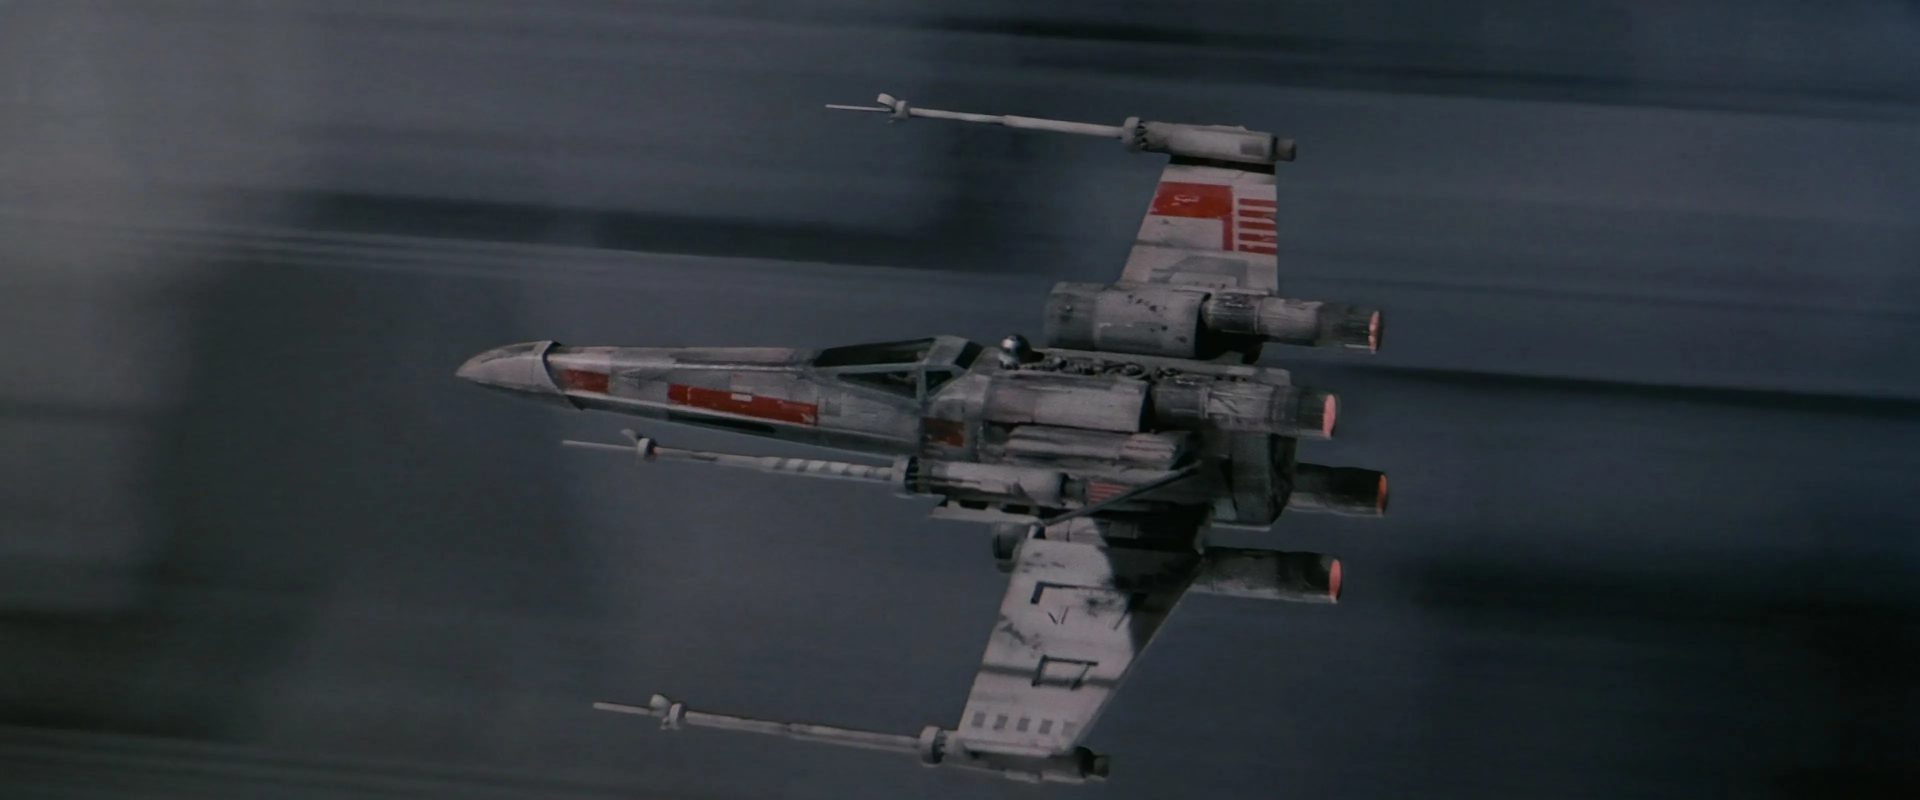
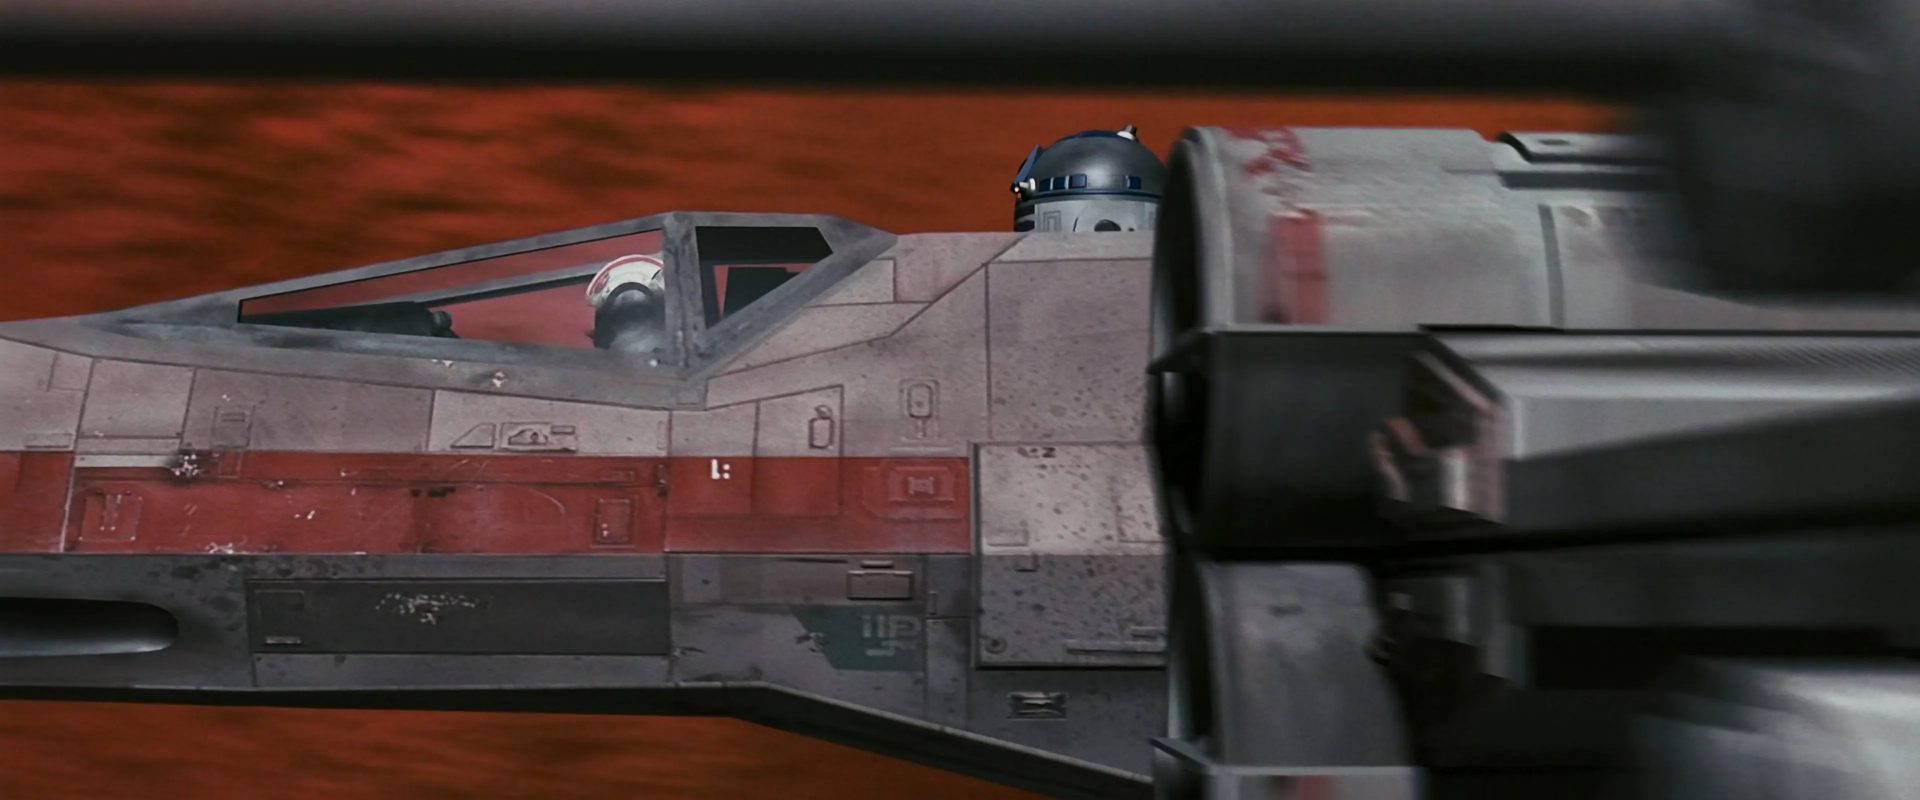
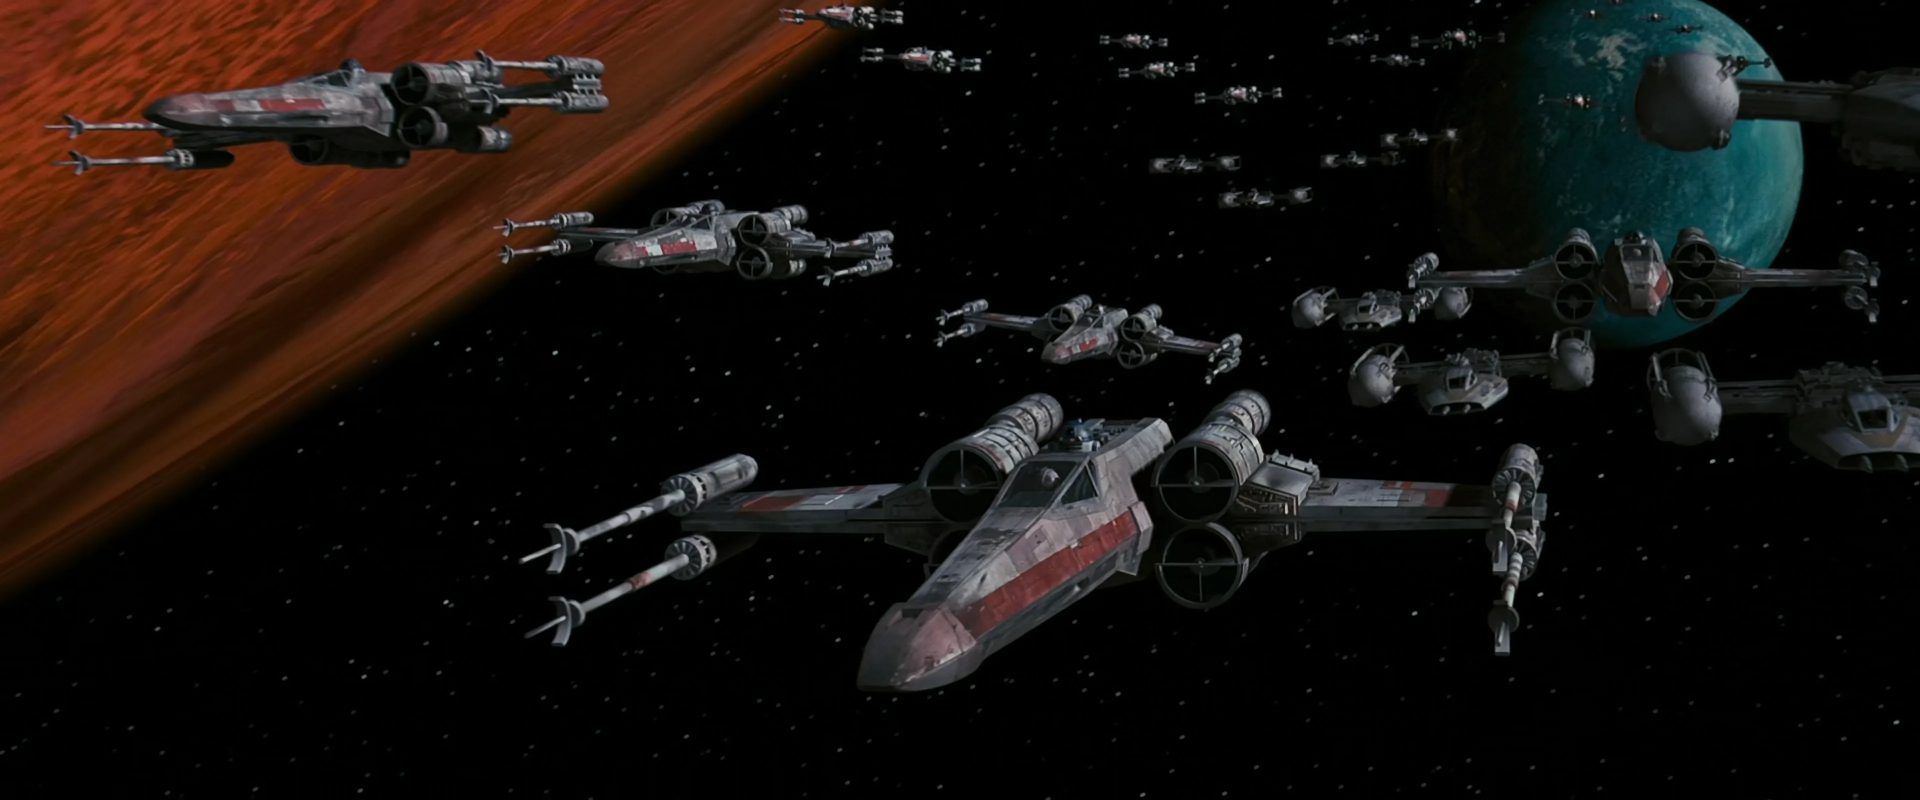
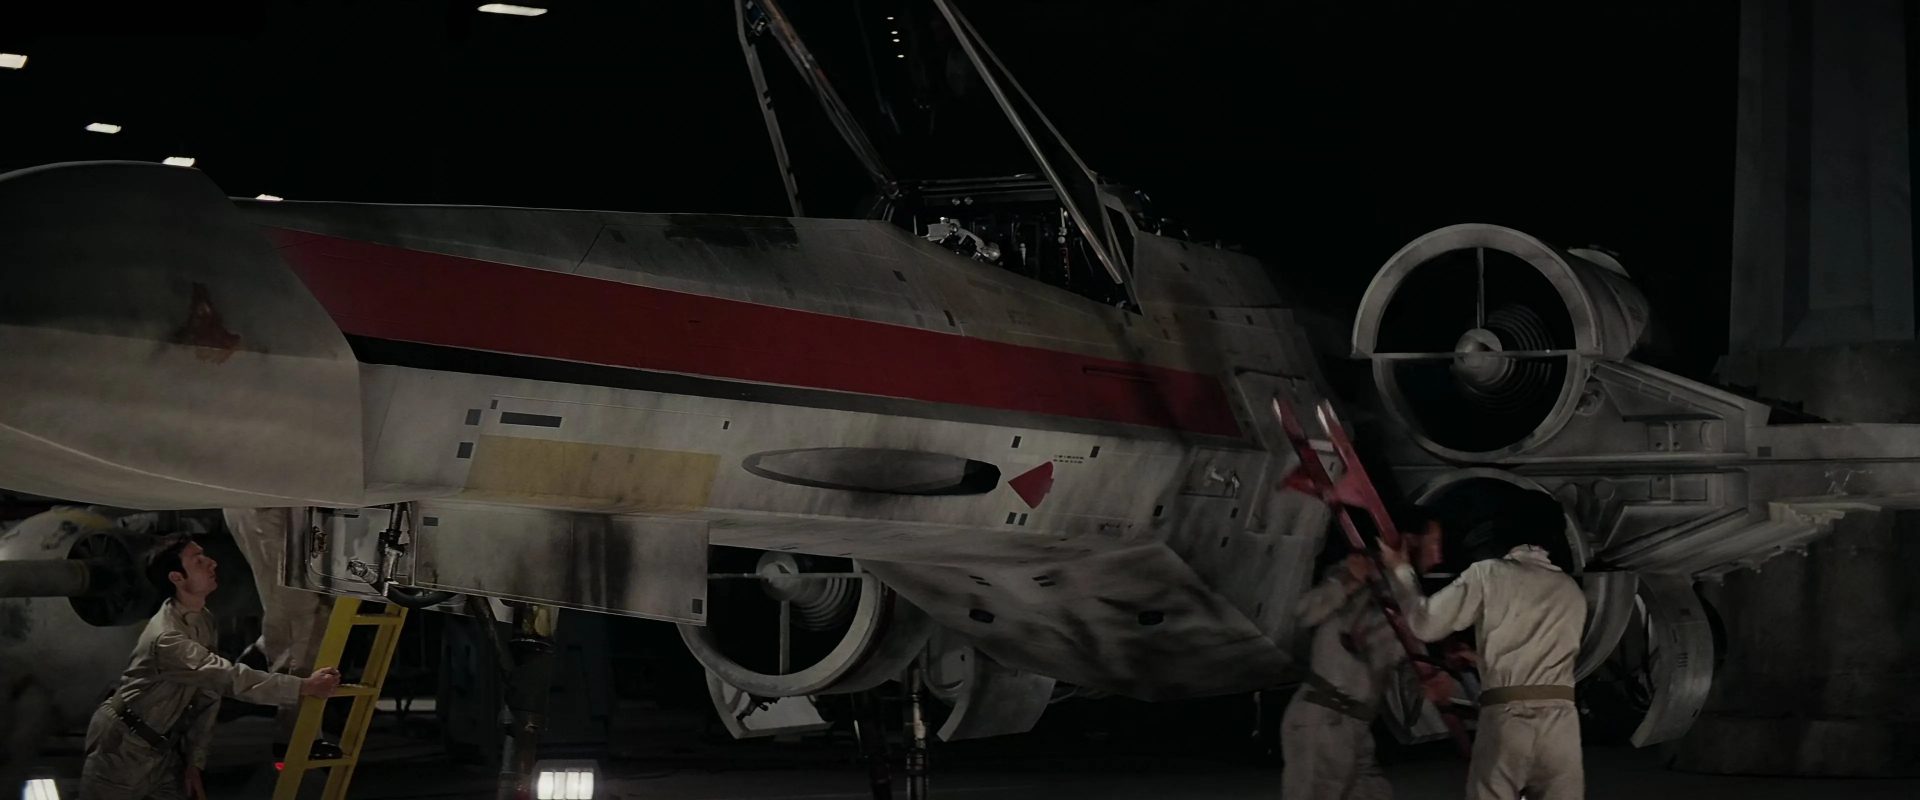
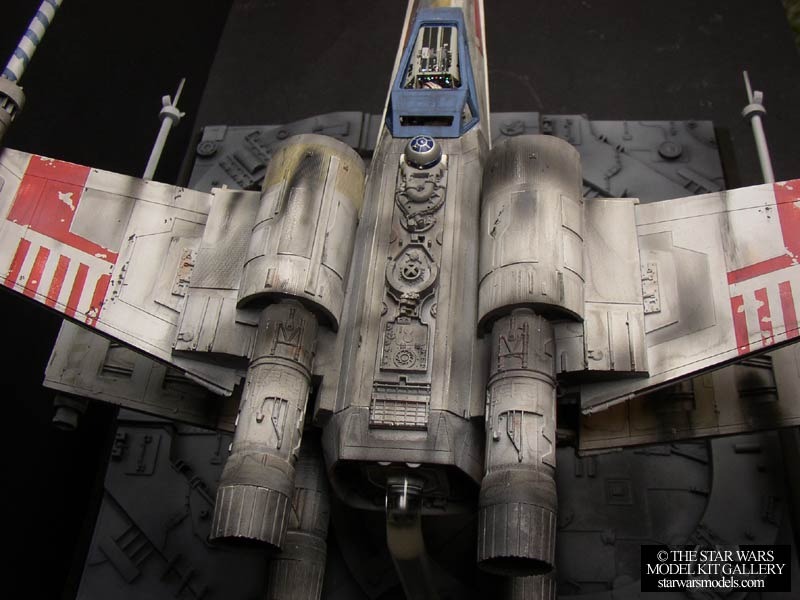
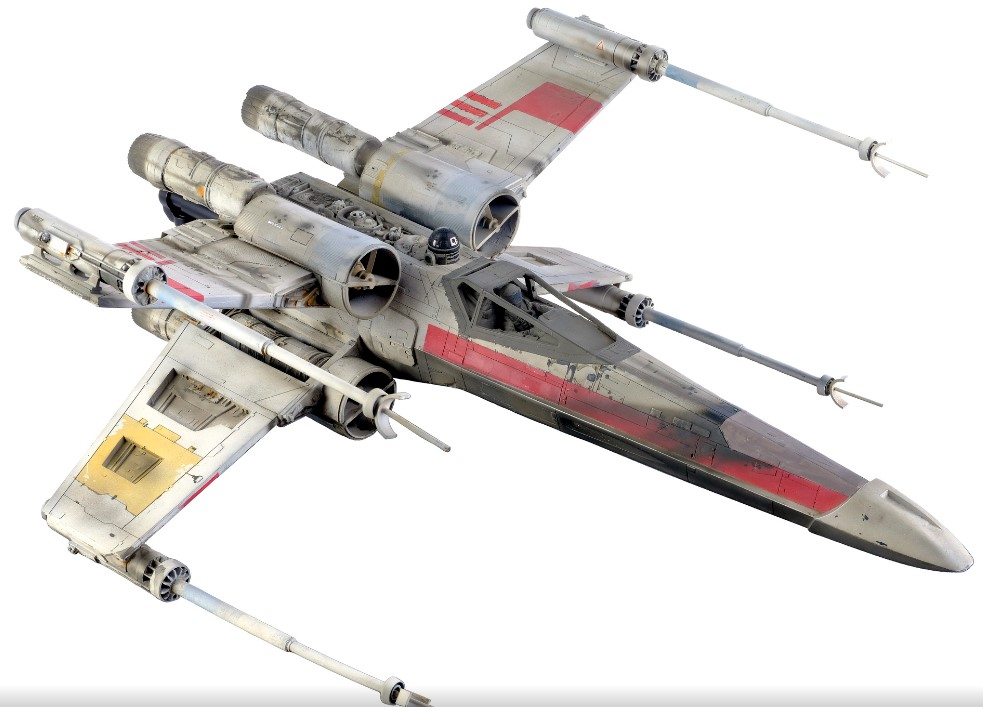
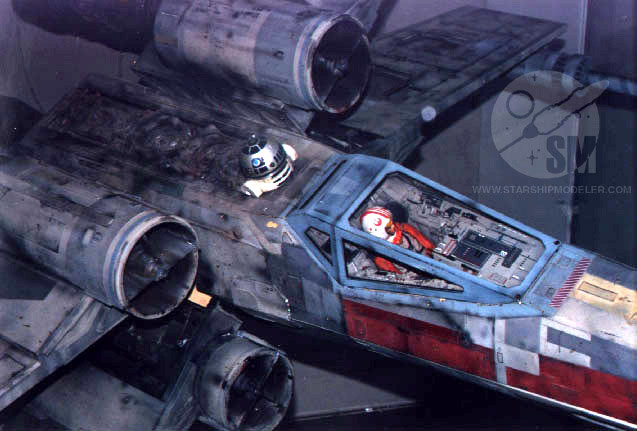
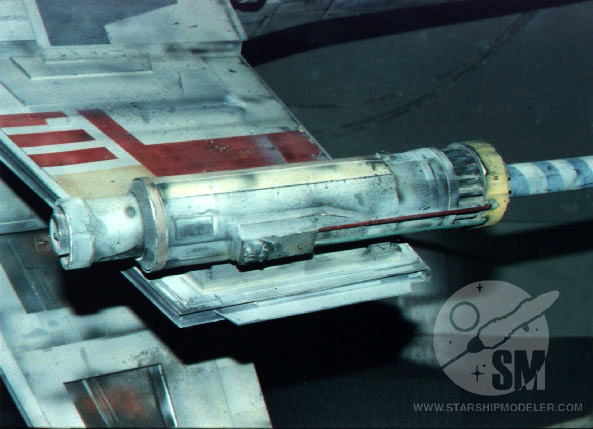
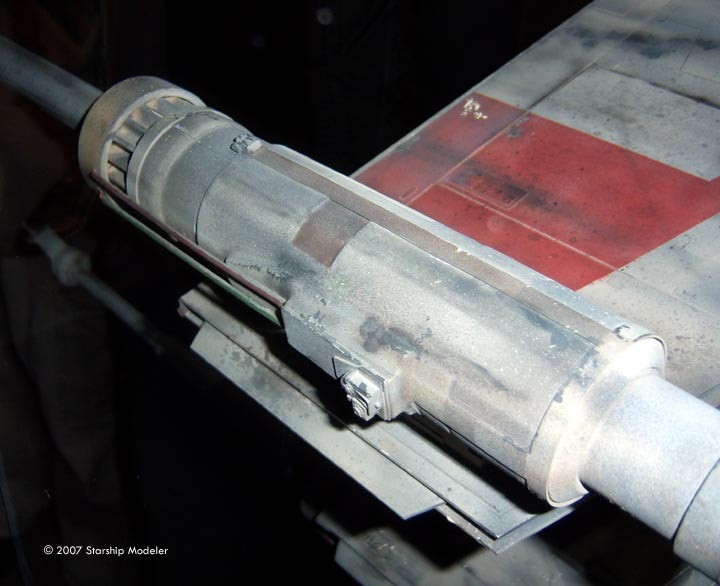
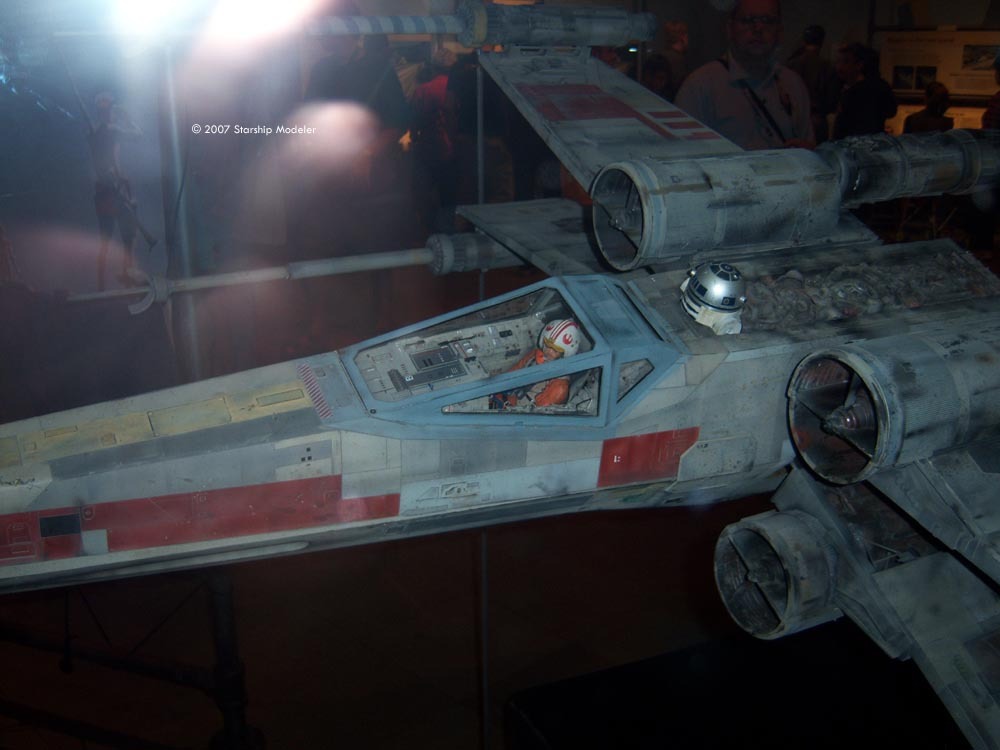
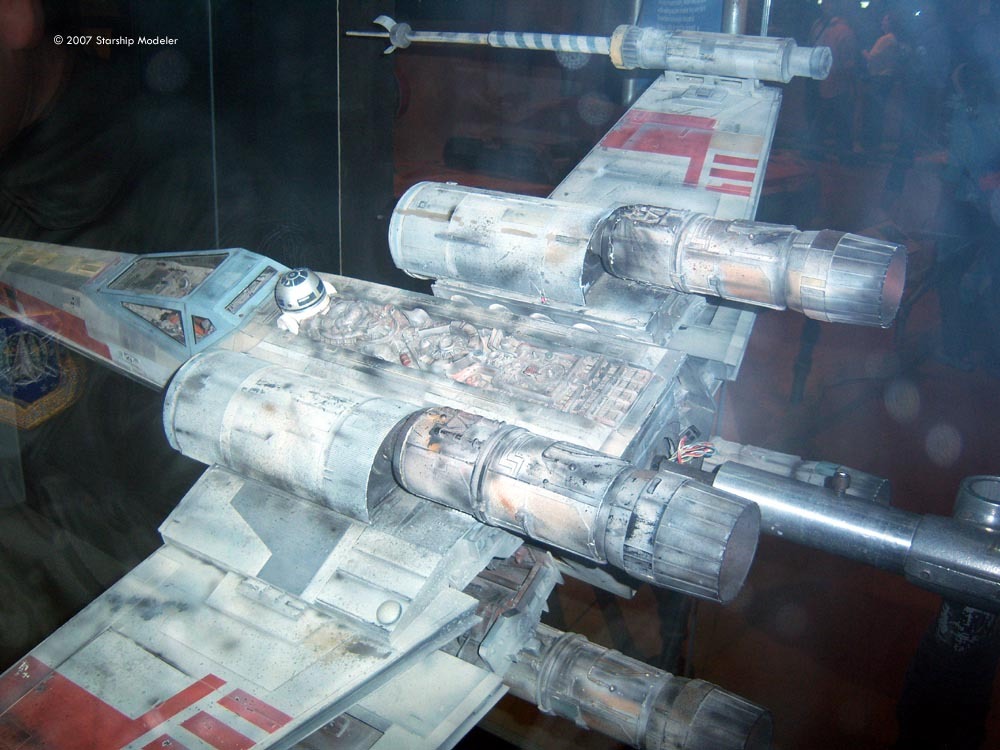
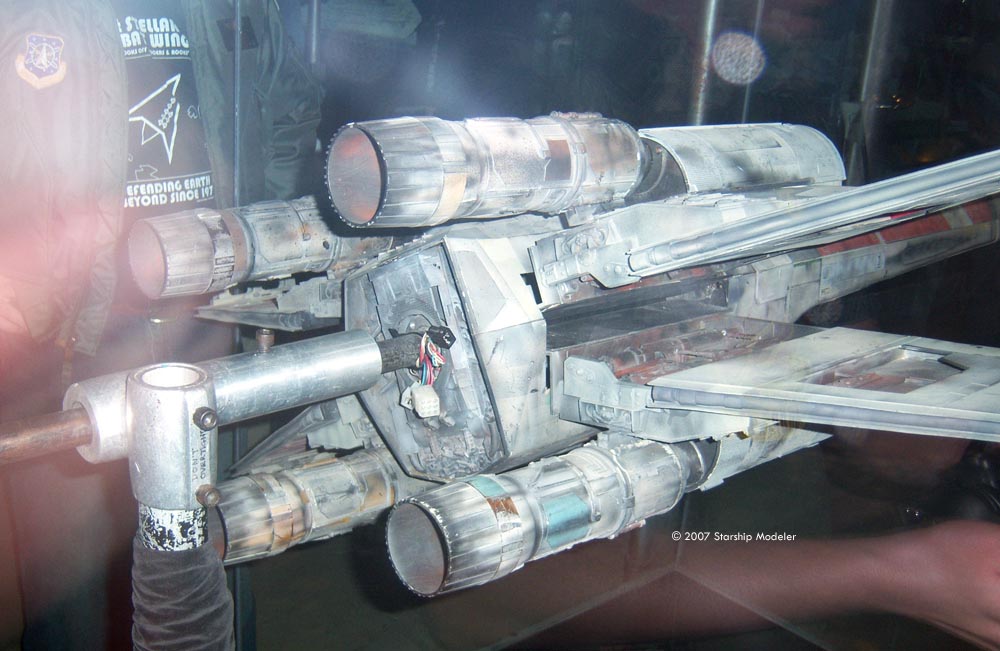
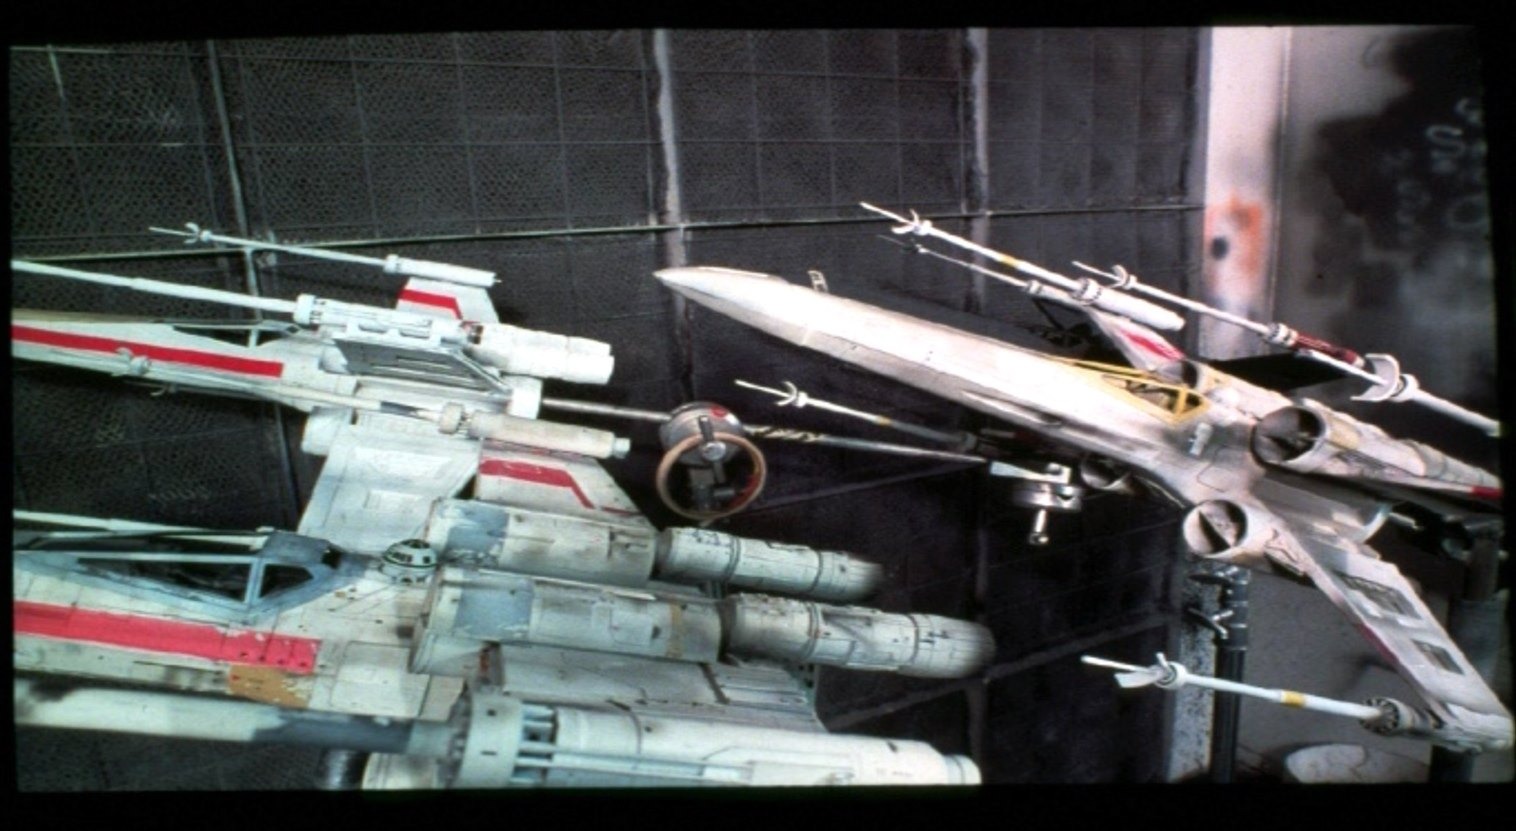
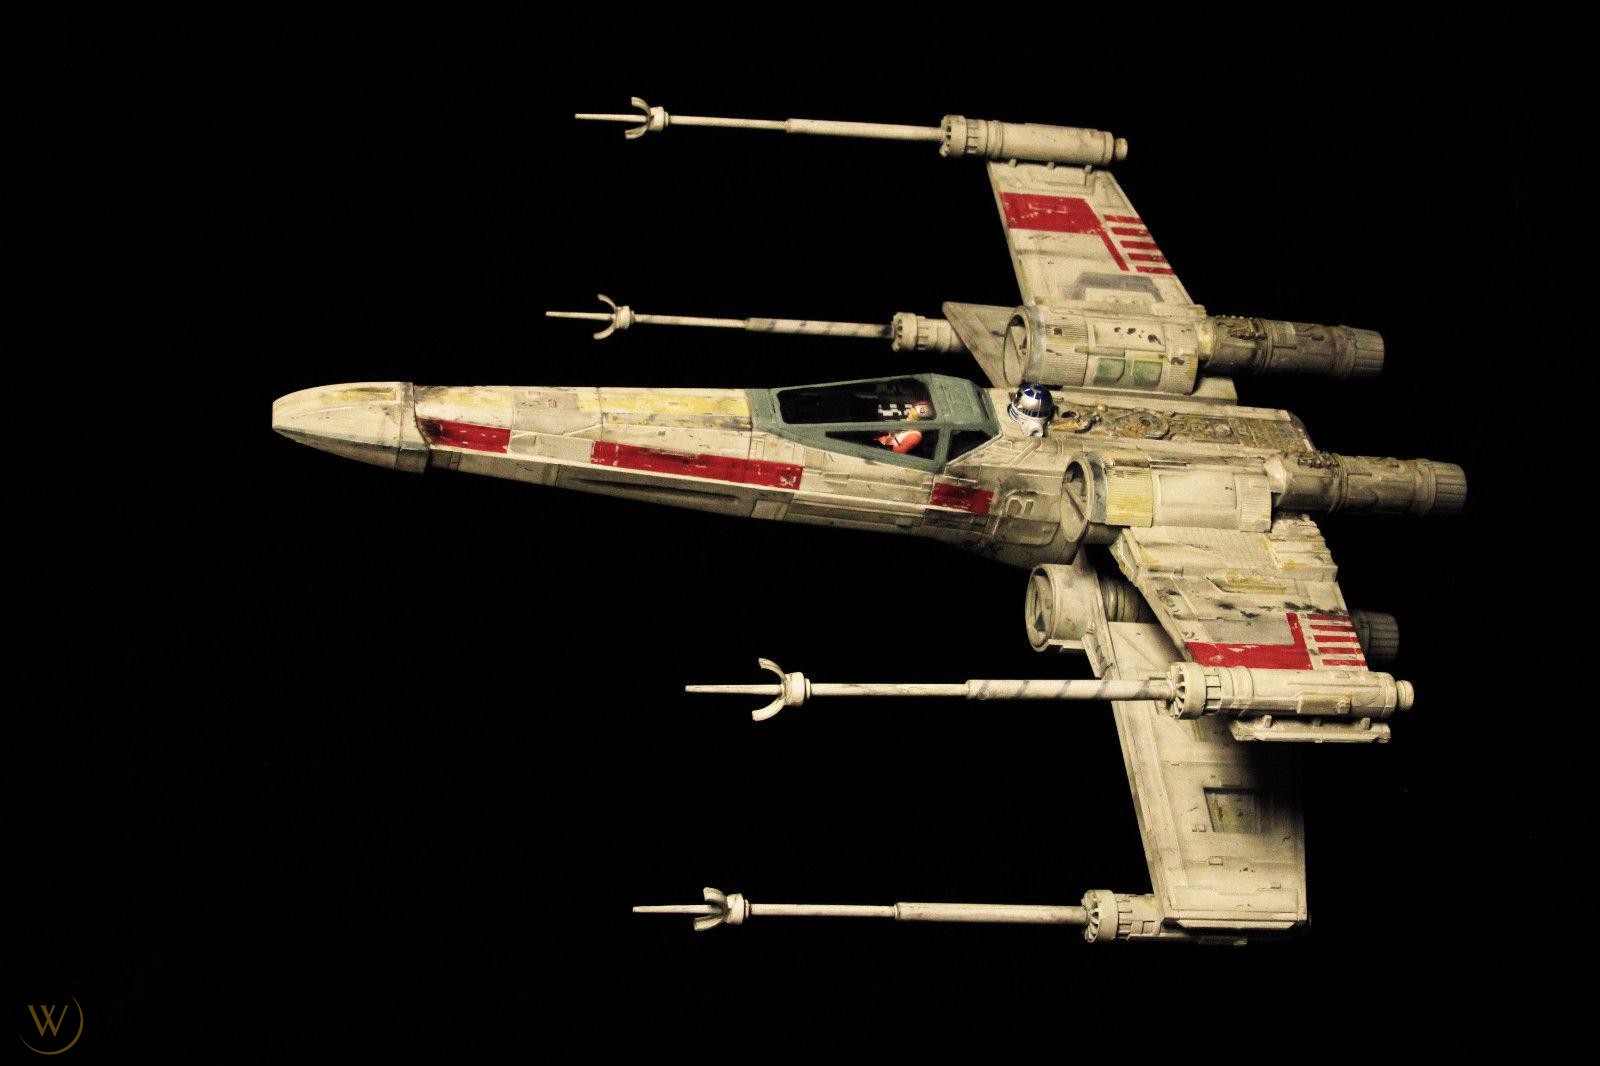
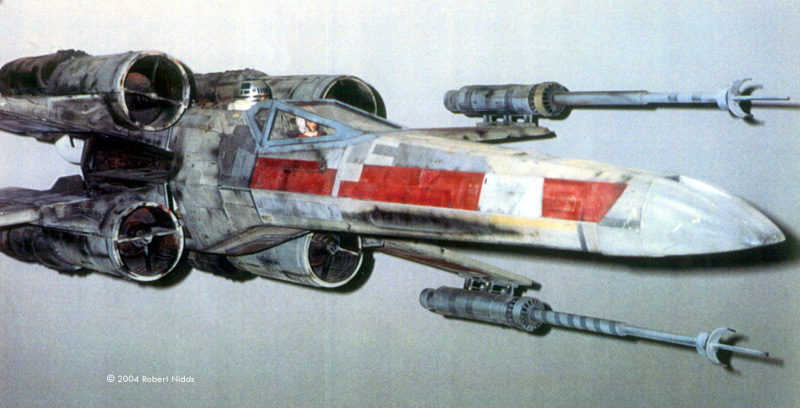
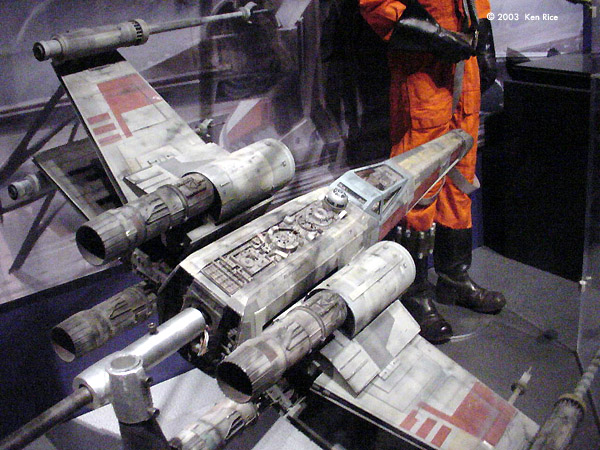
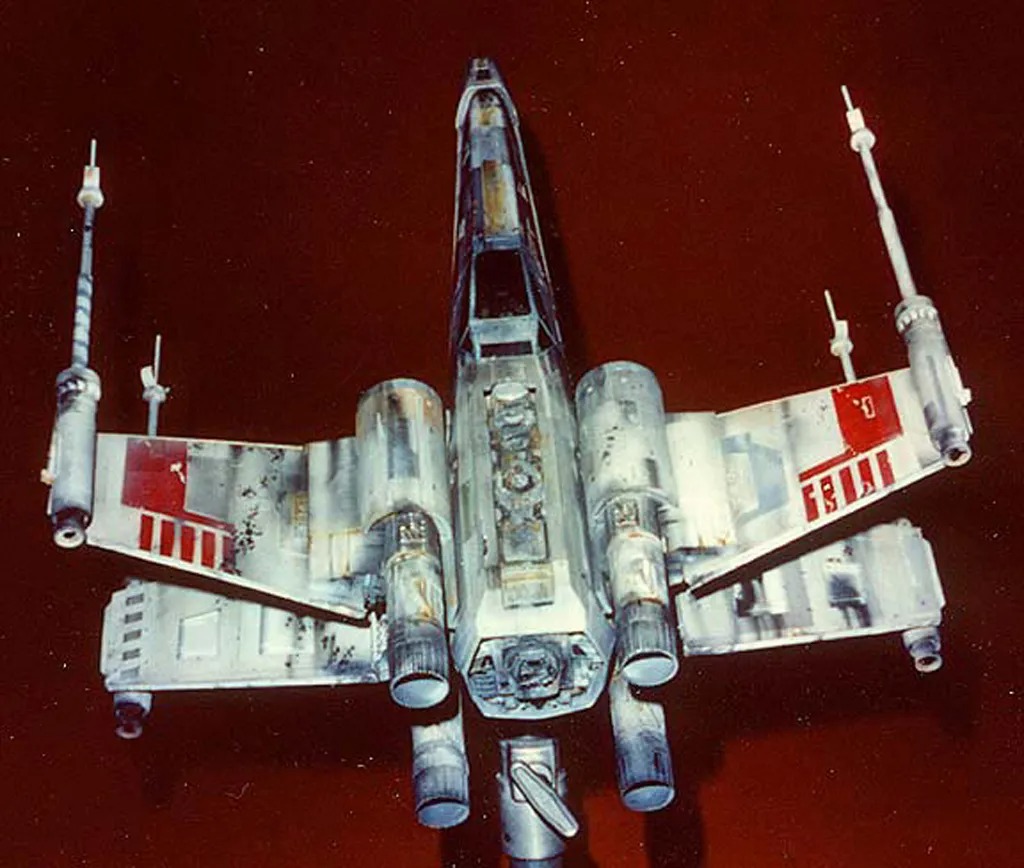
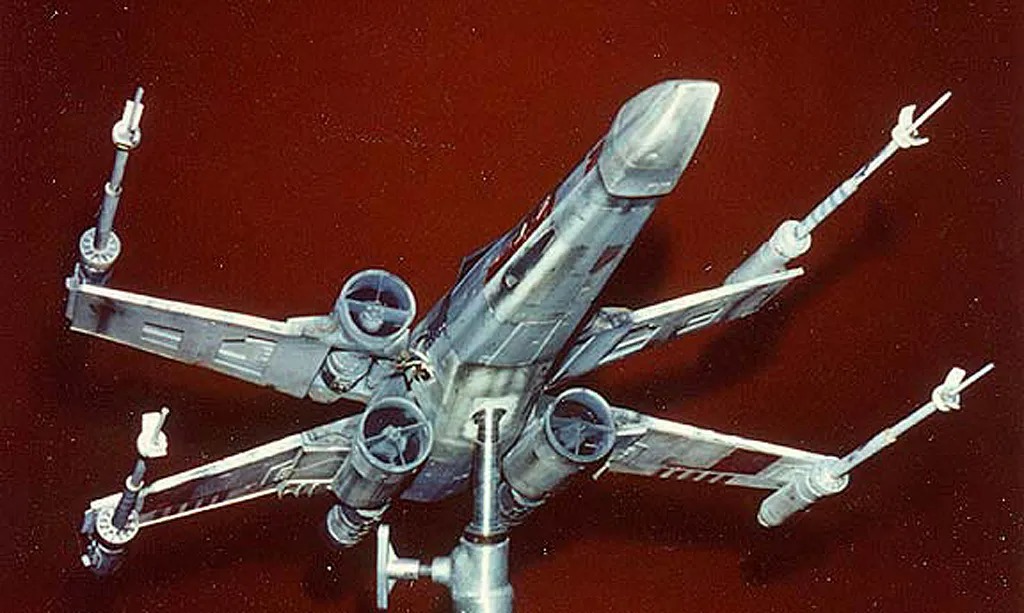
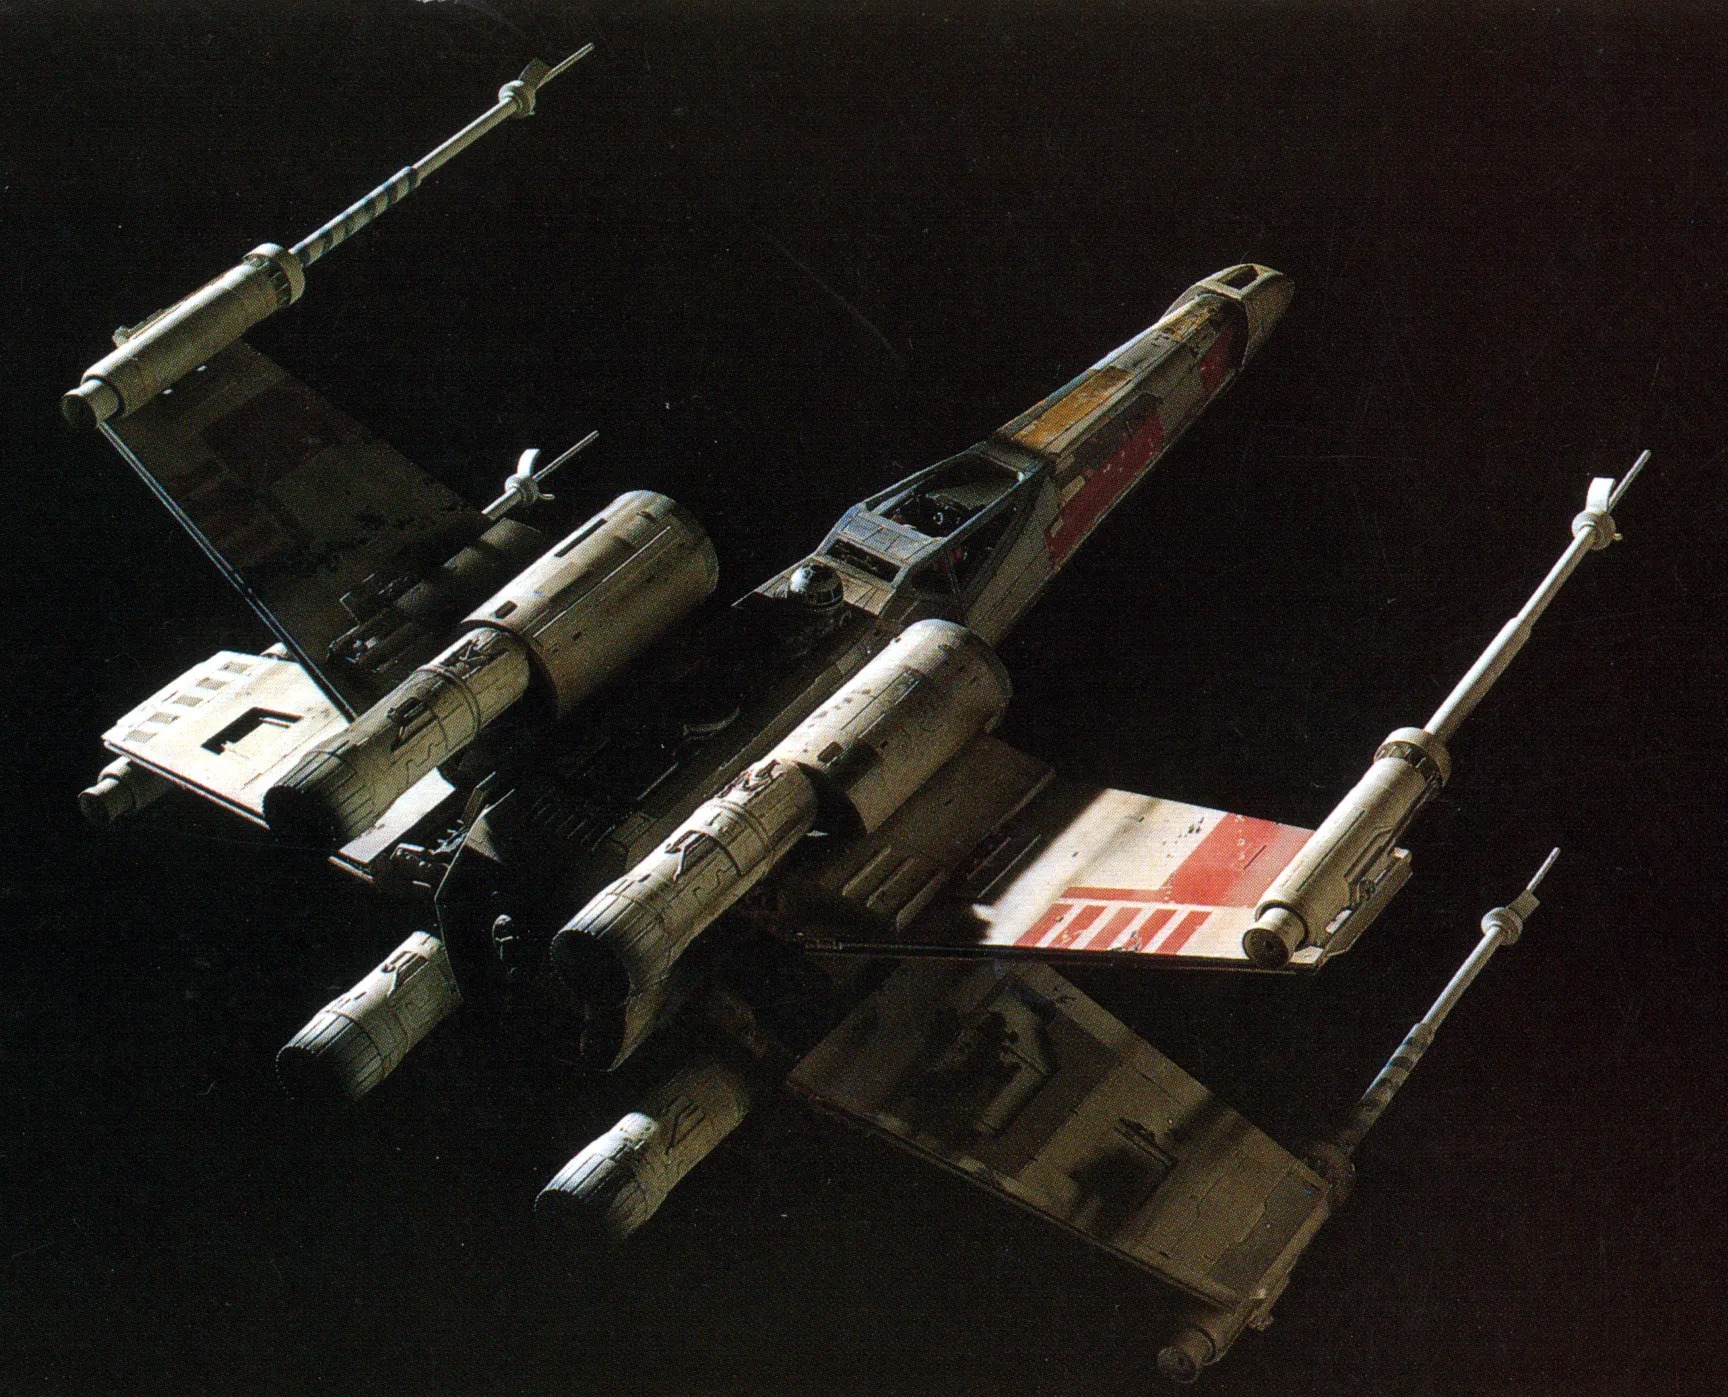
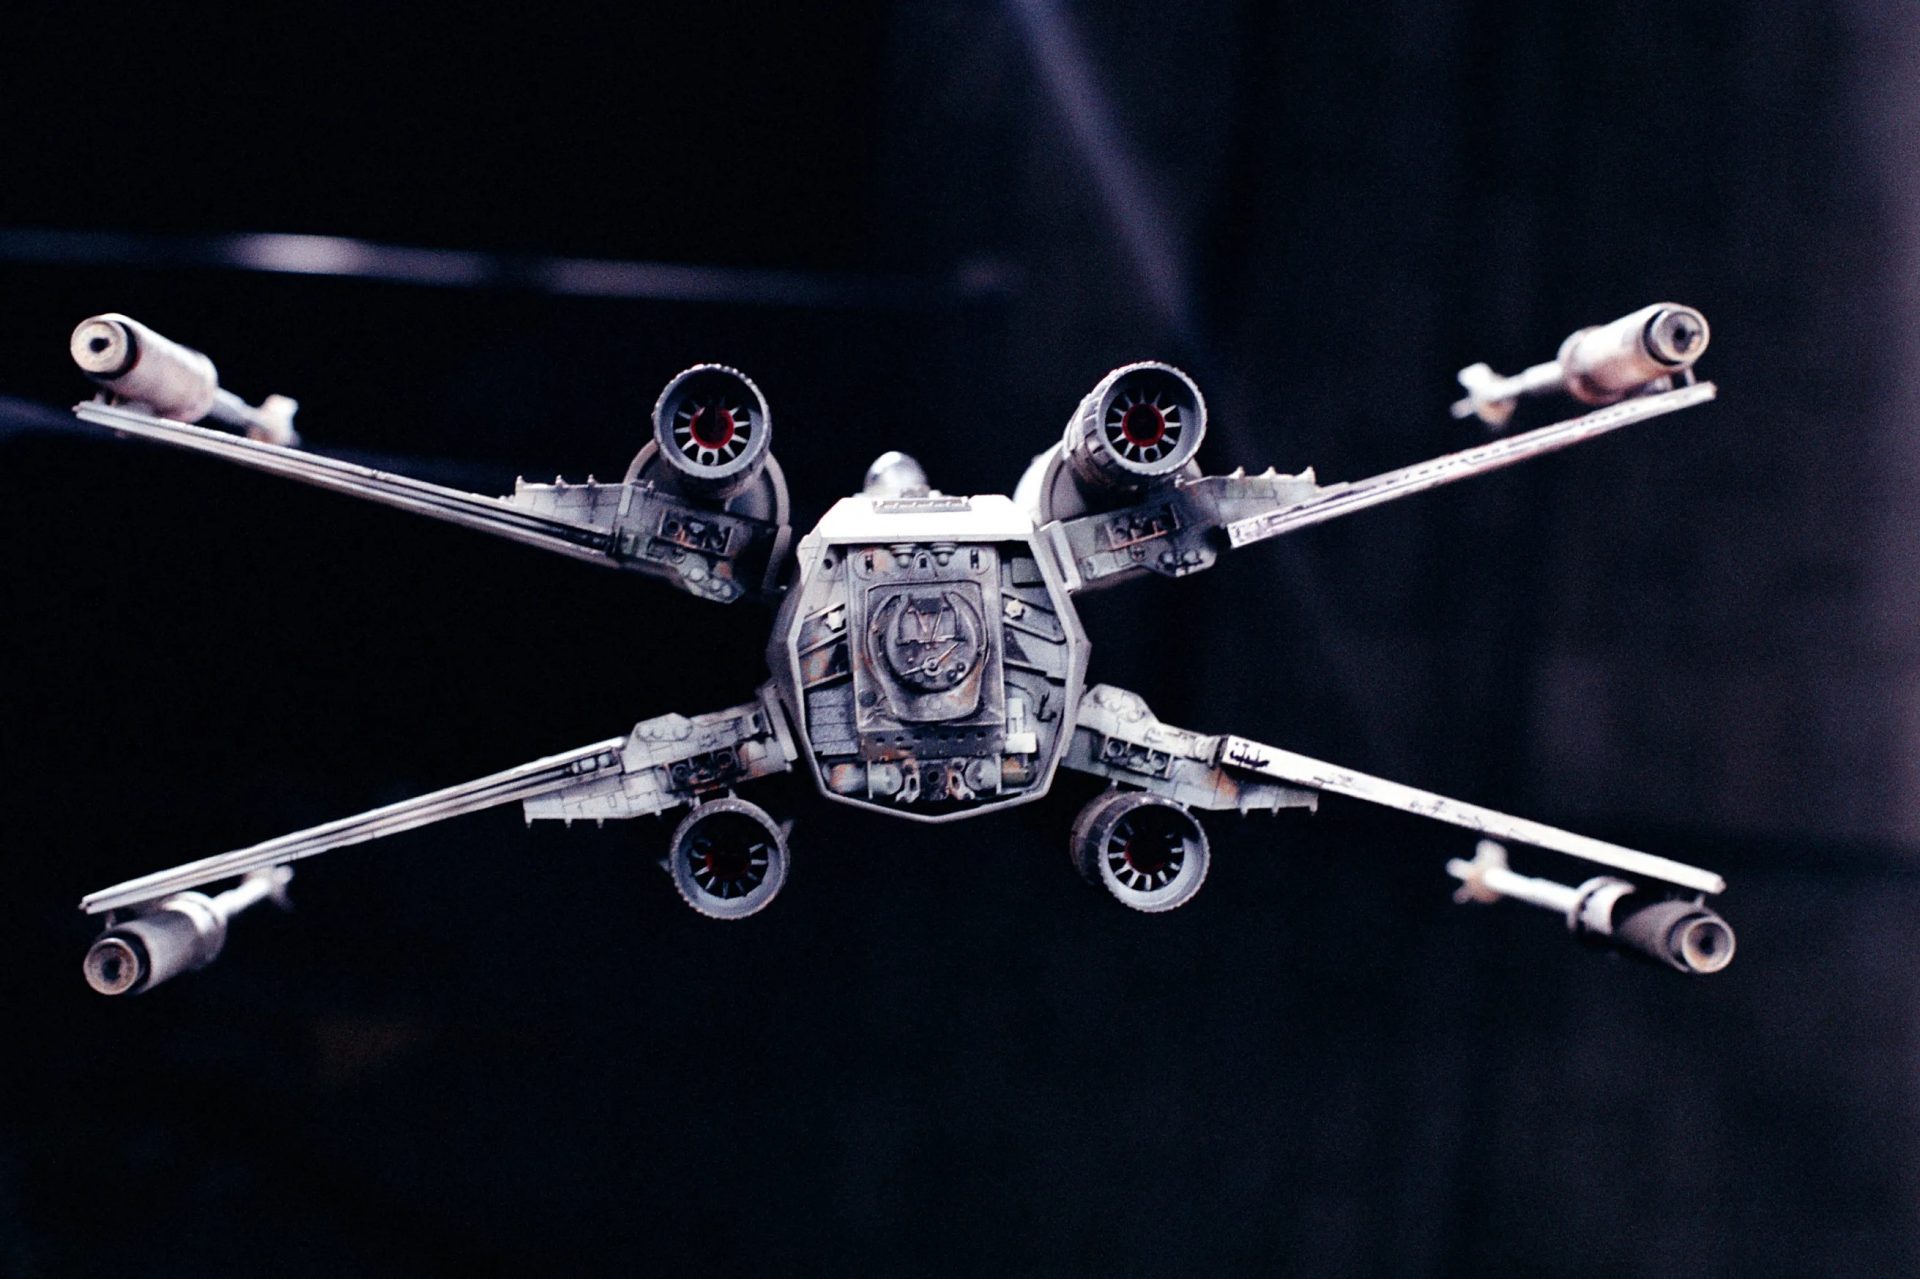
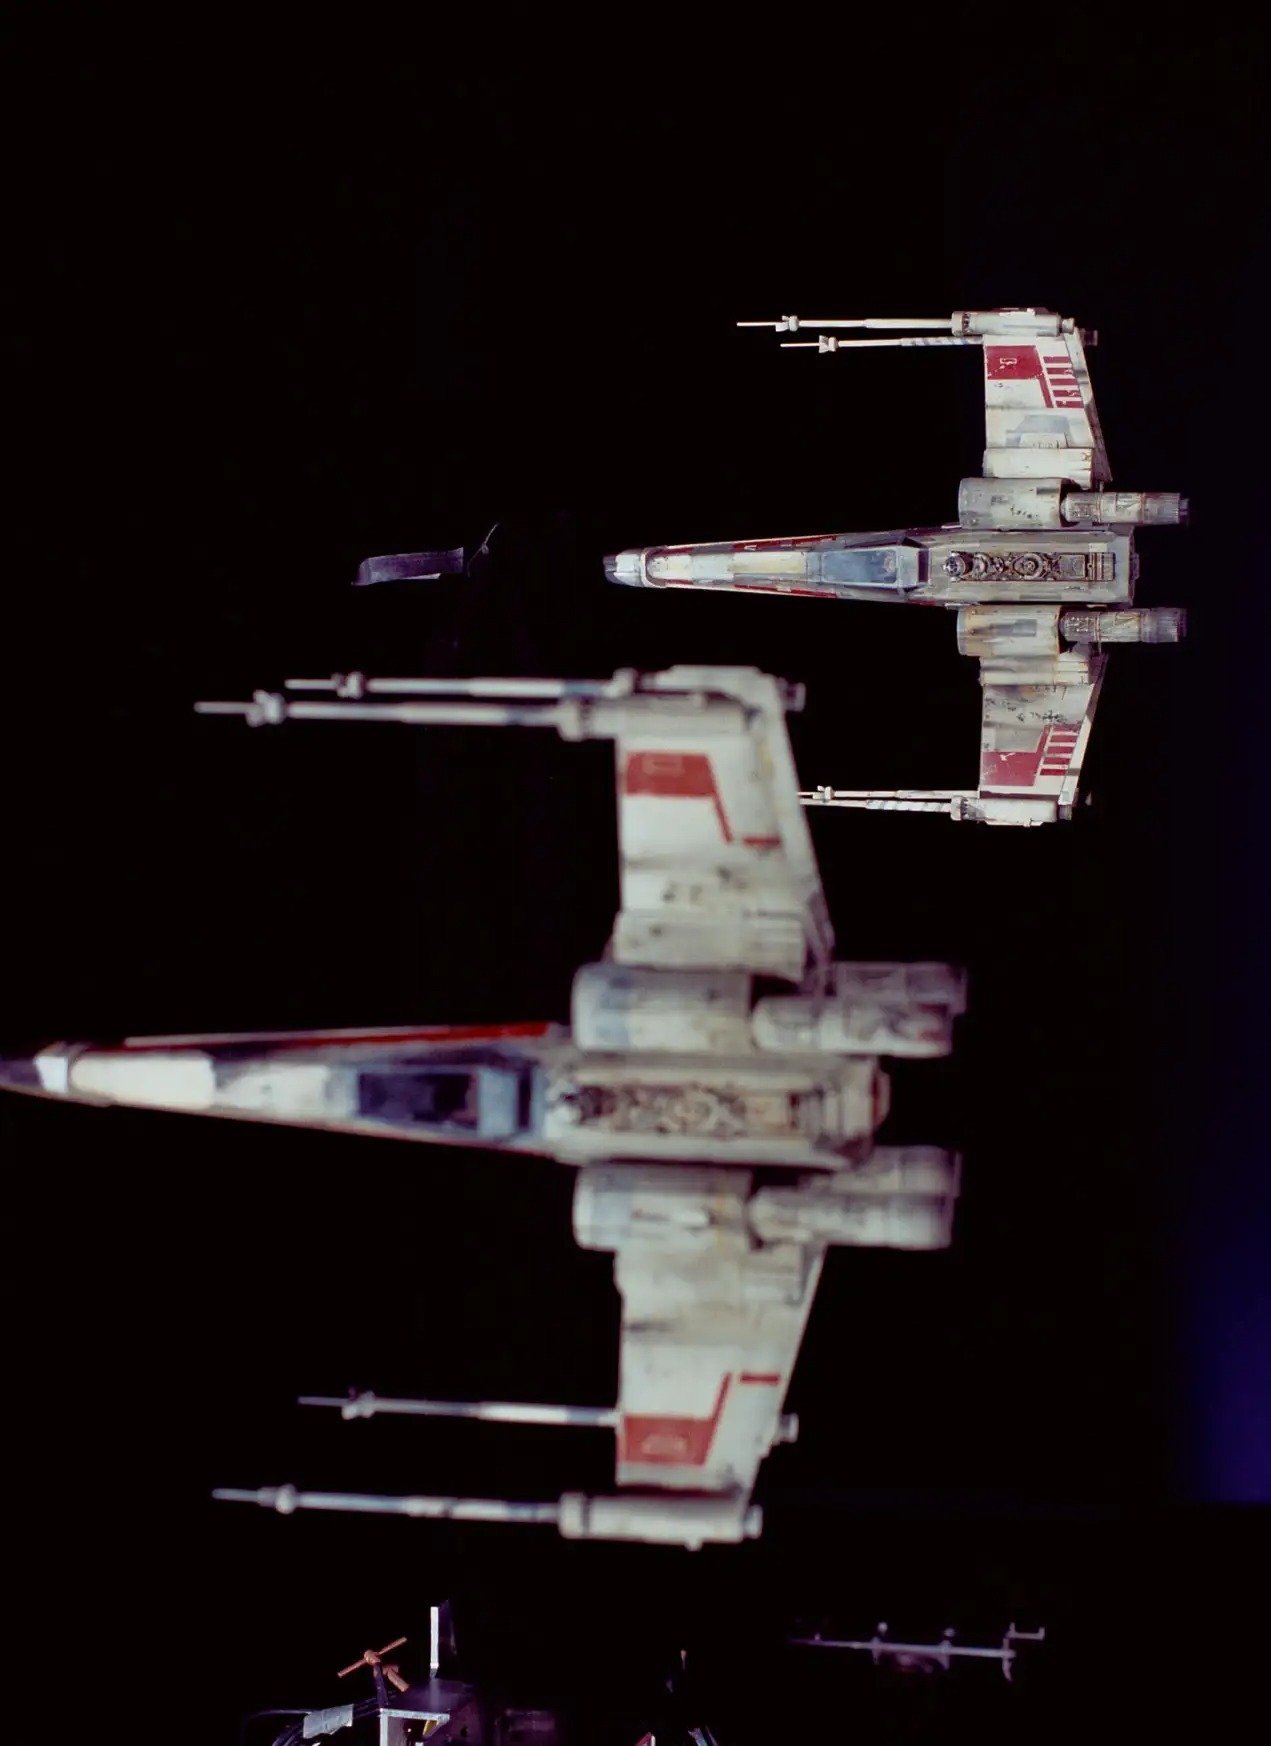
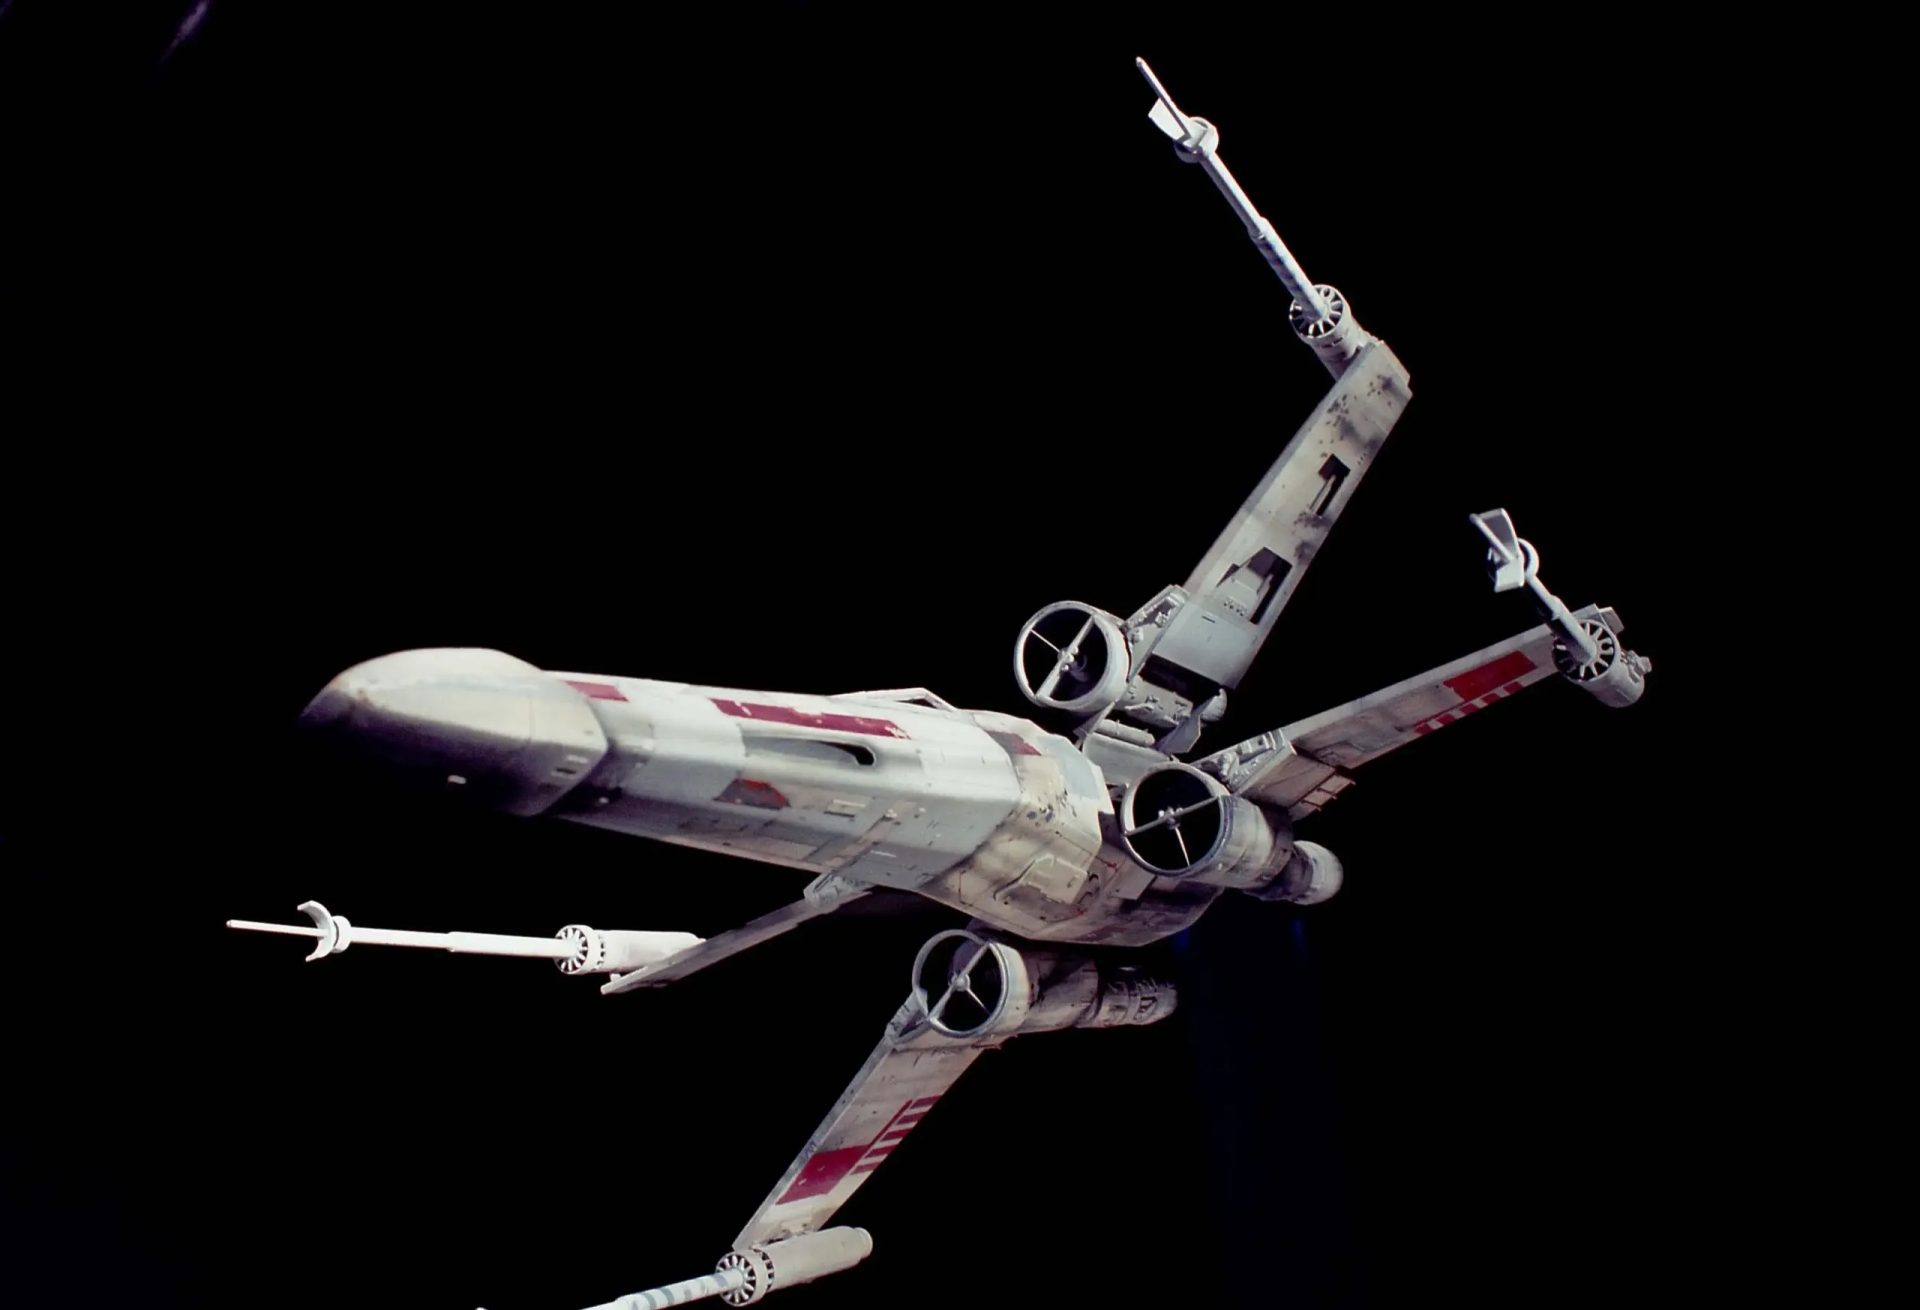
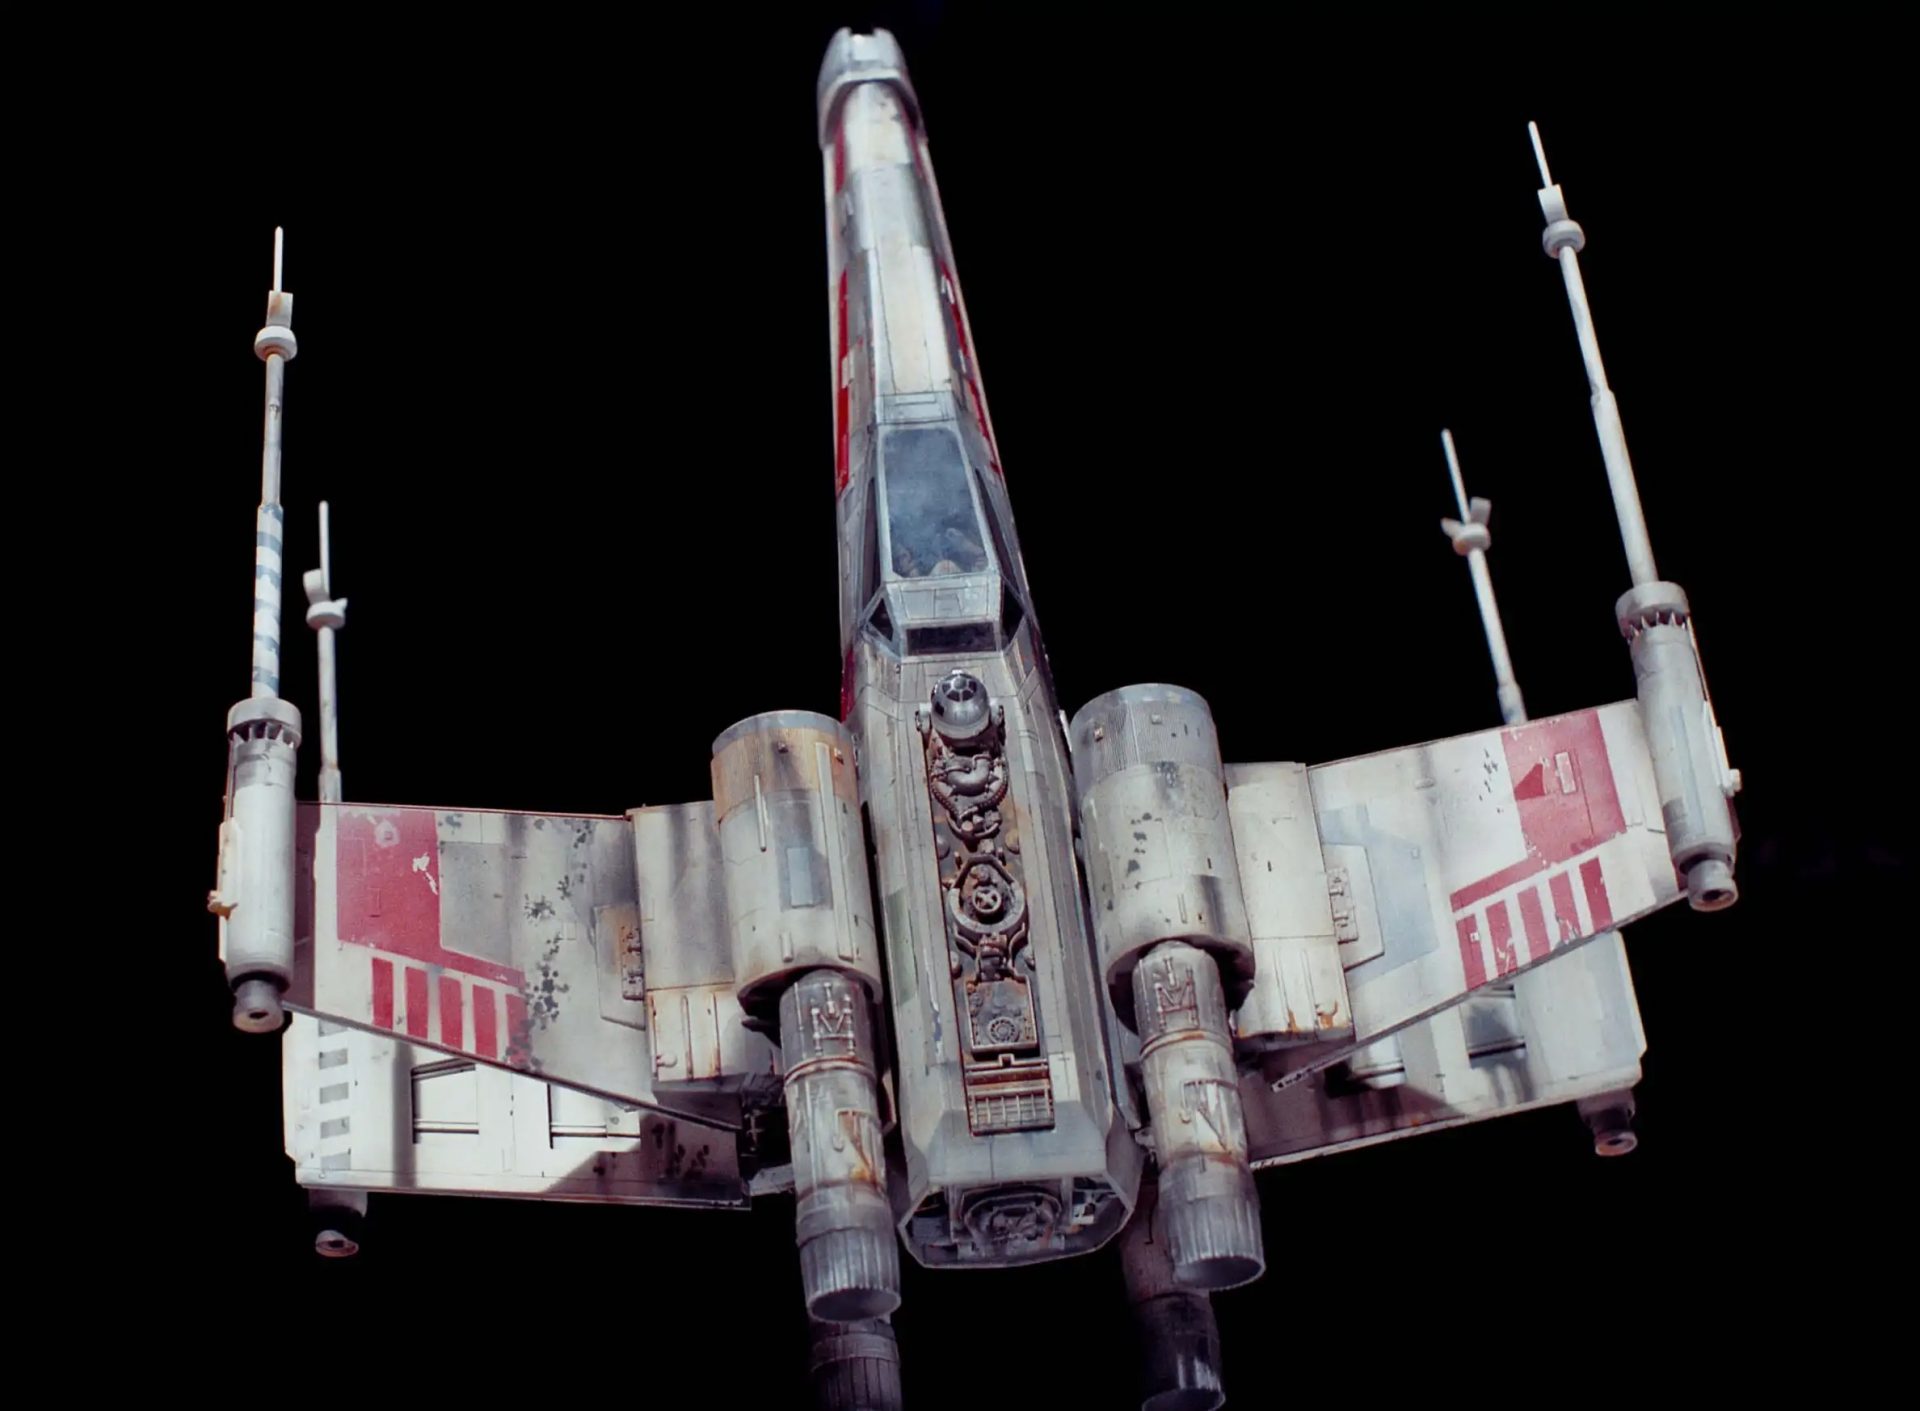
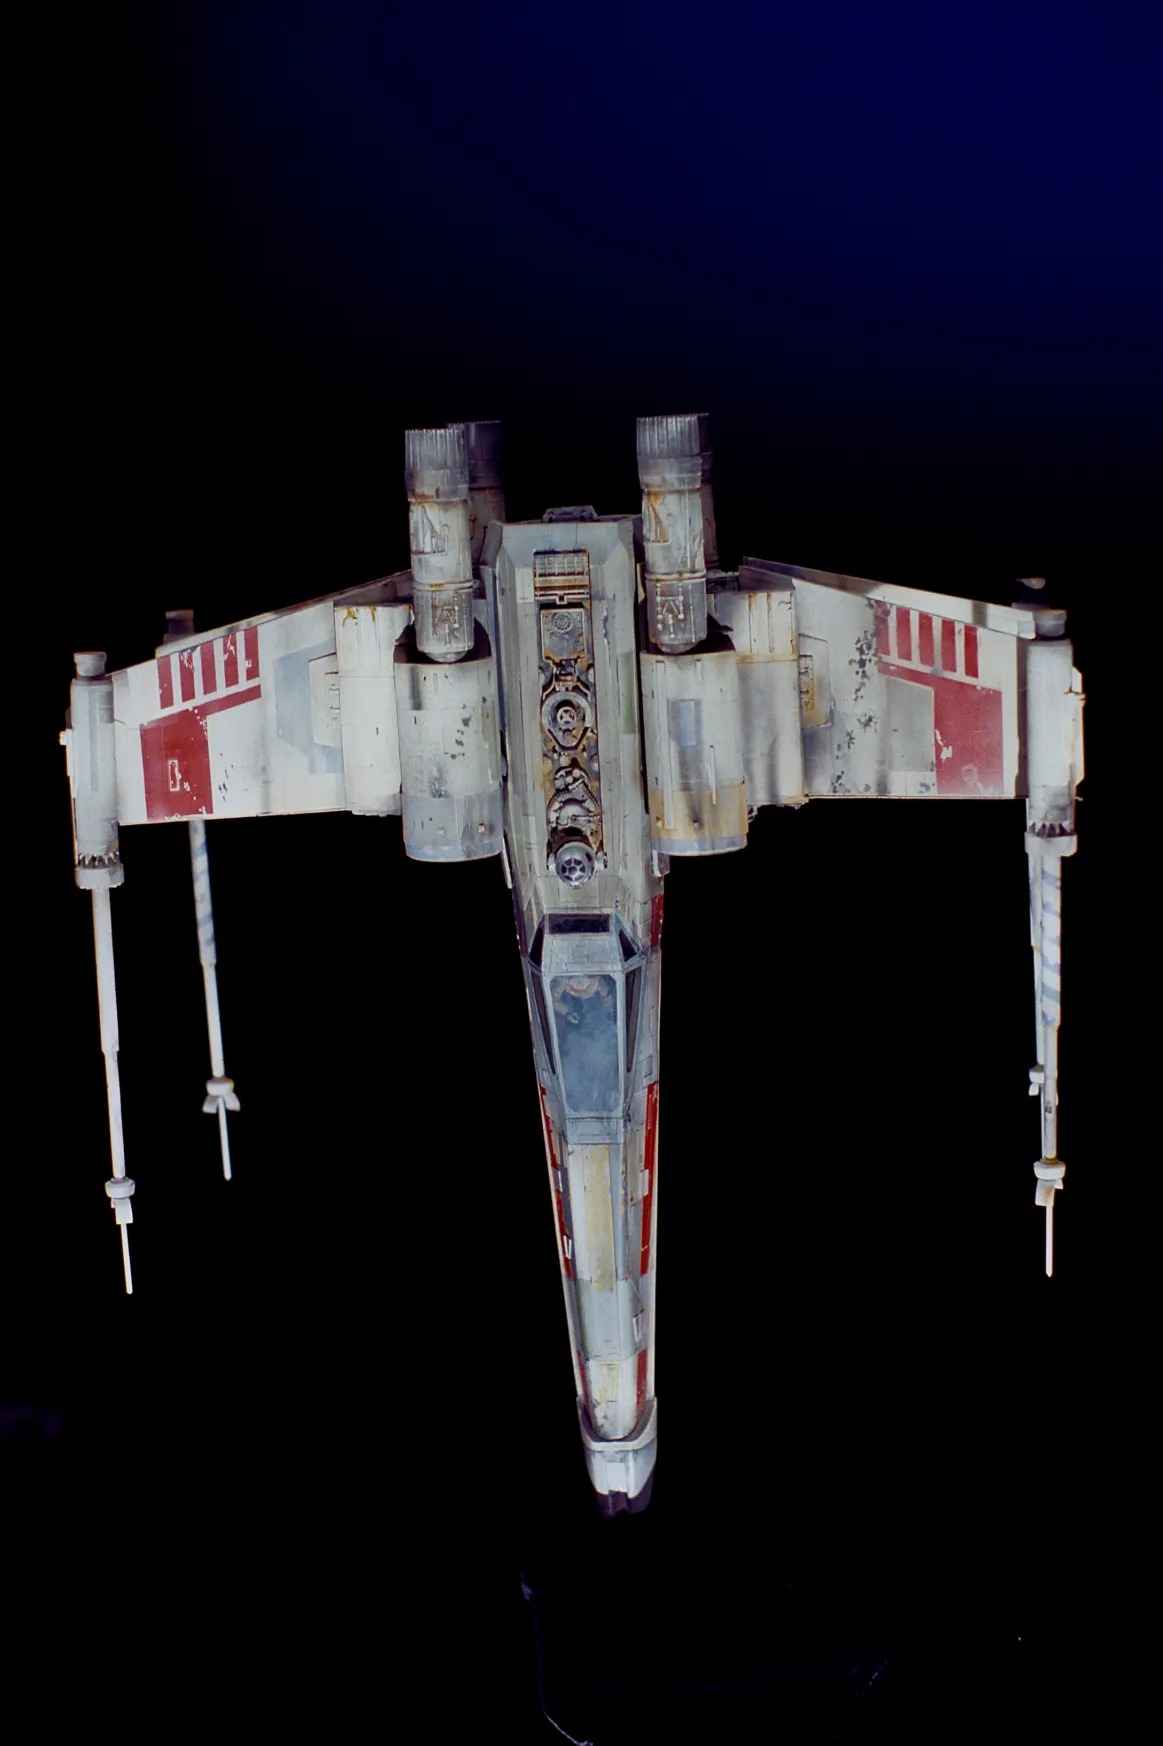
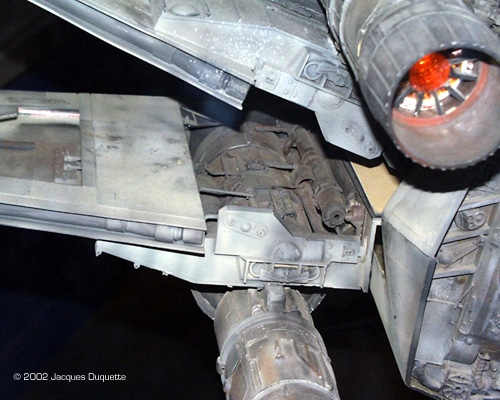
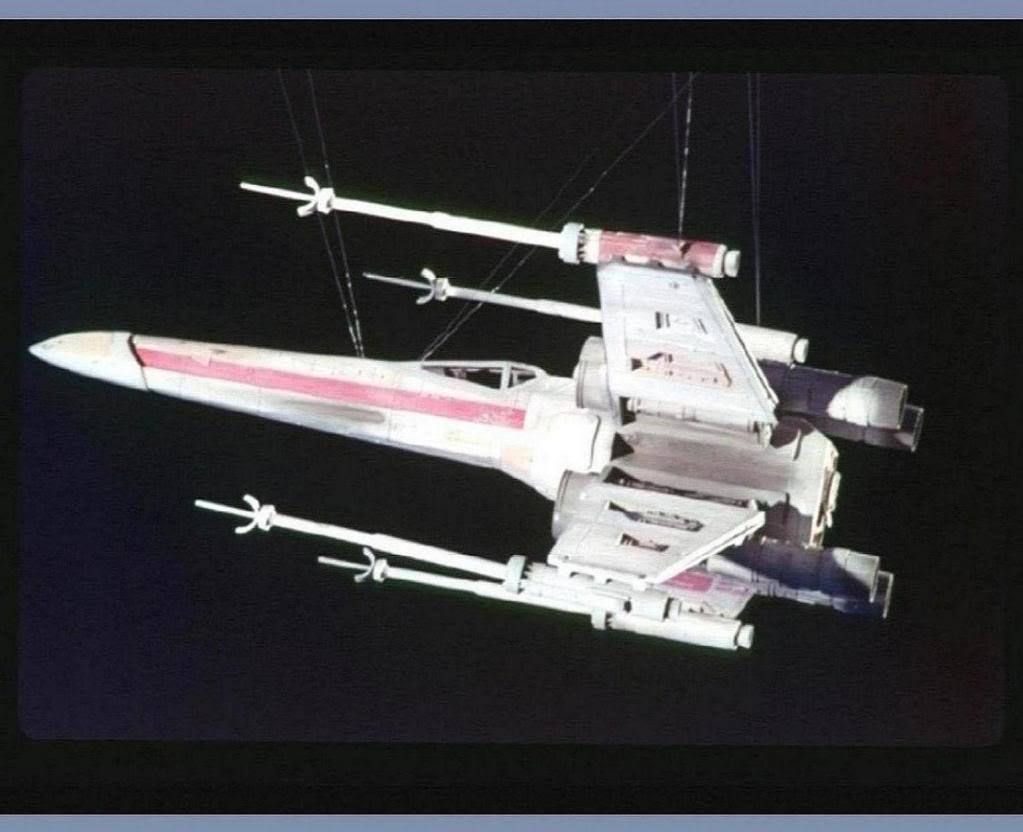
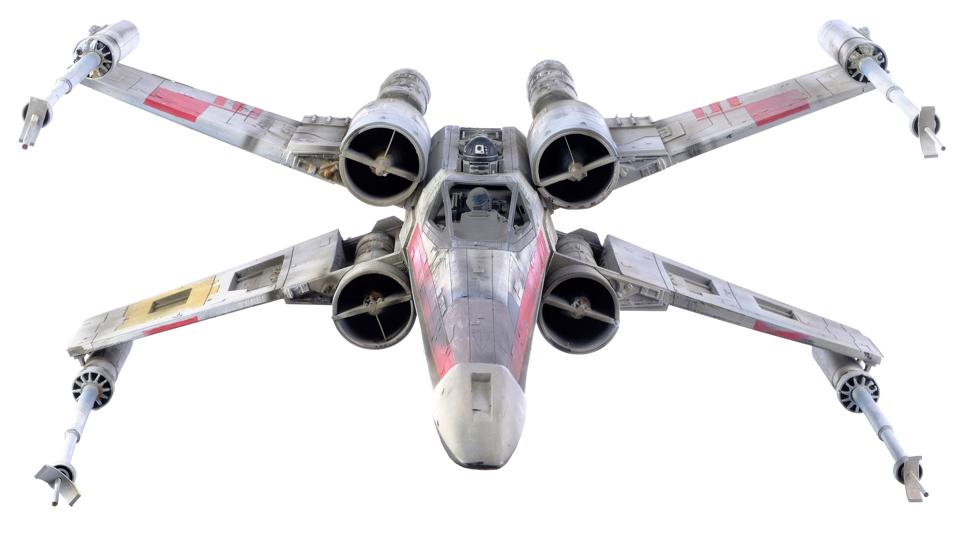
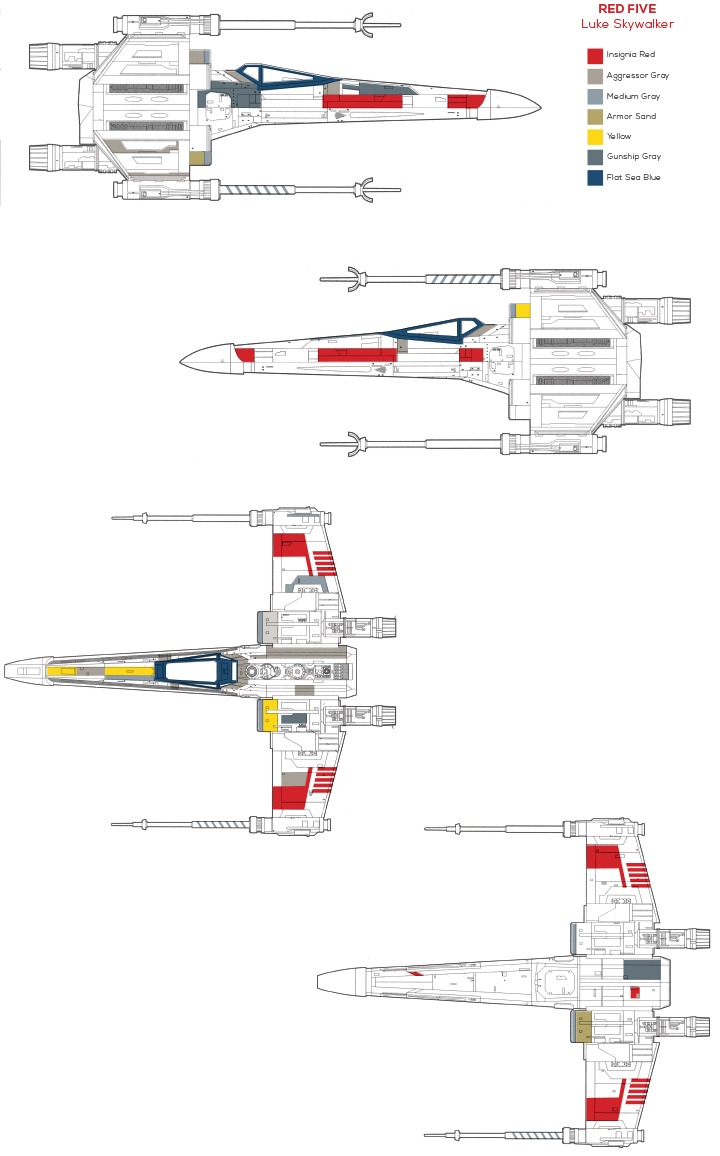
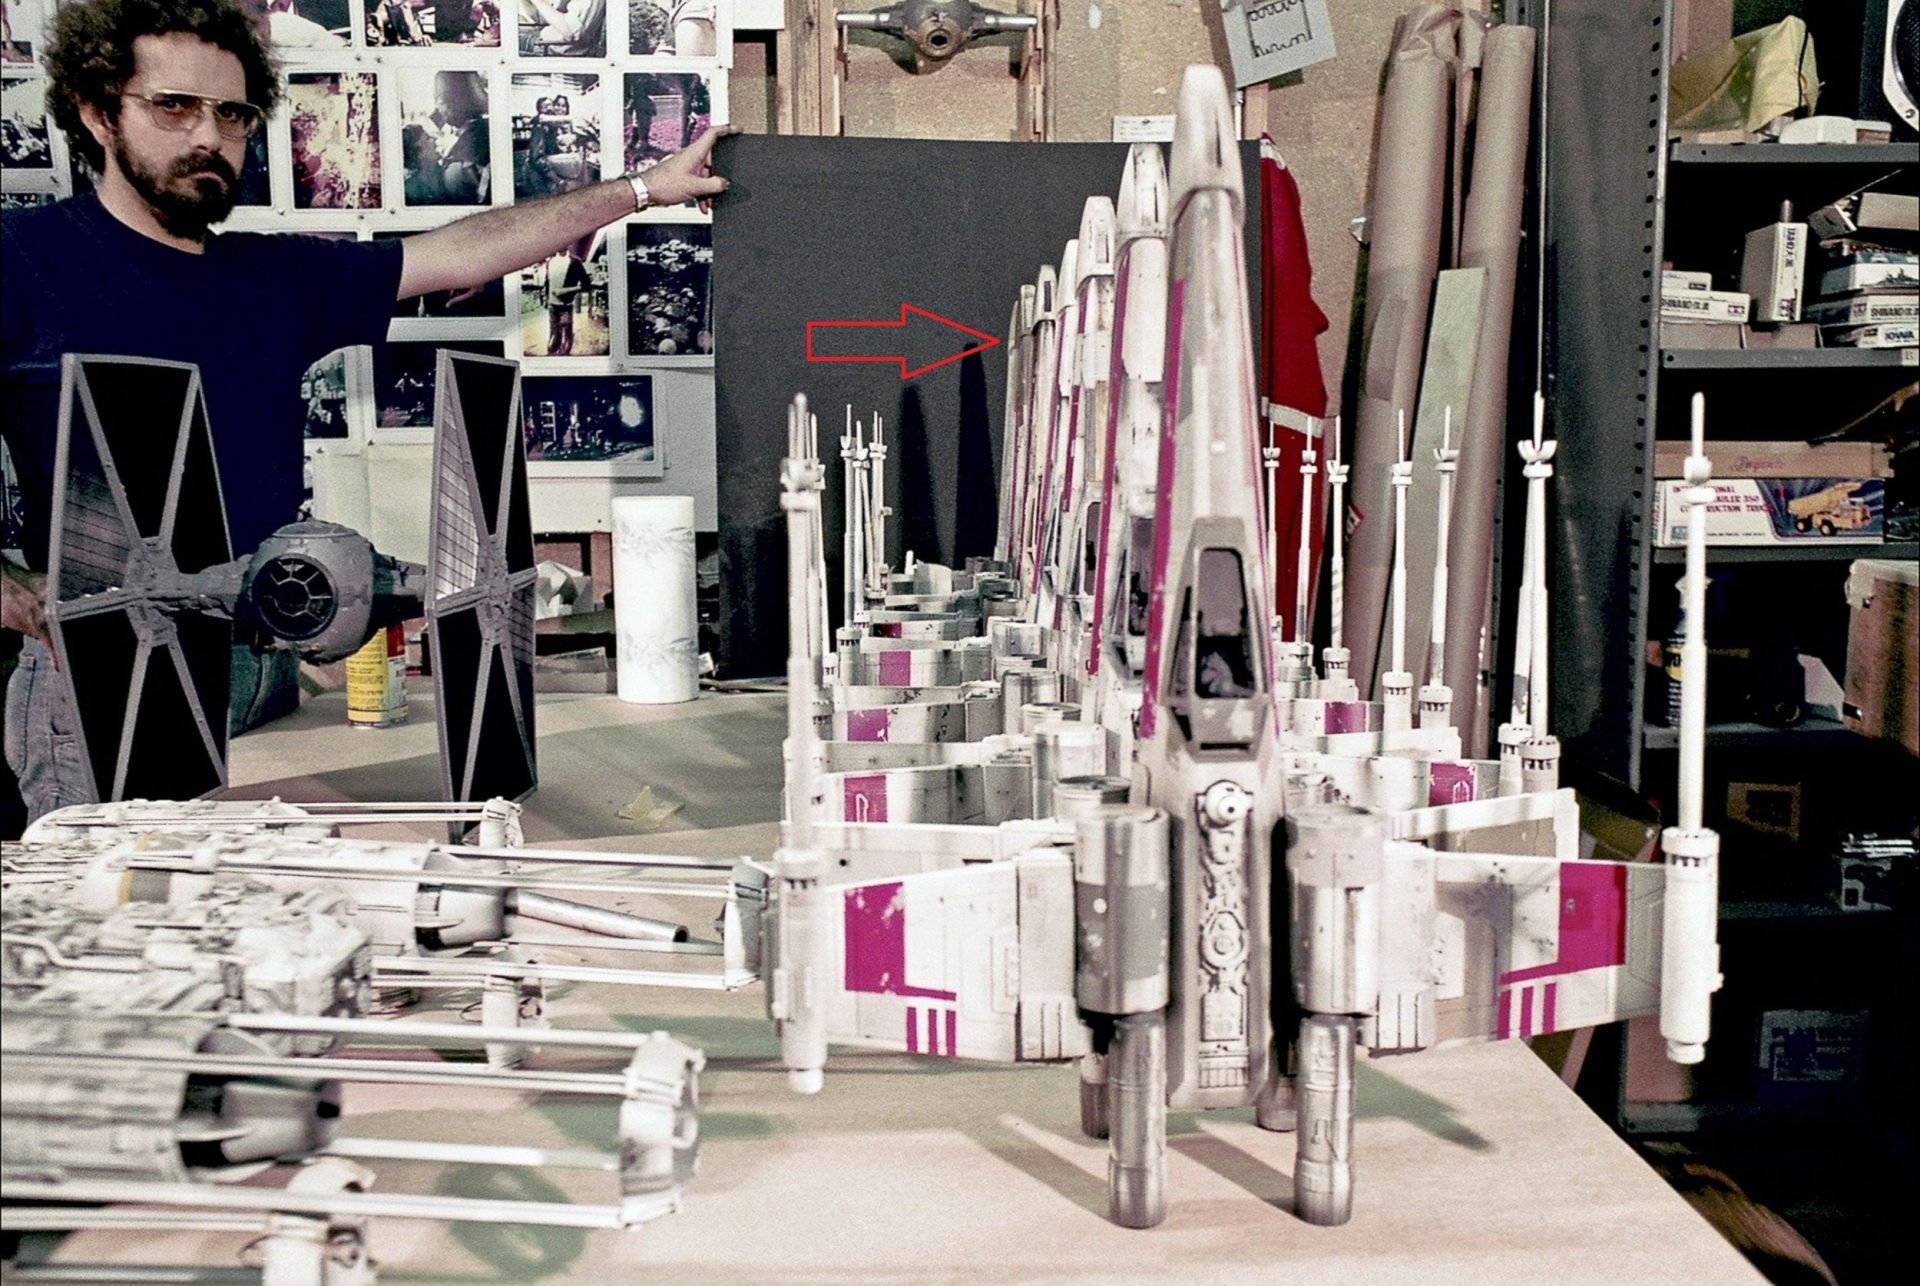
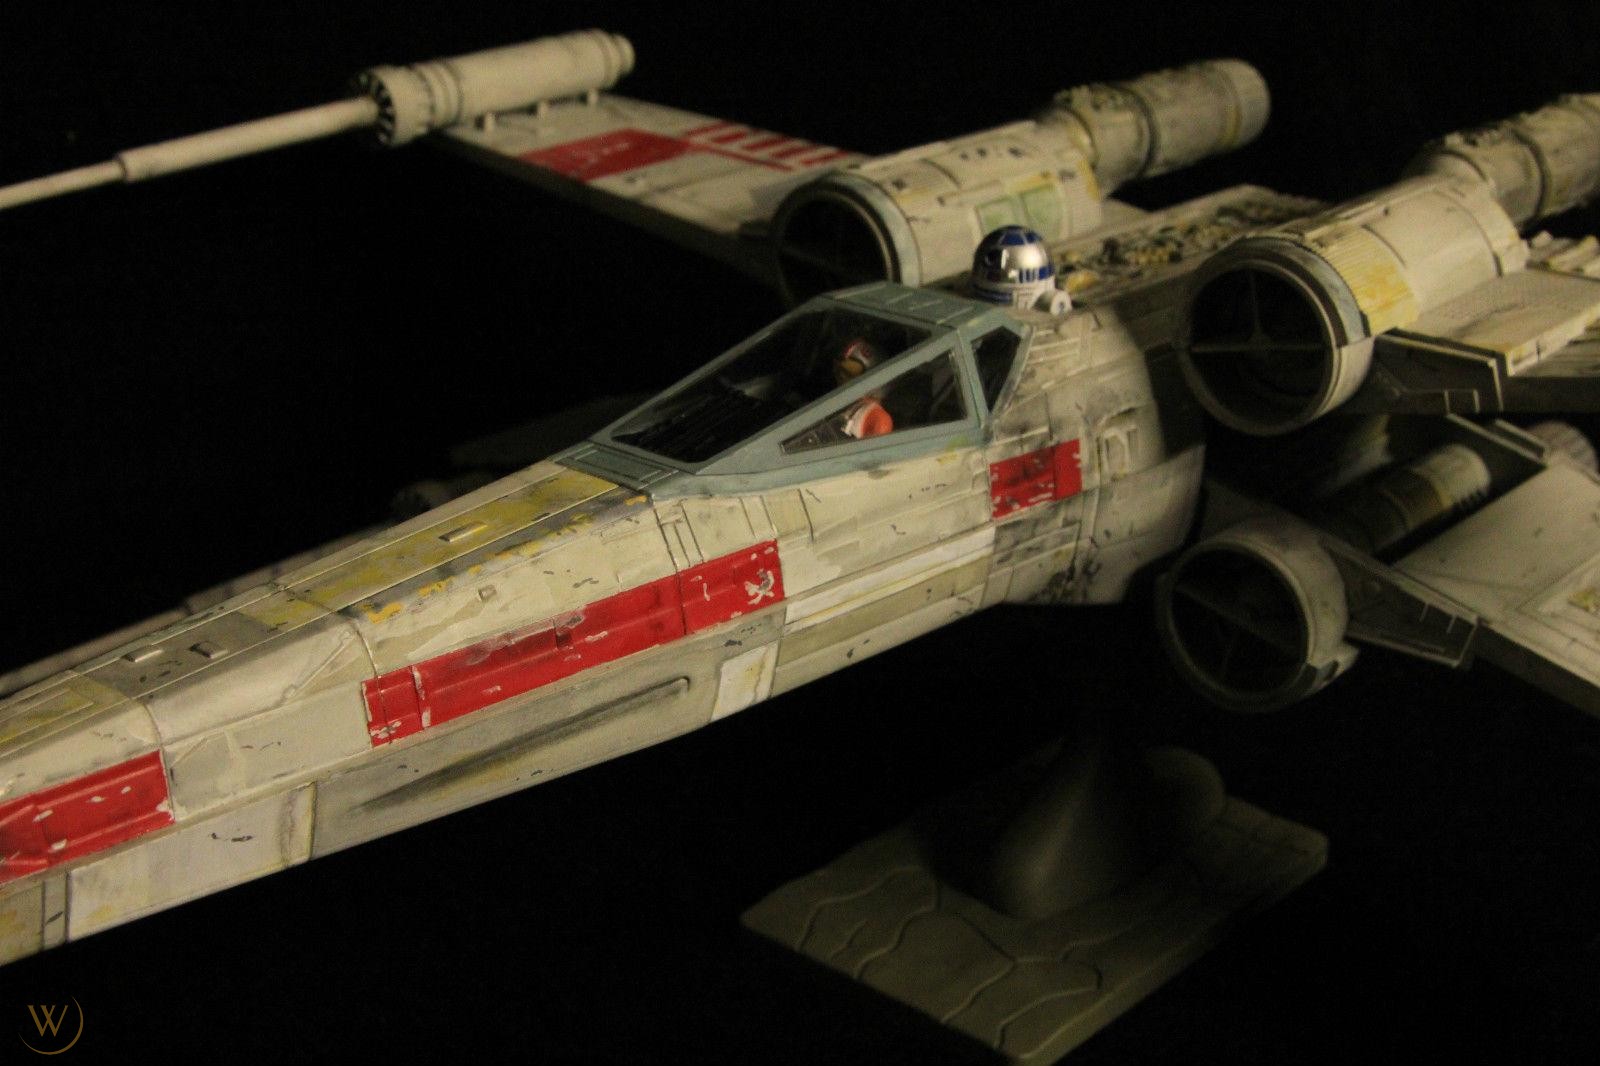
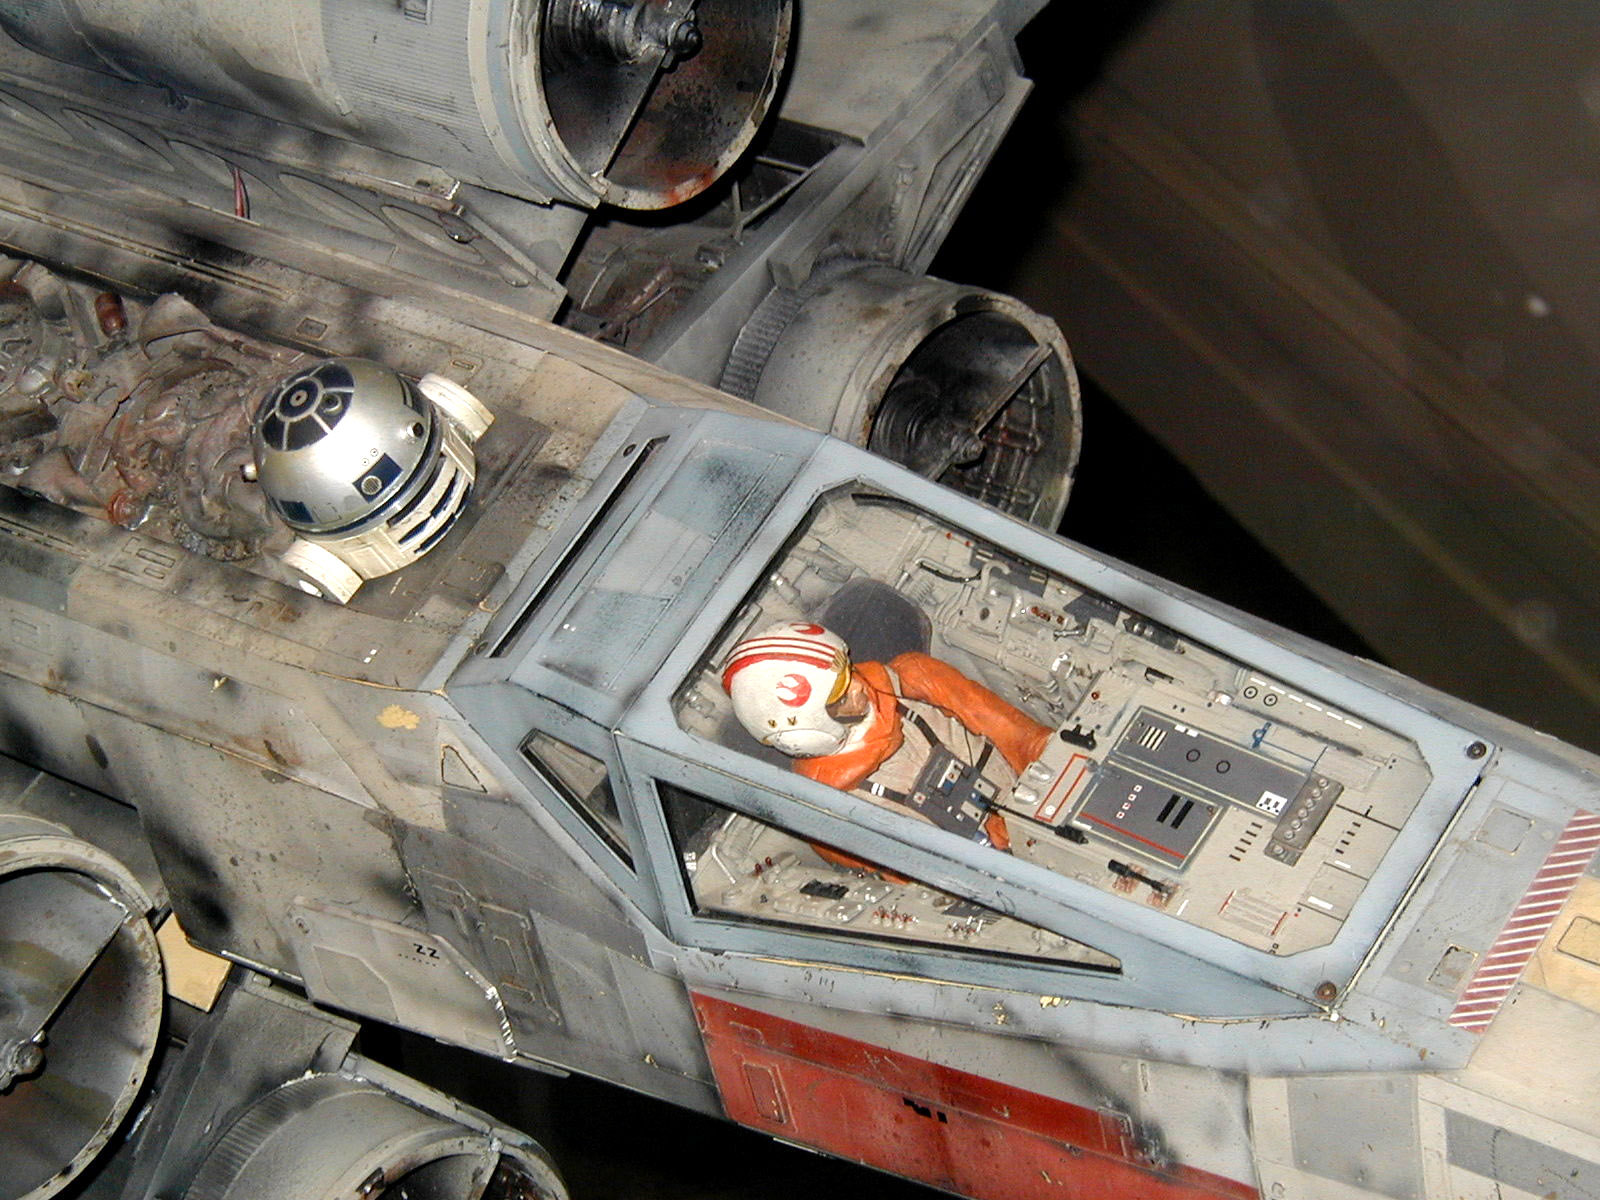
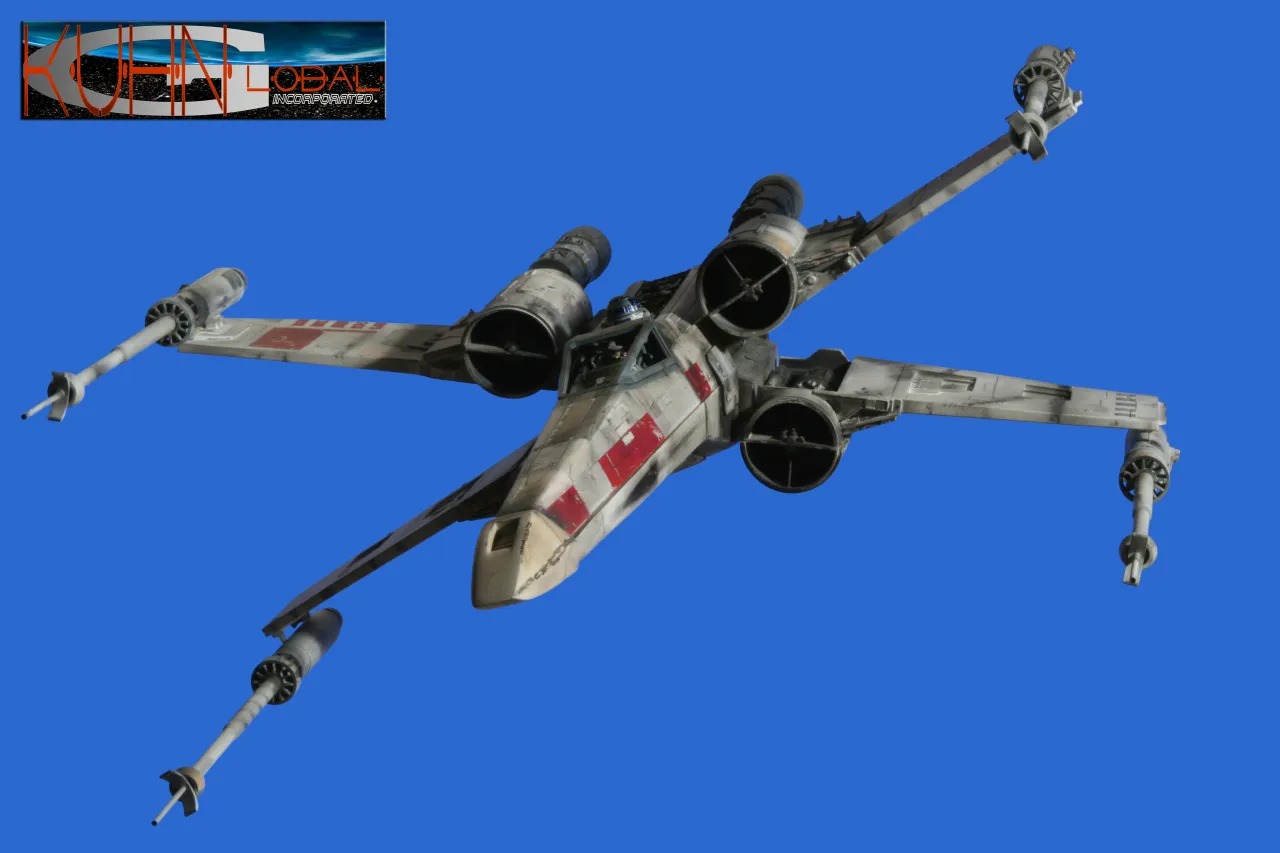
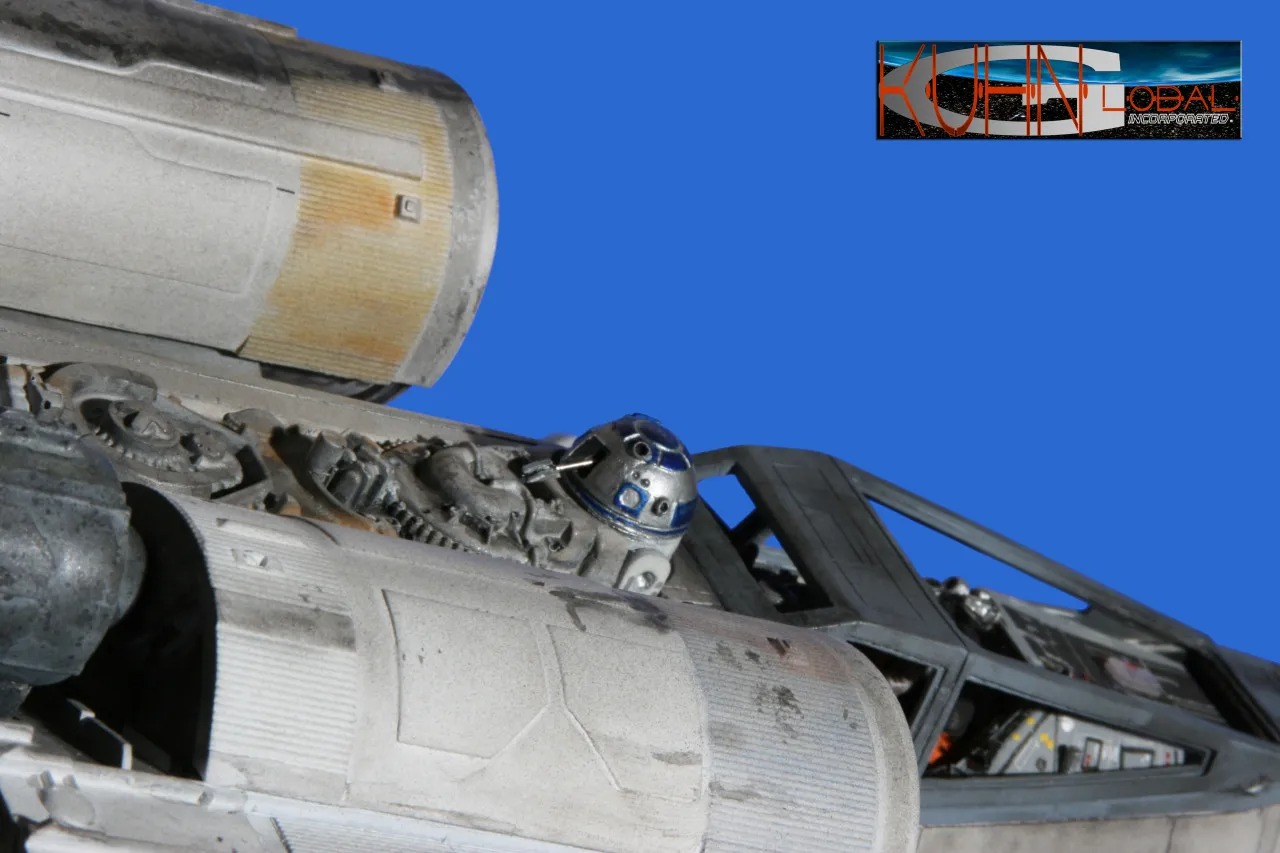
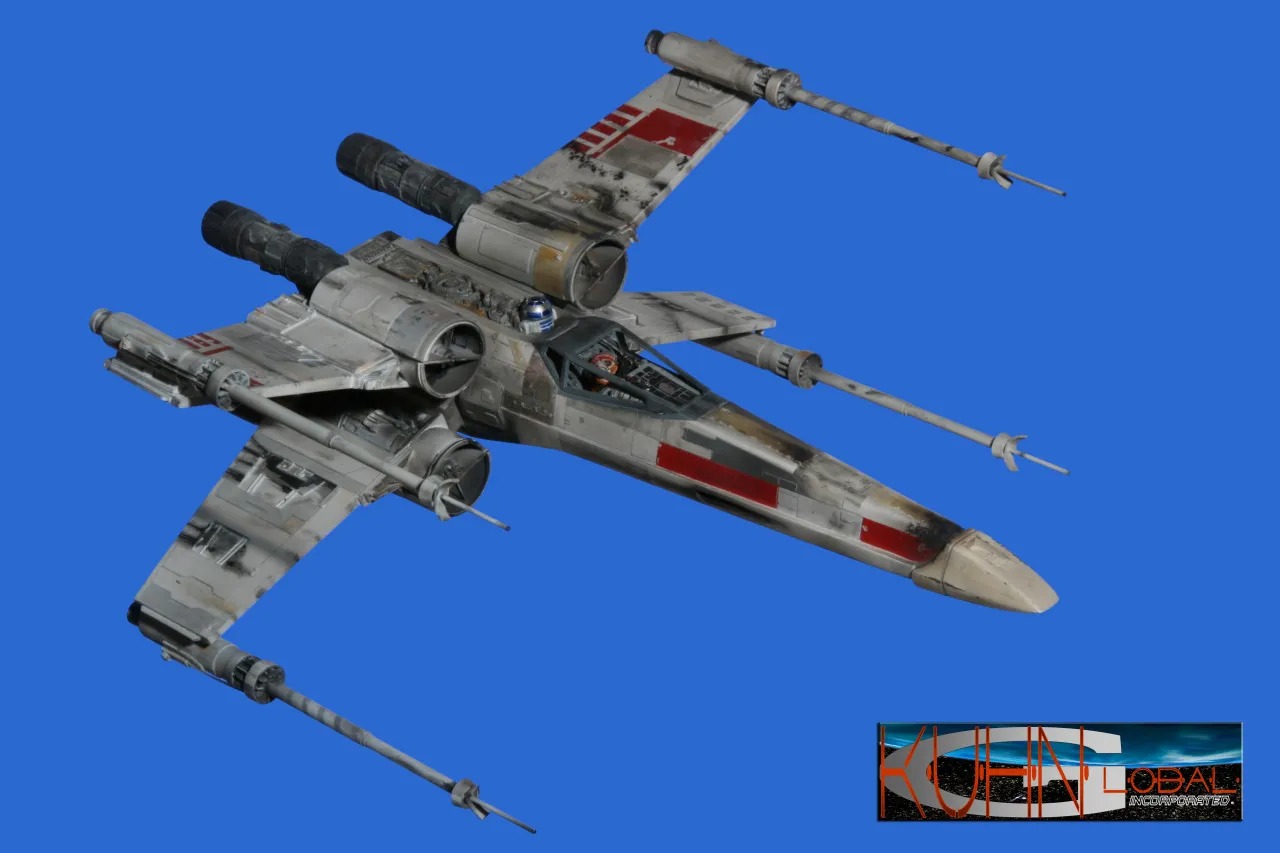
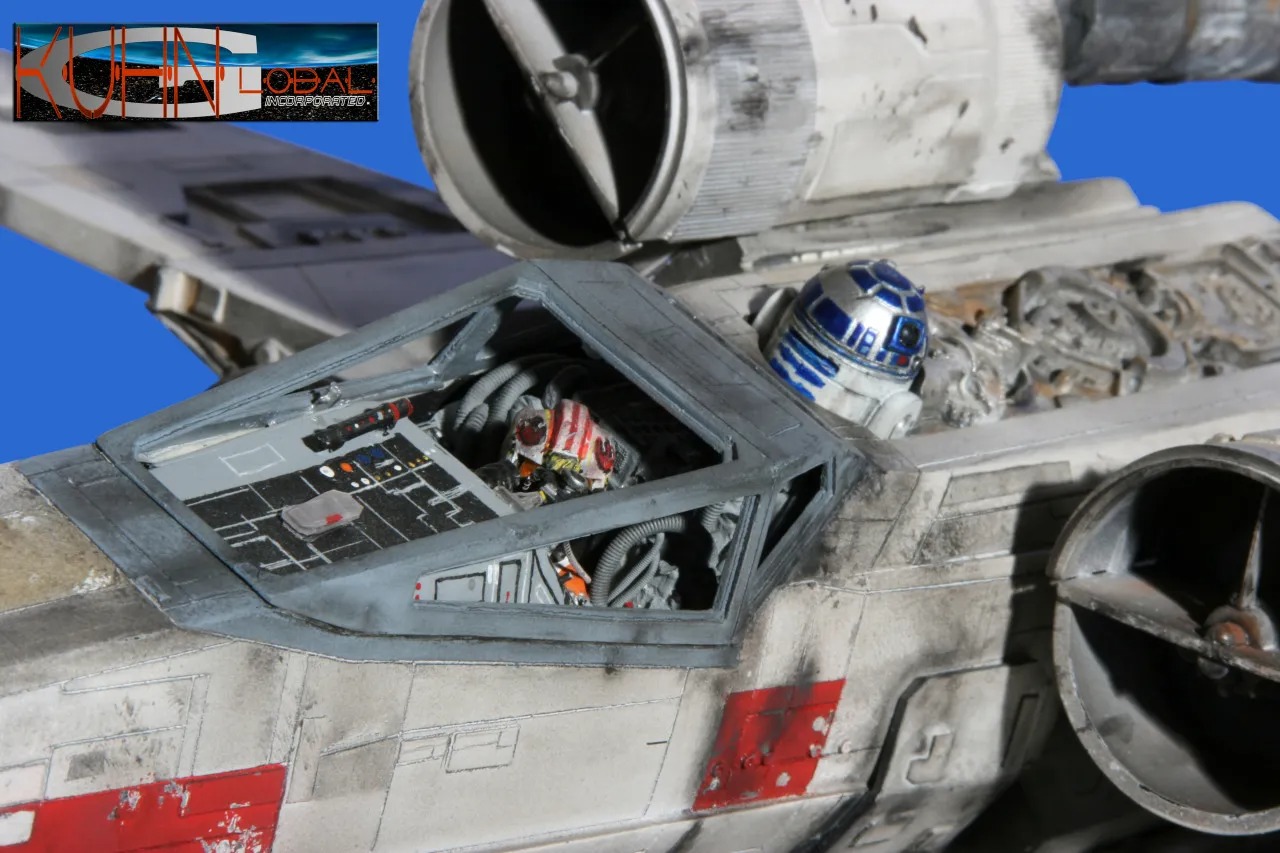
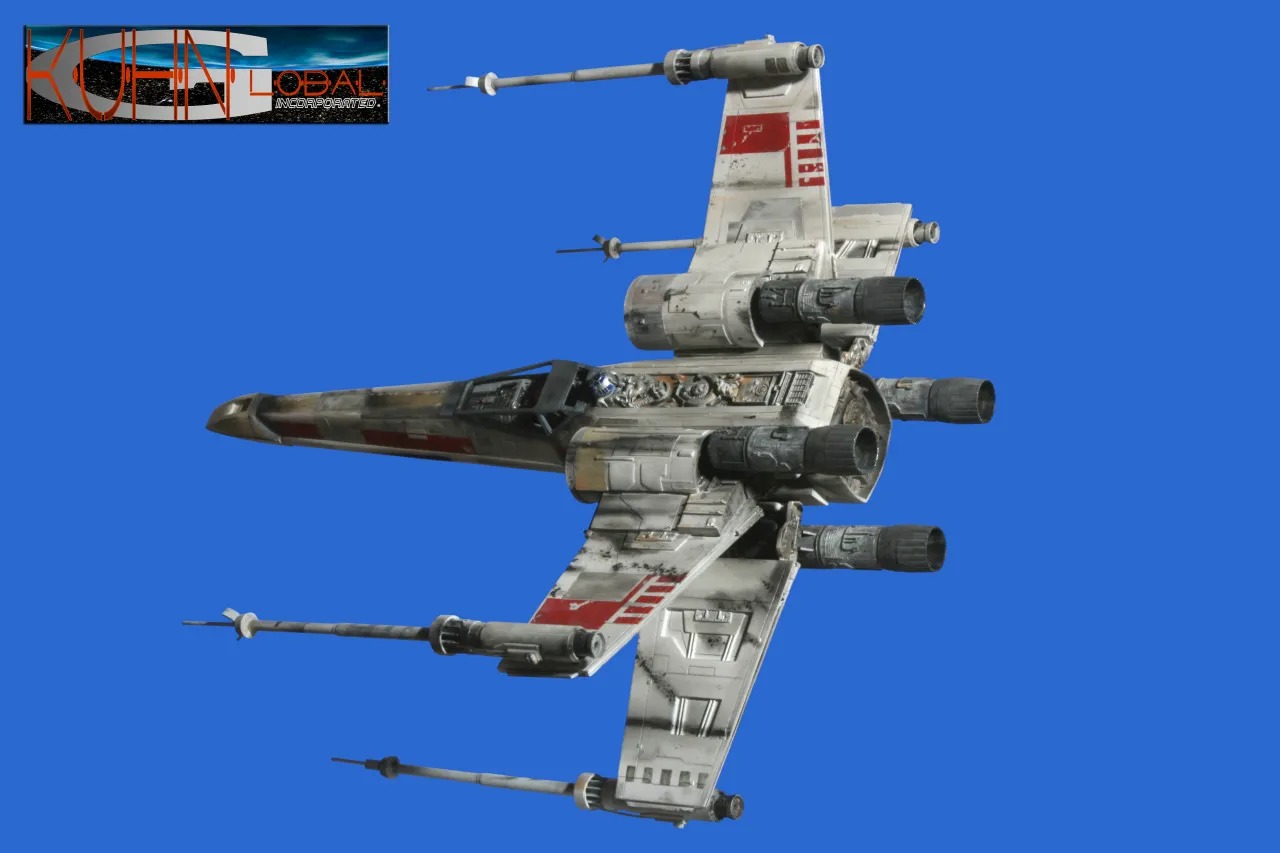
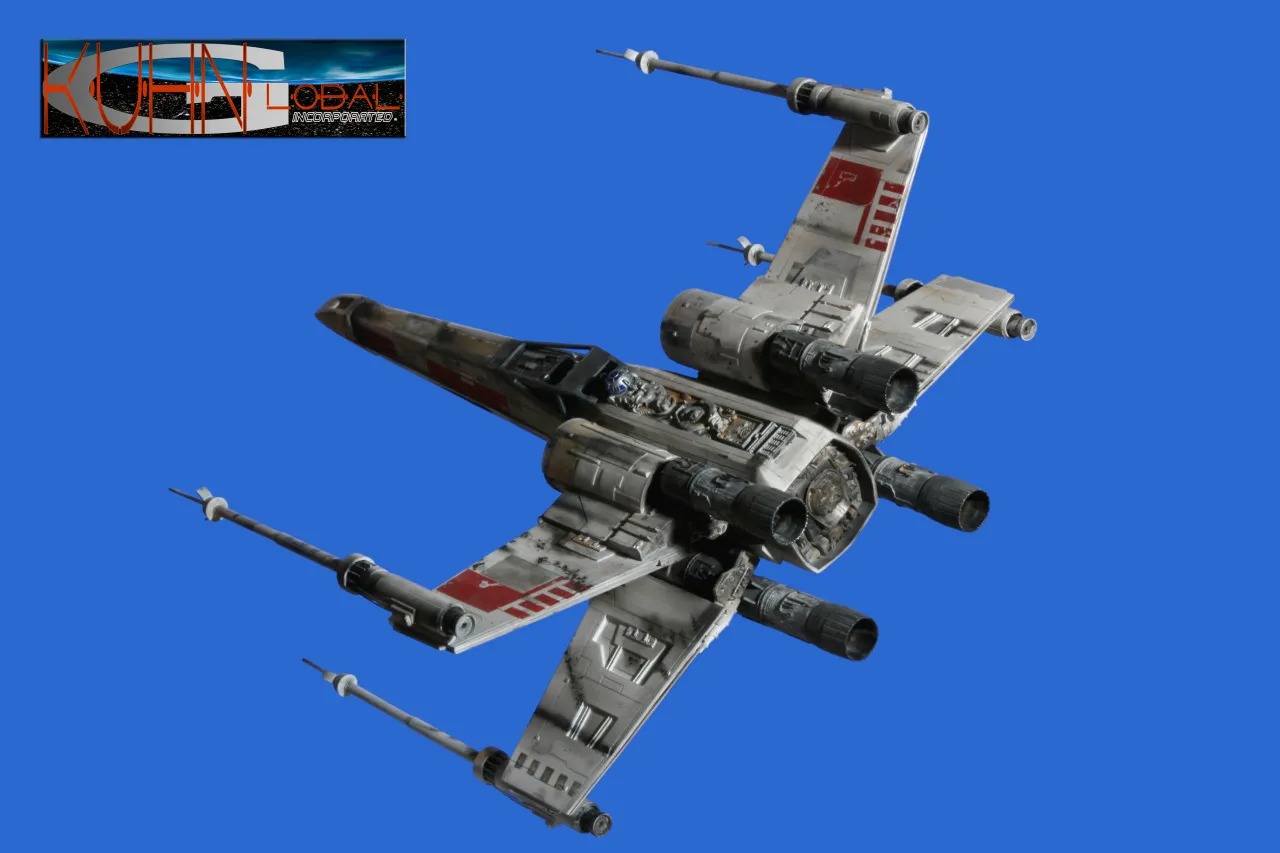
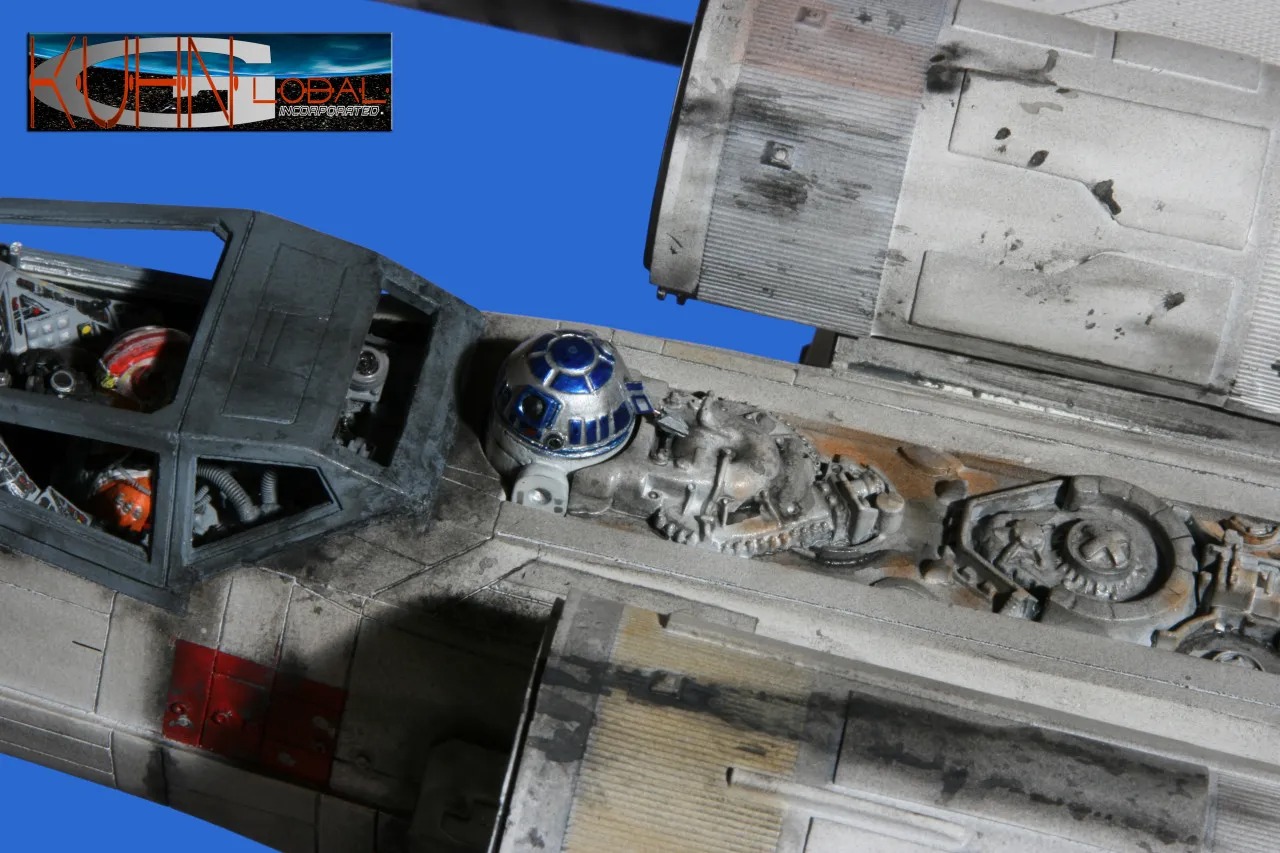
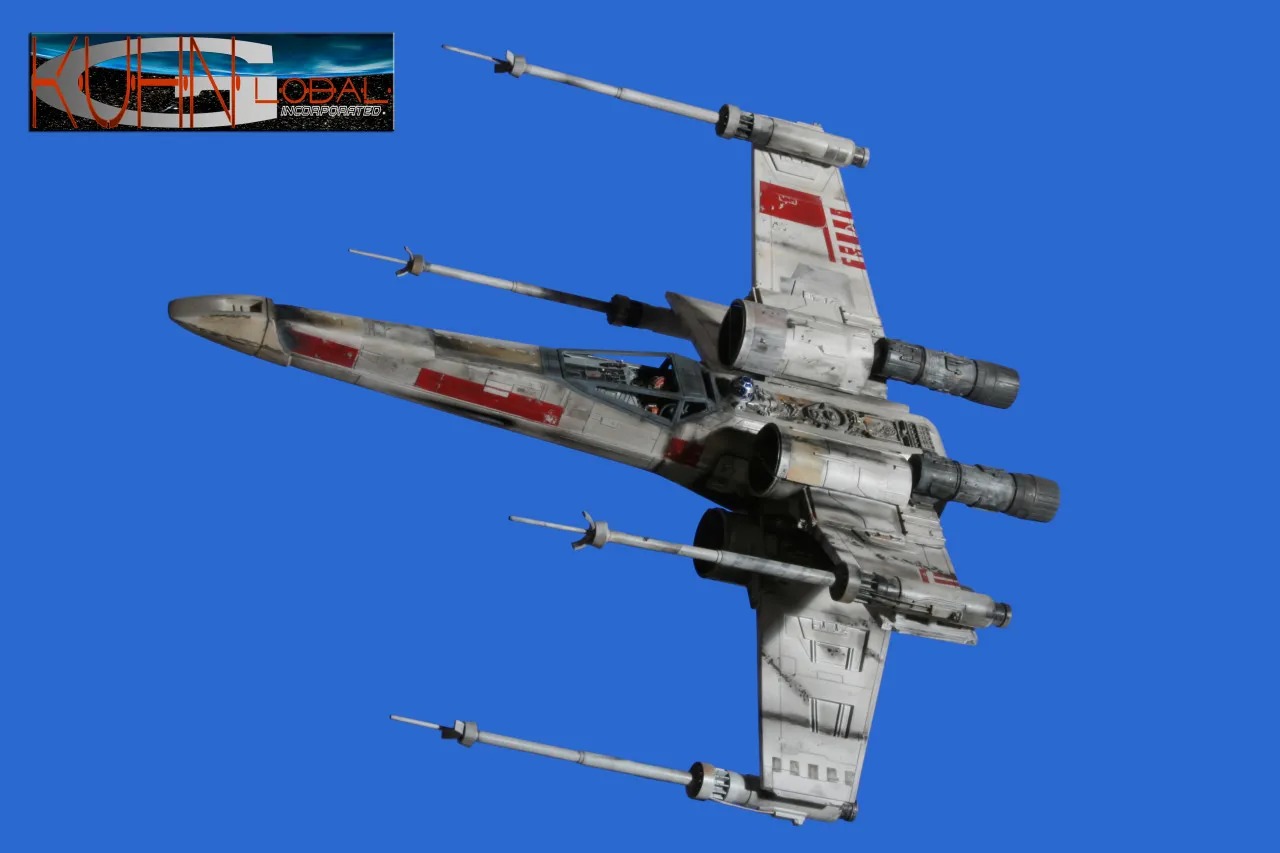
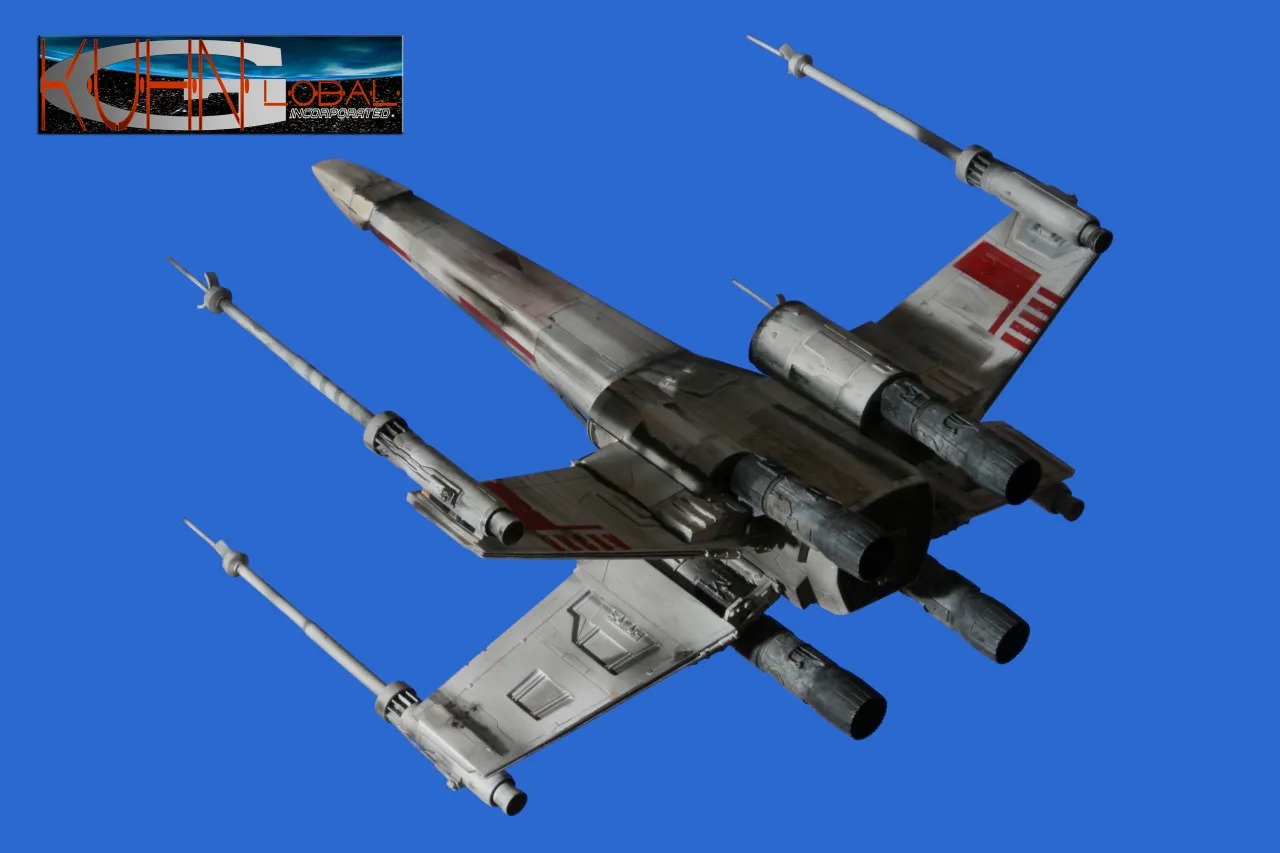
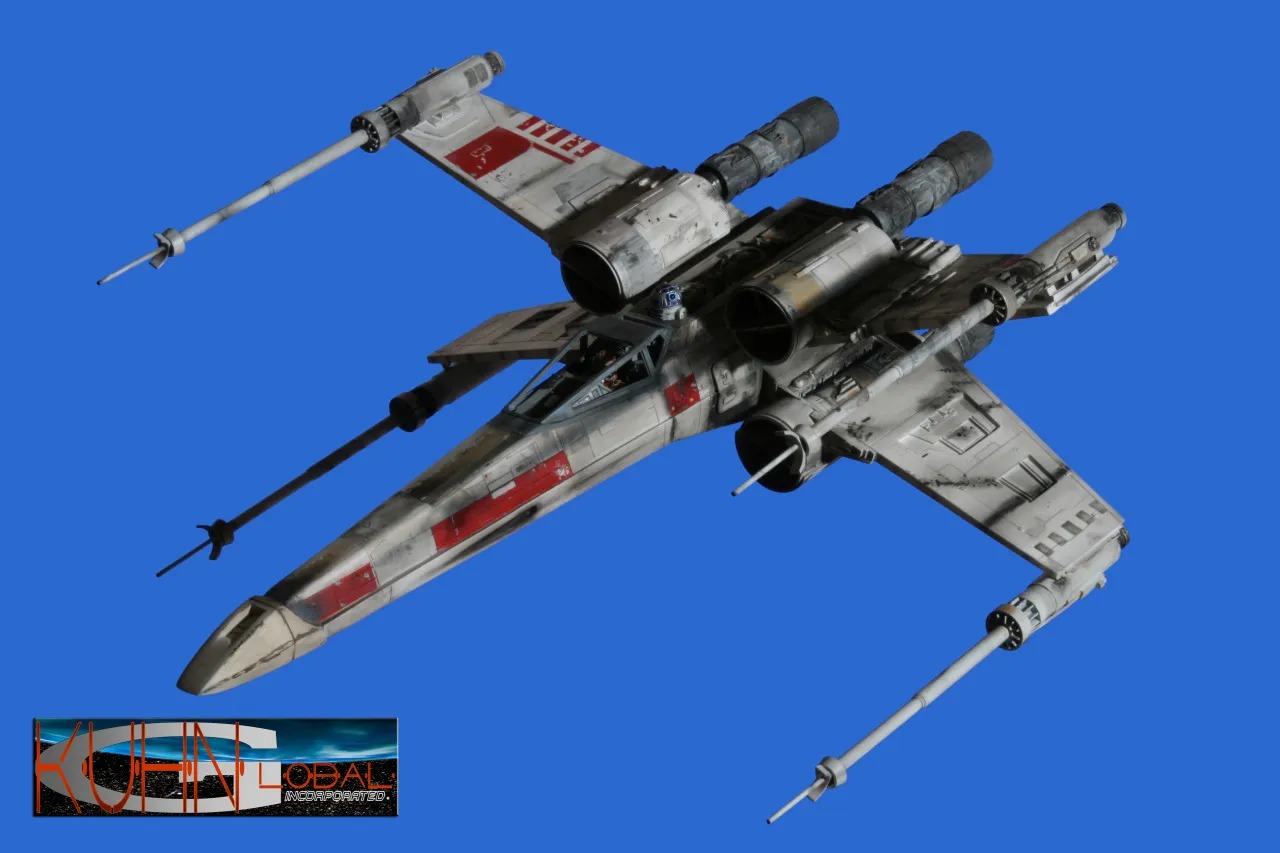
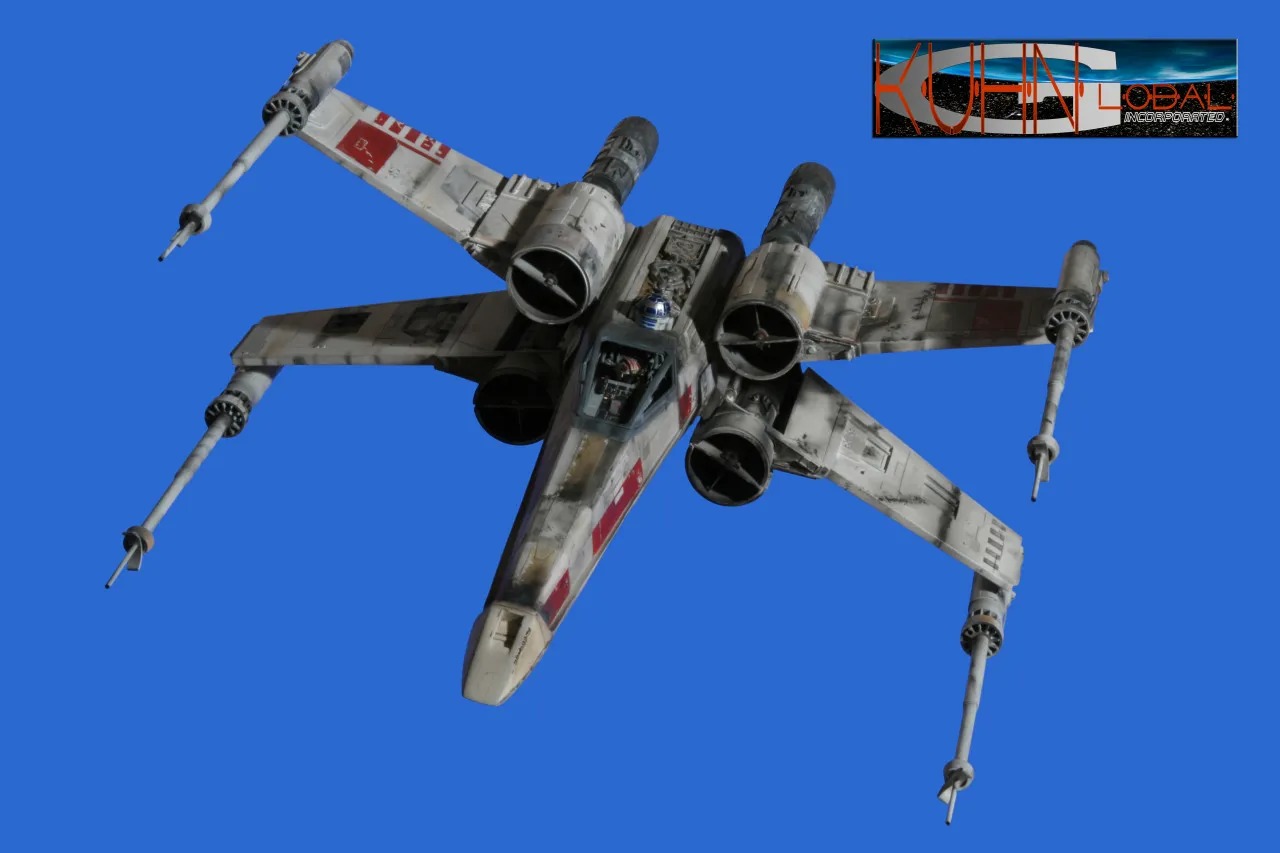
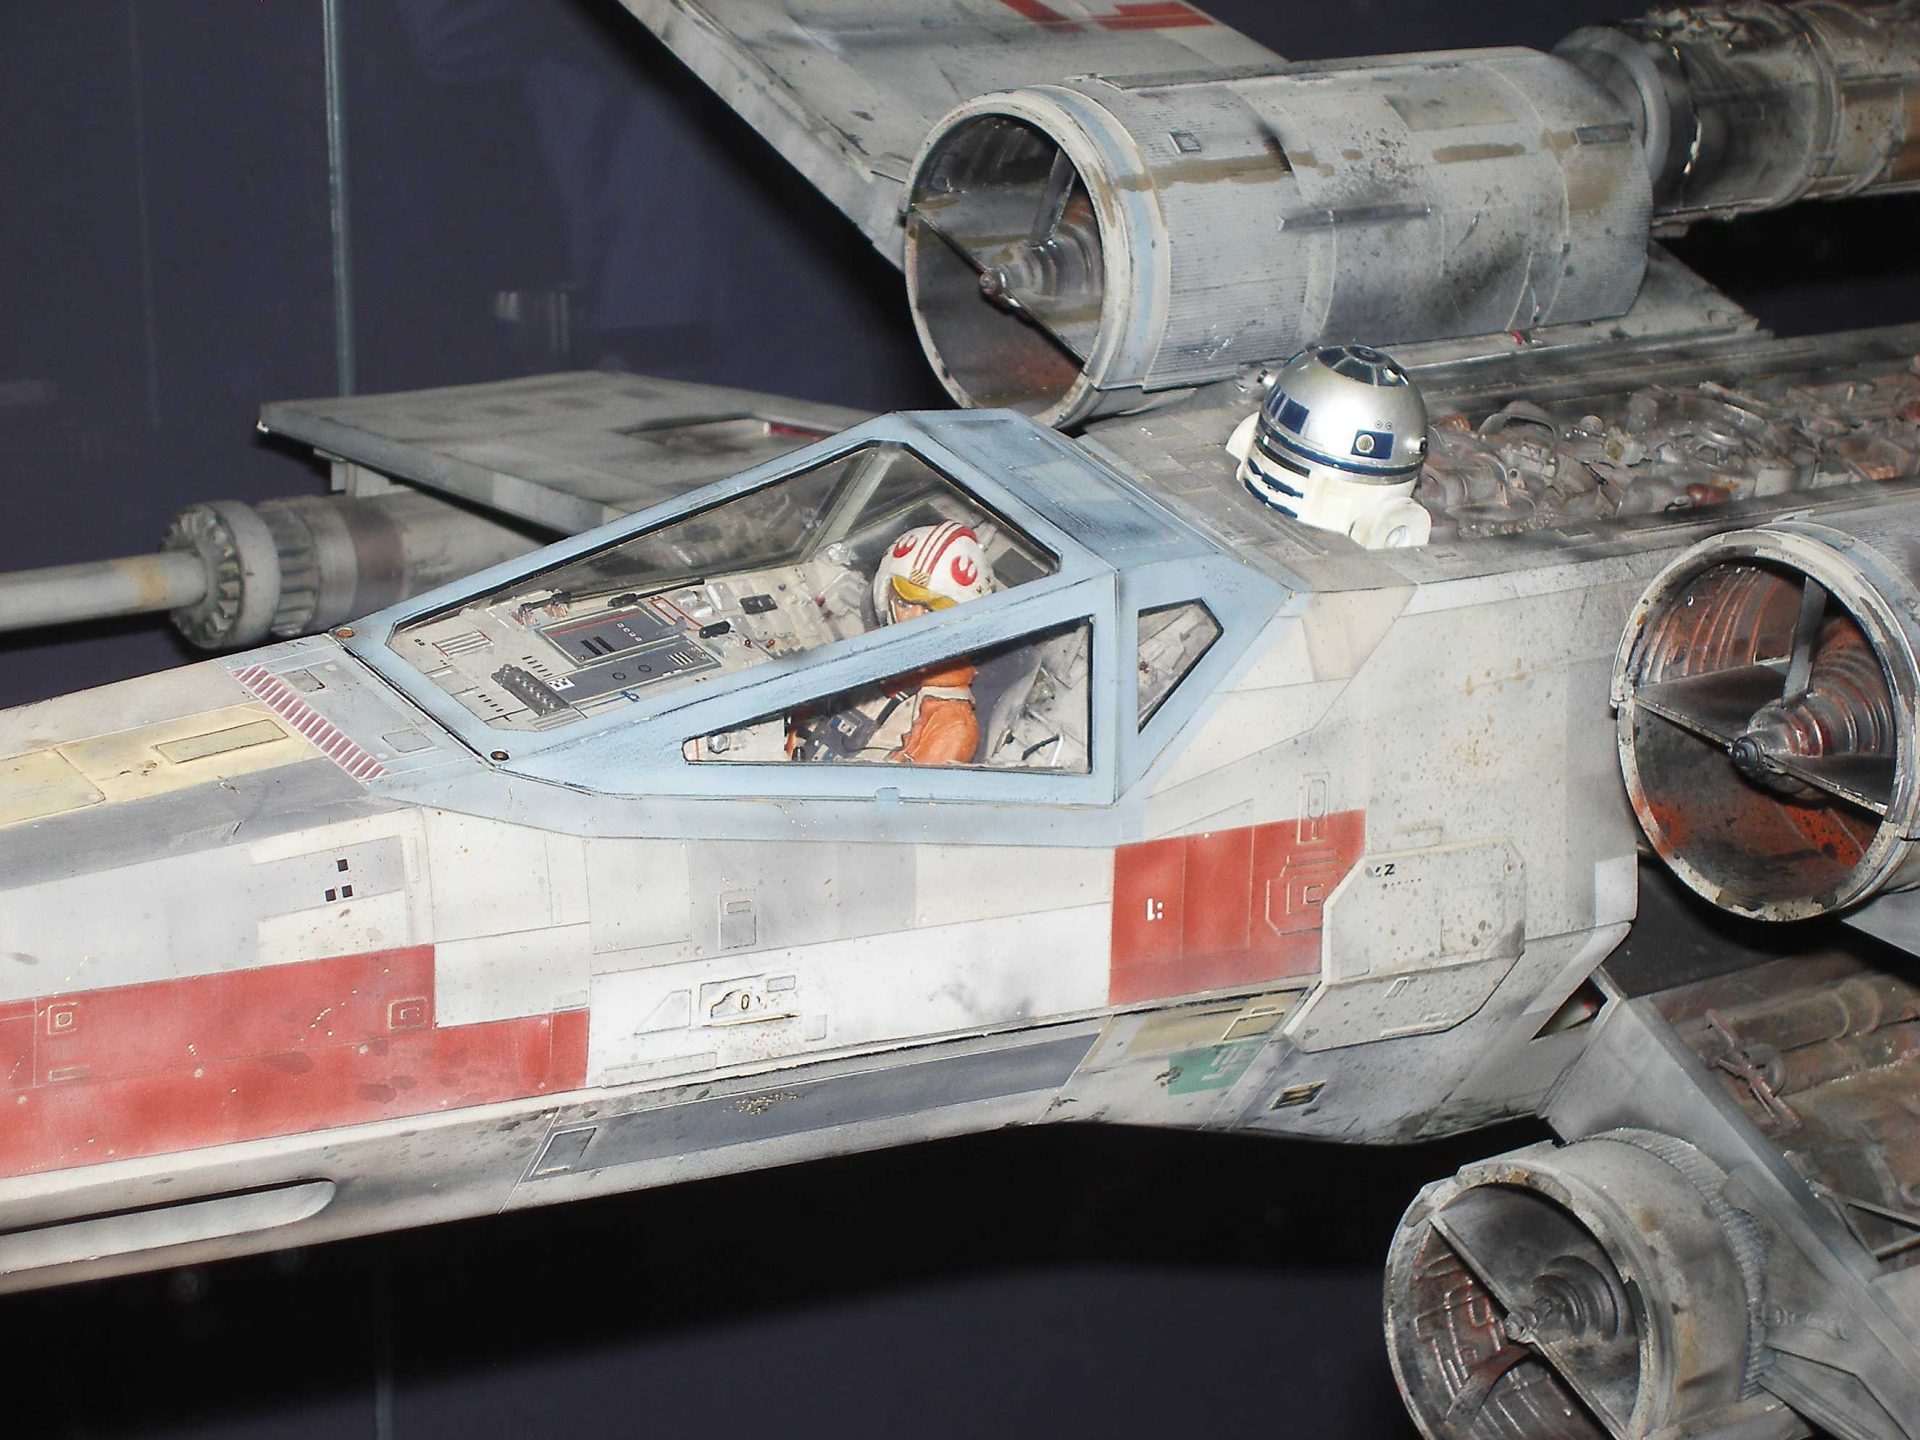
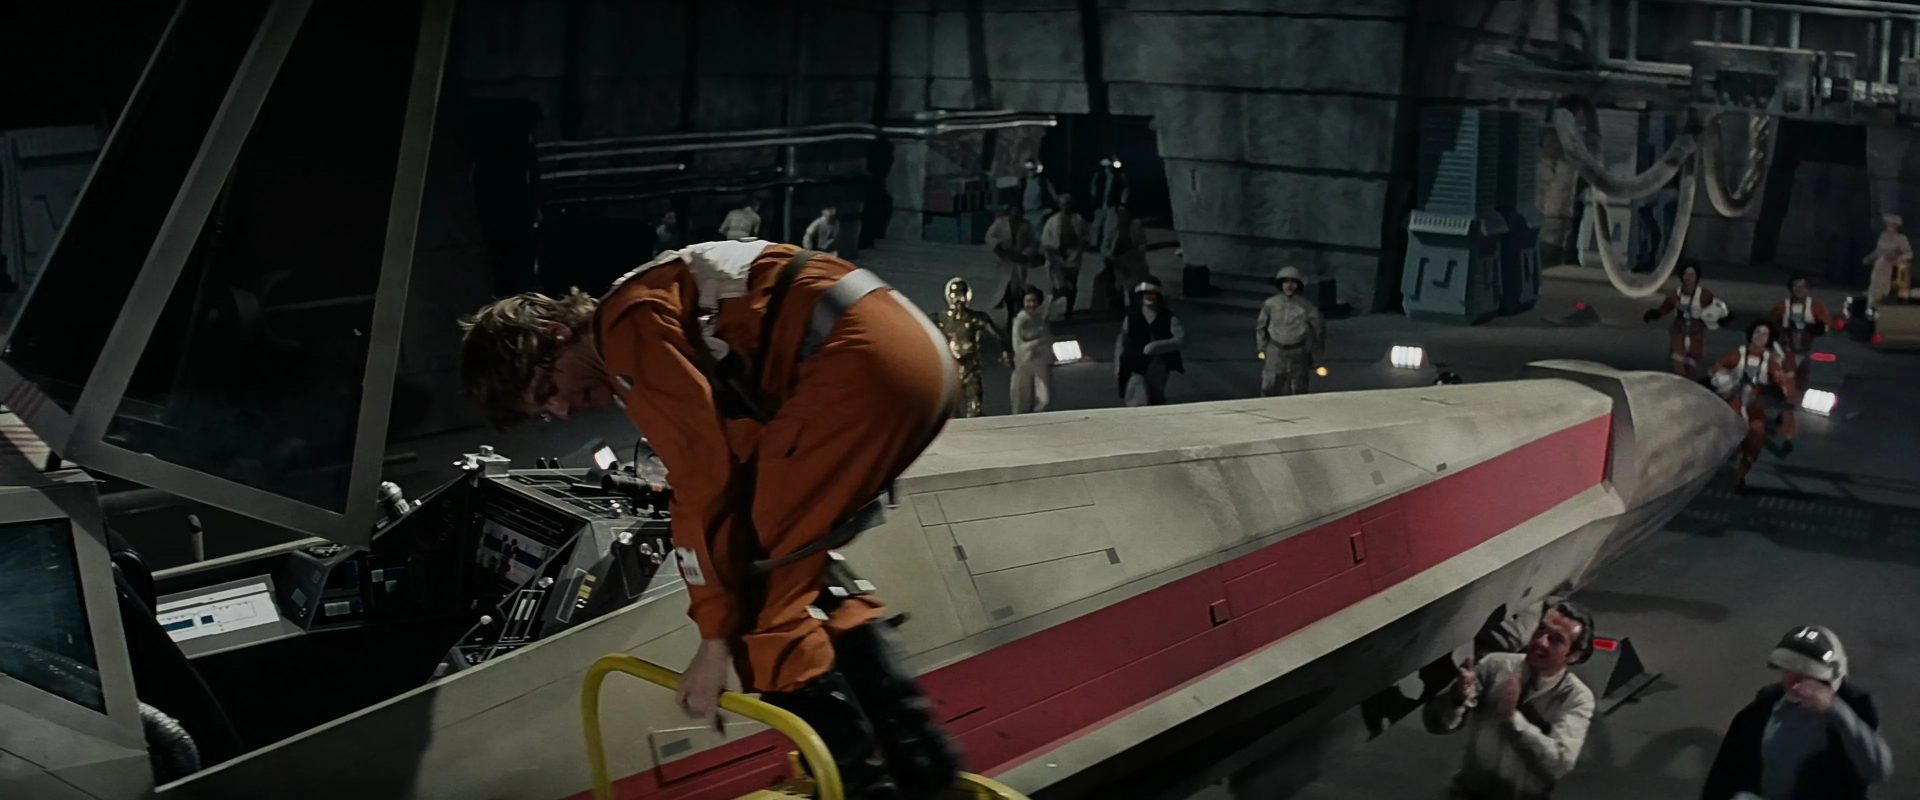
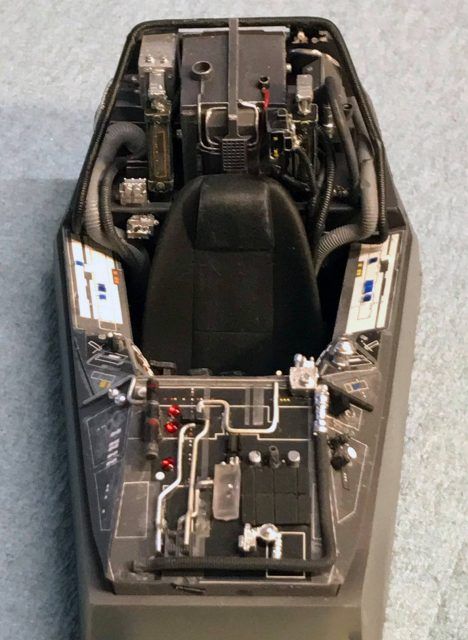
Perhaps the first thing that made me truly fall in love with Star Wars all those years ago was the design of the ships, particularly the Rebel ships. I suspect this may be true for a lot of people – there was something so ground breaking about the look of those ships; despite being battered and beaten, they felt fresh and new, a stark contrast to the smooth curves and pristine surfaces traditionally associated with space and science fiction.
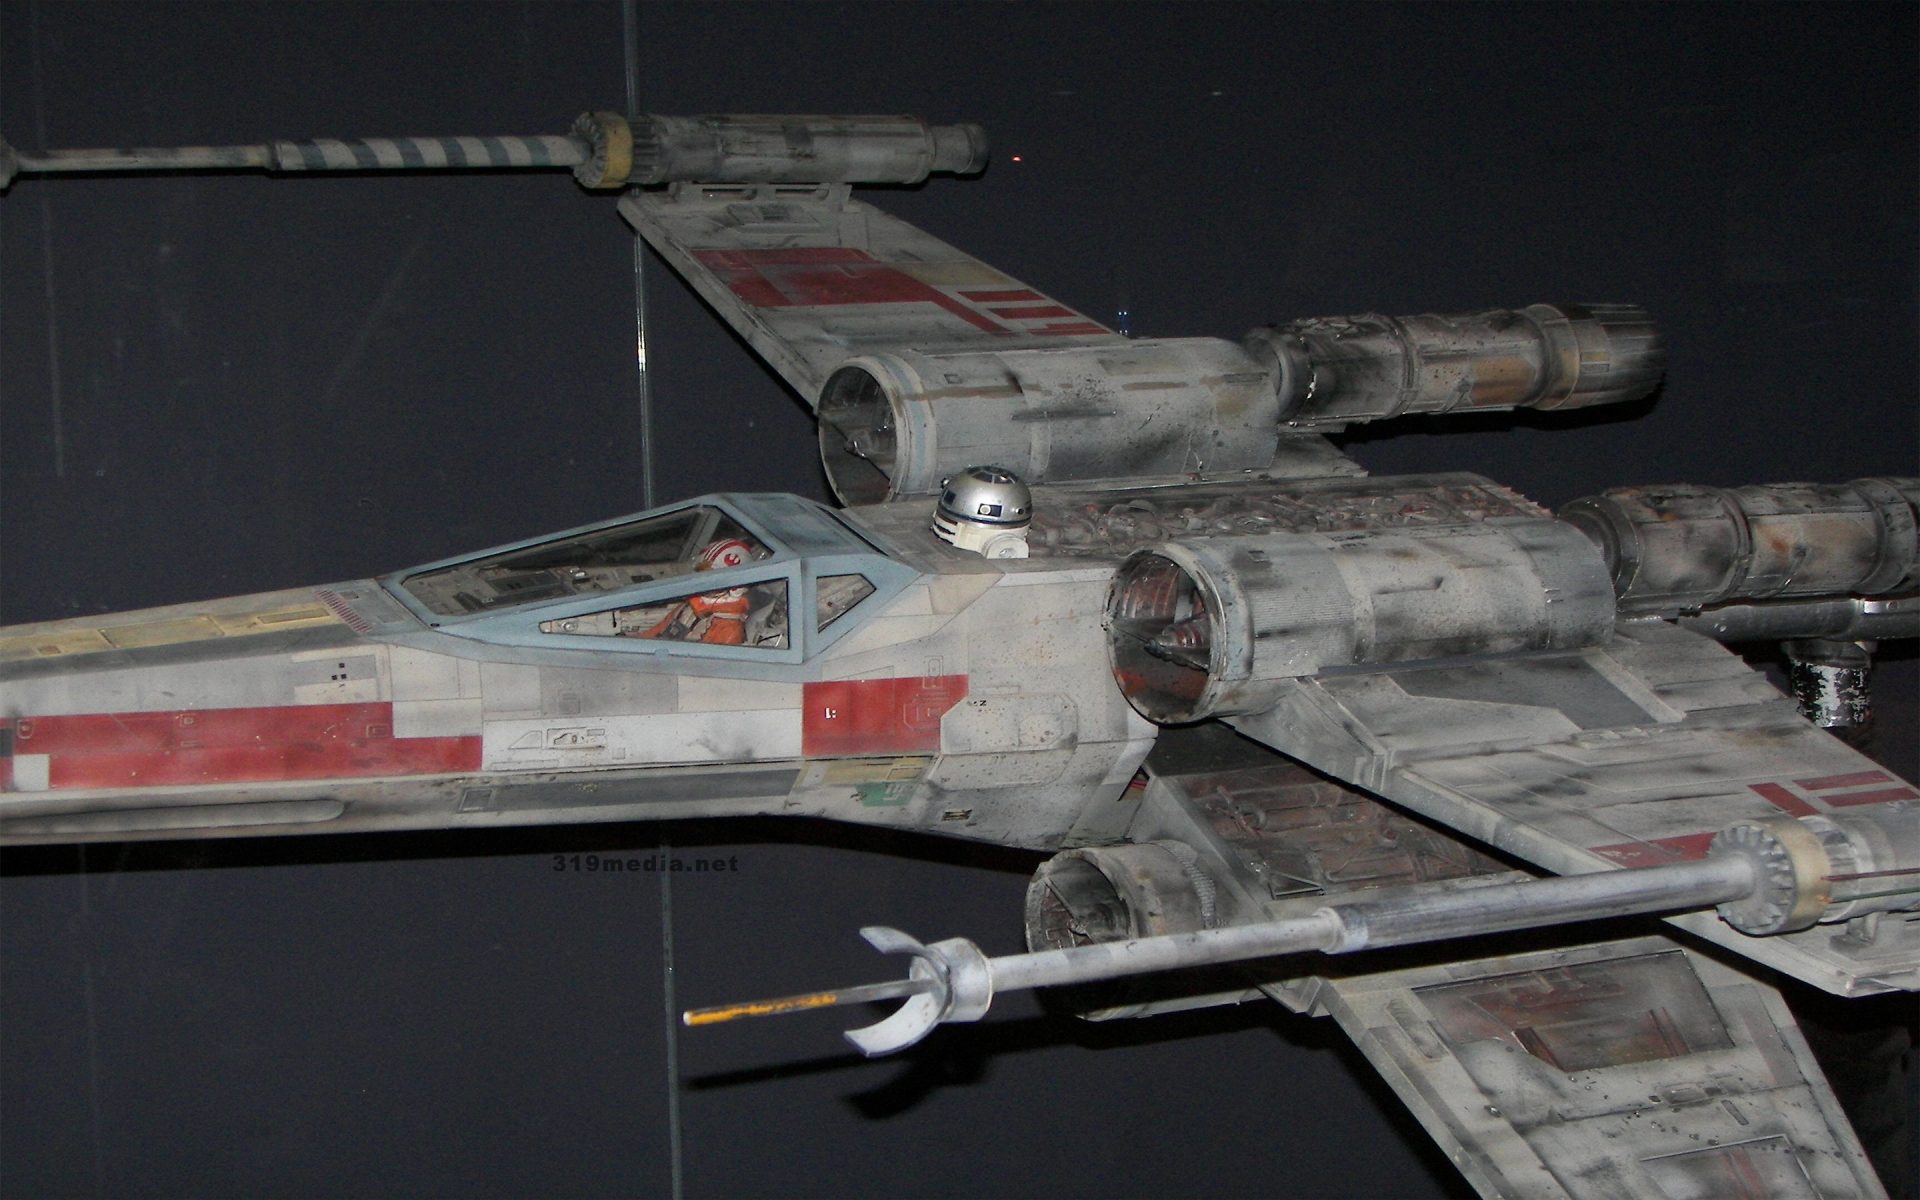
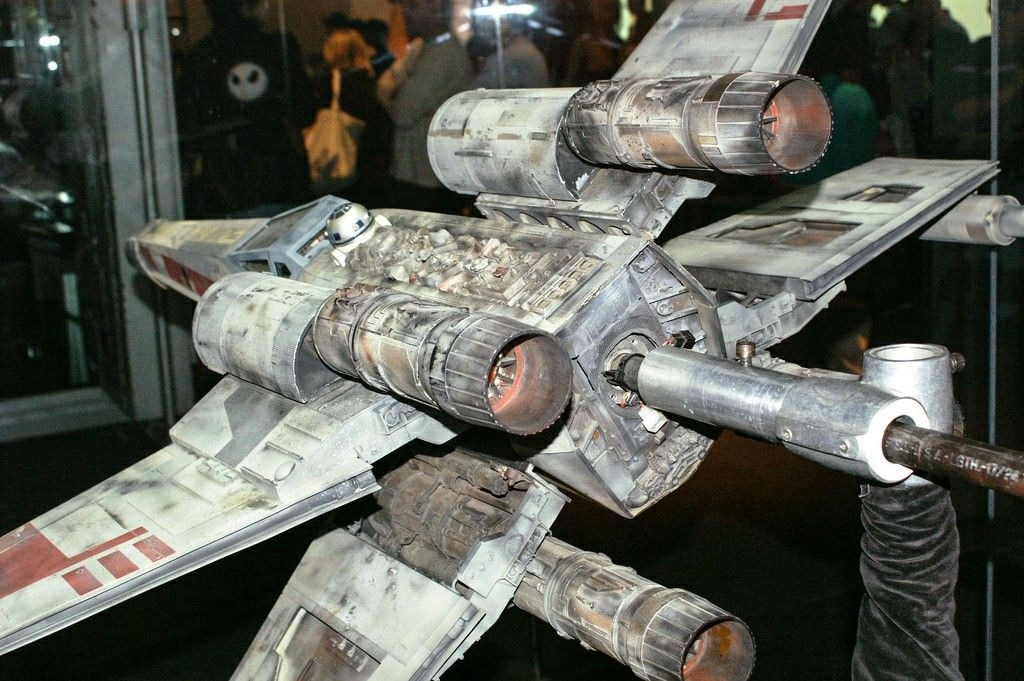
I tackled my first X-Wing kit when I was perhaps 11 or 12 years old. It was the old MPC/Ertl ‘Return of The Jedi’ 1:43 kit. It was a fun build and the first time I tested a range of new weathering techniques. This was long before the internet, so the only way to learn new skills and techniques was via books and magazines, asking people. At the time, there was only one hobby store anywhere near me and it was the only place available to me for new kits, tools, paints – even inspiration. The store was great; they had a really inspiring collection of display models, all great for inspiration, including a spectacular X-Wing, complete with some really impressive weathering to give it that quintessential Rebel ship look.
I spent far too long scrutinizing that model, nose pressed up against the glass. I’d regularly ride my bike up to the store with no other intention other than looking at that model.
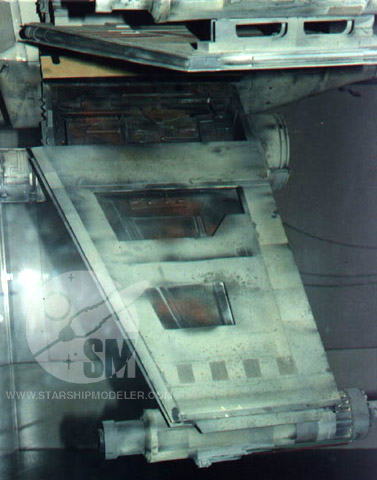
I’d pour over every single detail, trying to finger out how all that weathering was accomplished. The paint chipping I felt like I had figured out, but all the soot stains and burn marks – it just didn’t look like paint to me, and I couldn’t work out how the model maker had done it.
One day, I went into the store and I asked. The guy behind the counter (who admitted that it wasn’t him who had made it) told me the soot and scorched metal effects were achieved by quite literally holding a cigarette lighter under the wings, with the model held at an angle.
At the time, I questioned whether he was telling the truth, but I rushed home to give it a go. And sure enough, it worked. It felt incredibly dangerous and really risky to be holding a naked flame to a plastic model held together with glue, but it worked.
I never did finish that model though.
Latest Updates
- All wings report in
 Red 5 Part One
Project Goals
I thought I’d document a few goals for this project. Although I’ll be making a solid effort to get the best possible result, there are a number of areas I’m trying to improve upon and I’m using this model as a way to do so and try out some new techniques.
- Lower my expectations
This is probably my biggest issue across all my painting and model making. I expect far too much of myself and demand near perfection in everything I create. This gets in the way of actually getting things done. - Don’t rush
Pretty self explanatory, and somewhat contradictory to the above, but I have a bad habit of rushing things, especially in the early stages (priming, assembly etc) of models. I think this comes from a need to maximise my available time; between work and all the real world stuff its hard to find time to paint and model, so when I have time I push myself to do more and do it faster. - Practice weathering techniques
I don’t do a lot of weathering, the models that I generally paint don’t usually call for it. I’ve done some and I always enjoy the process. I’m pretty keen to try some new things here and hopefully grow those skills. - Airbrush practice
Right now, my airbrush is used almost exclusively for applying varnish to completed models. Which is a shame, because its a great tool and so much fun to use. This is a good kit to do a lot more airbrushing work and get in some practice. Airbrushing is hard – only way to get better is to practice.
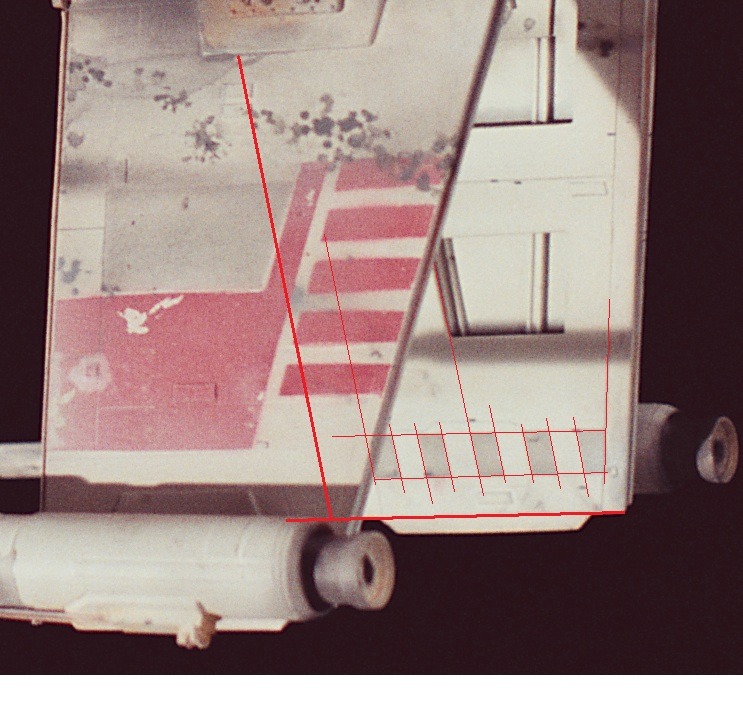
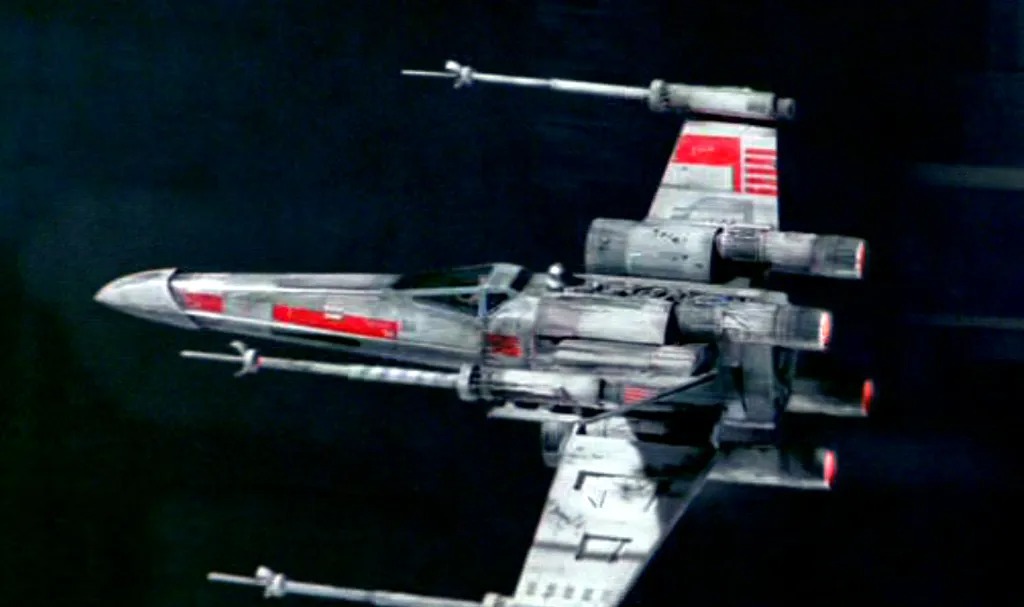
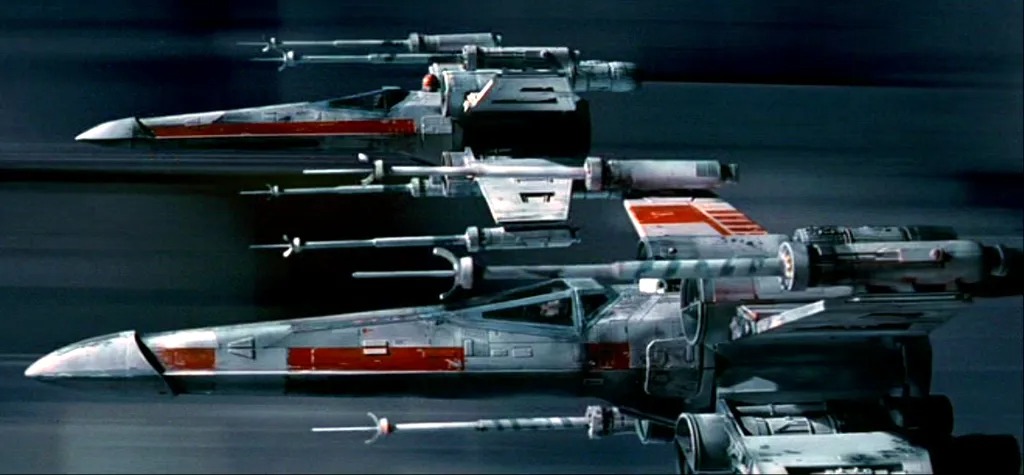
Reference Images