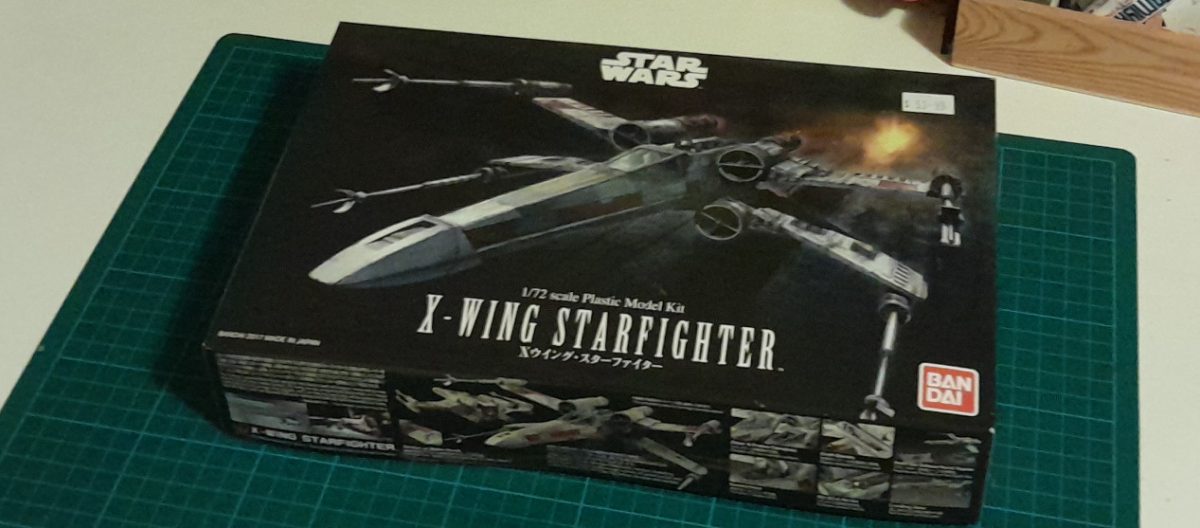
If I’m completely honest, getting started with this build wasn’t easy. I don’t mean the process of actual assembly etc, I mean simply sitting down and getting started. Procrastination is my middle name and I’m pretty damn good at it. But I don’t want this blog to be one of those long abandoned blogs with nothing but posts about how I haven’t done anything recently and blah blah blah. Maybe I’ll wax lyrical about the weird love/hate triangle between motivation, inspiration and productivity – but not this day.
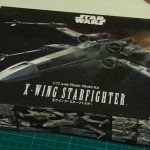
Cracking open the box
I’d already read a lot about these kits from Bandai and I’ve watched countless videos on other people putting them together, so I already had some idea of what to expect. With the exception of a few horror stories of the plastic fracturing when exposed to some brands of paint thinners (let’s hope I can avoid that) I’ve only read great things. Pieces are well moulded with great detail. and assembly is generally a fairly straight-forward process.
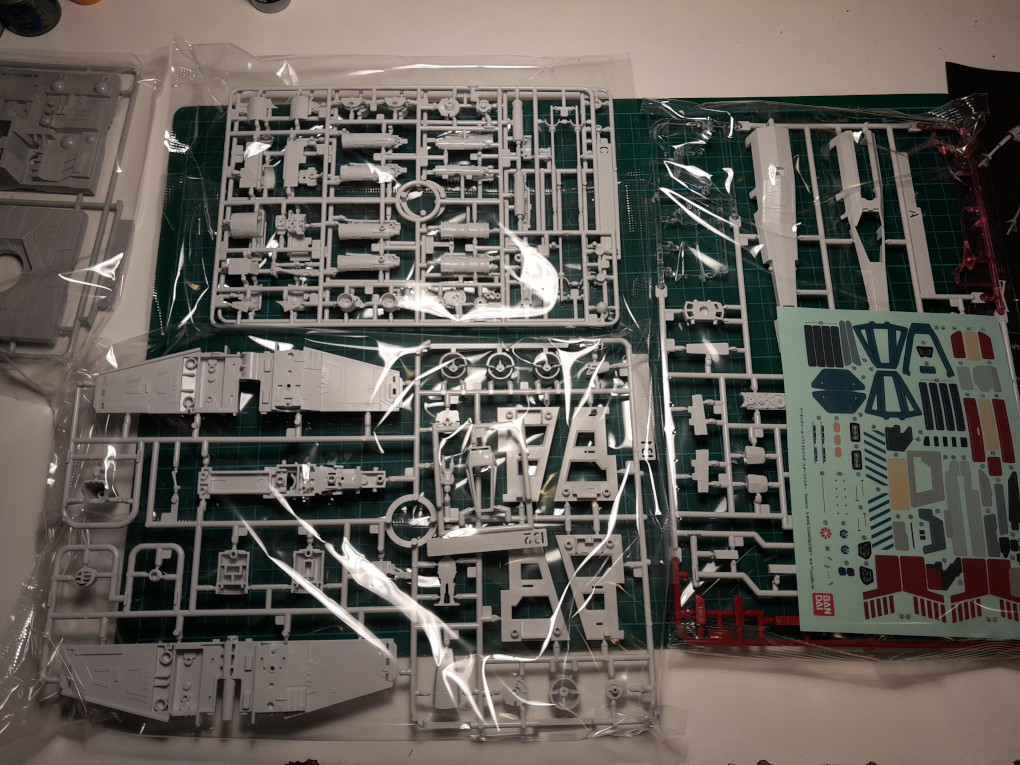
Cracking open the box, there’s about 6 or 7 individual sprue, all wall labelled and marked for assembly. They’re all nicely wrapped in individual bags which helps prevent parts scratching against each other during transit.
The kit also comes with two sheets of decals and a pretty decent size instruction manual. The bulk of the instructions are a in Japanese, but there’s sufficient English translations to make things easy enough to understand … f you’re paying attention. More on that later.
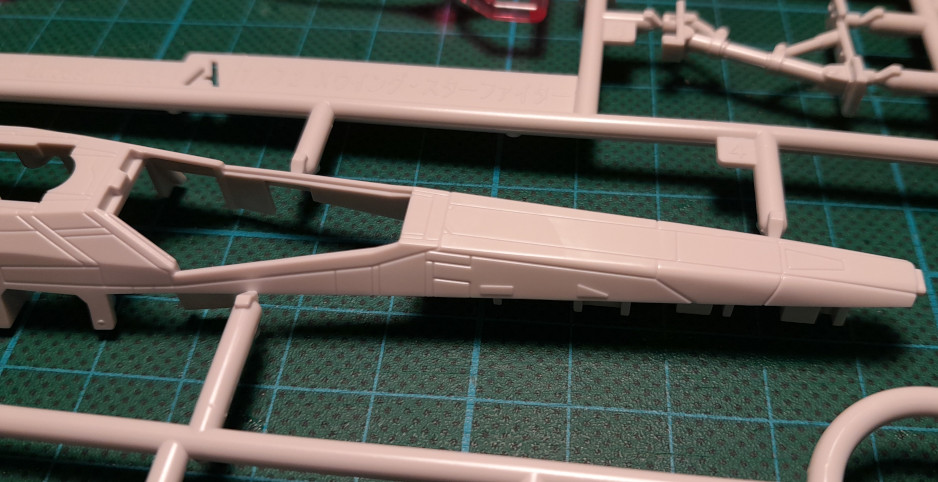
Details on all the pieces is very, very nice. All the various panels are well defined, especially along the fuselage and the wings. All the panel lines are just the right depth for my liking – not too shallow to risk losing detail during priming and painting, but not too deep so as to stand out too much.
Quality of the plastic is generally good too. Its quite hard but perhaps feels a little brittle. It almost has the same feel as LEGO bricks, rather than a model kit.
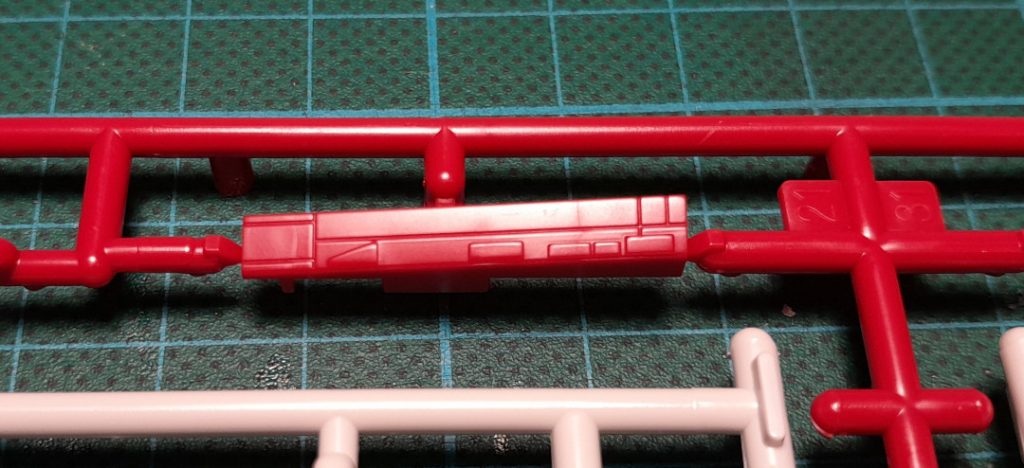
There’s also a sprue with all its pieces moulded in a red plastic. This includes a handful of pieces that slot down the sides of the fuselage. I’m in two minds about this – its a nice touch and for those that either can’t or don’t want to paint the kit, it can be assembled as is and you’ll still have those classic red markings of the X-Wing. Personally, I’ll be painting over them, but its a nice option to have.
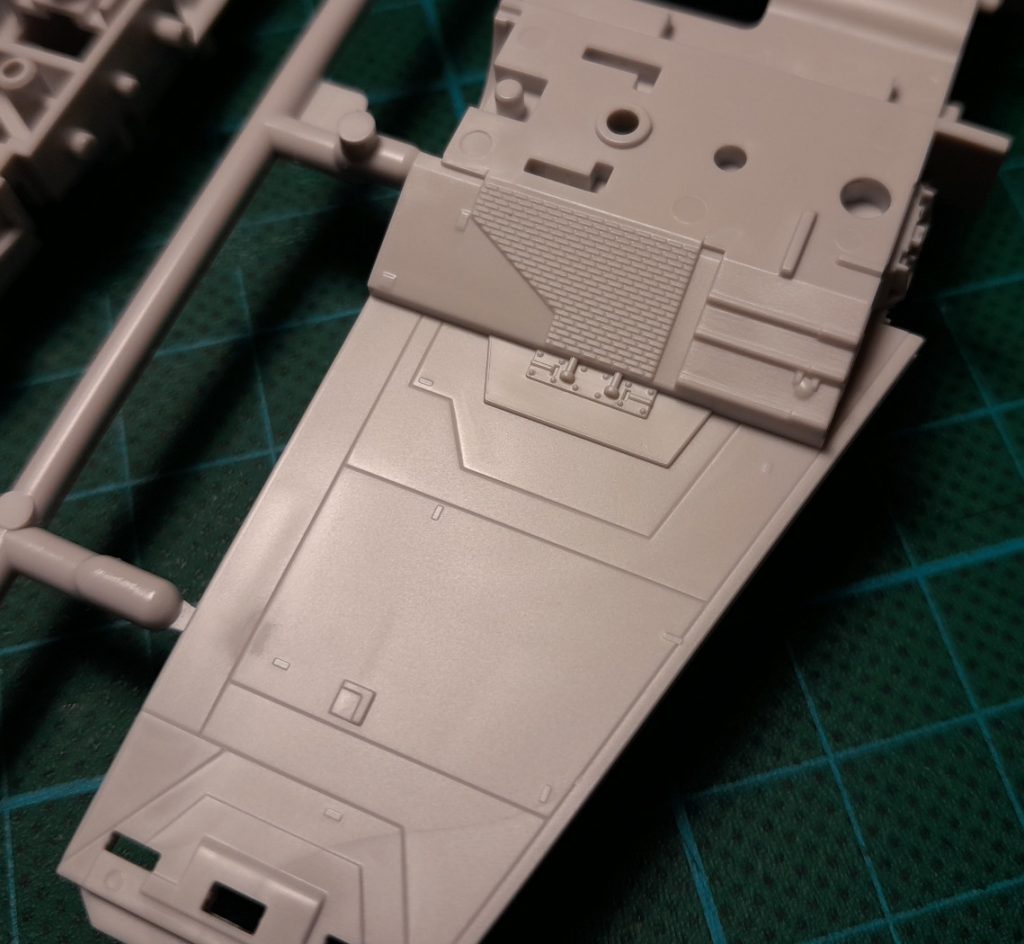
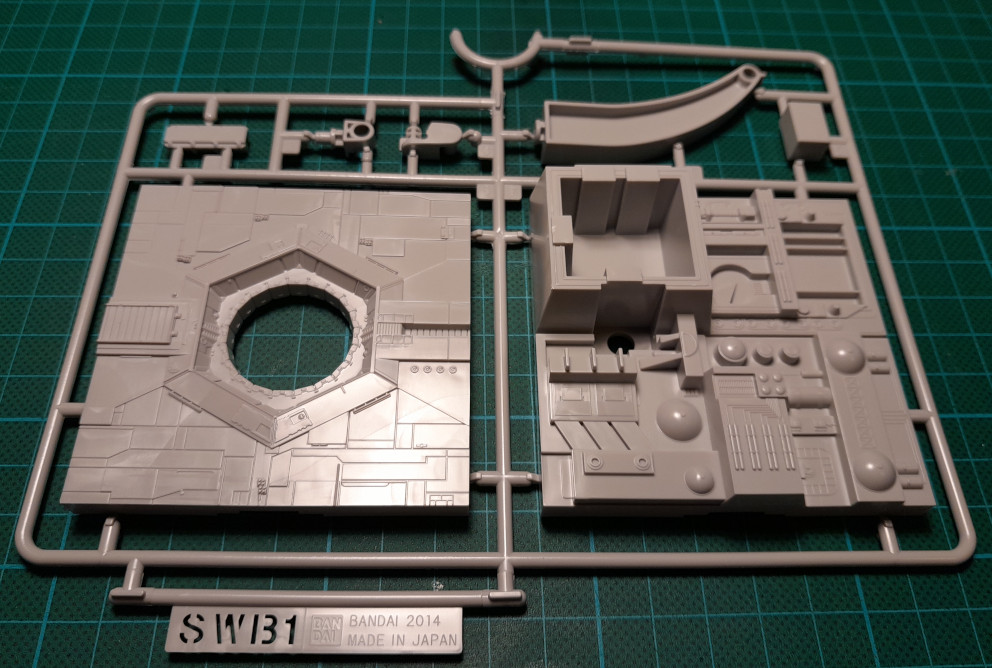
Included in the kit is a rather nice display base modelled after the Death Start trench and its thermal exhaust port*. Not sure if I’ll end up using it, but its a nice touch and a great way to display the finished model.
*Wamp rats not included
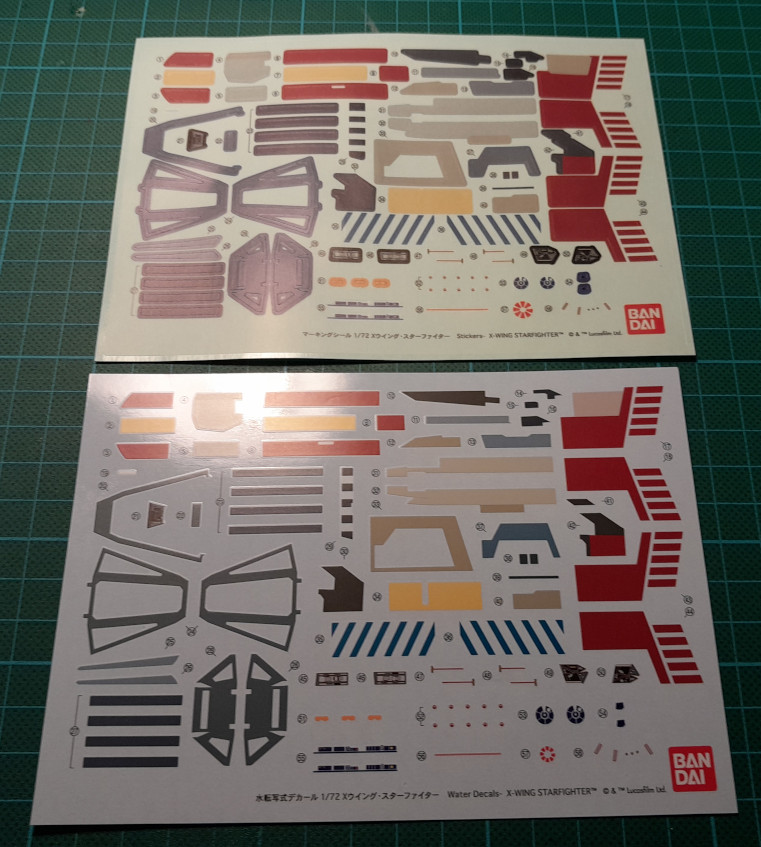
Two sets of decals are included – one sheet a traditional water slide set, the second stickers. I’ll likely opt to use these sparingly.
Have patience with all things, but, first of all with yourself.
Saint Francis de Sales
I was hoping for a pretty straight forward assembly with this kit. But, I erred on the side of caution. I was careful, and considerate – read the instructions back to front twice before I start cutting pieces off their sprue. These Bandai kits are produced in Japan, so the bulk of the instructions are in Japanese – however, there’s sufficient English translations to make things easy enough to understand.
It had been a while since I worked on a kit like this. Mostly recently I’ve been working mostly on gaming miniatures which are usually only a small number of parts which slot together quite intuitively (except some of those Marvel Crisis Protocol kits – they’re a whole new world of frustration). So I was determined to take it slow; cutting and prepping only the pieces I needed and marking off steps in the instructions as I completed them.
Turns out, I wasn’t patient enough.
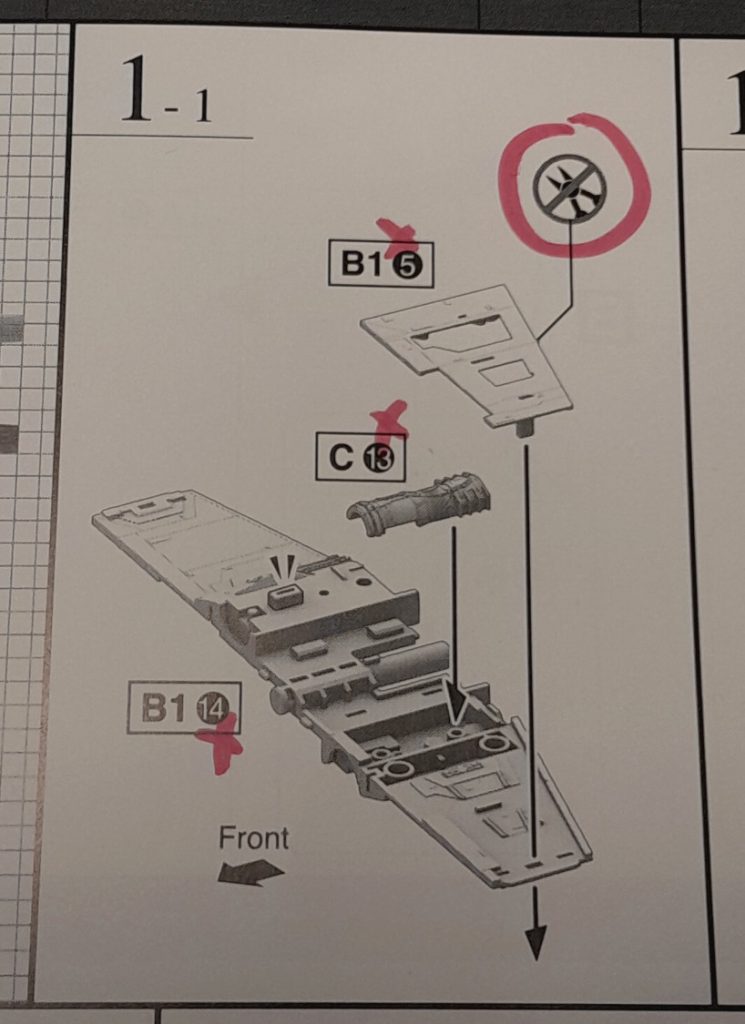
Disaster hit almost immediately. See that step indicator in this photo? Where it says “1-1”? Yeah, I cocked up that early. See if you can guess where I went wrong.
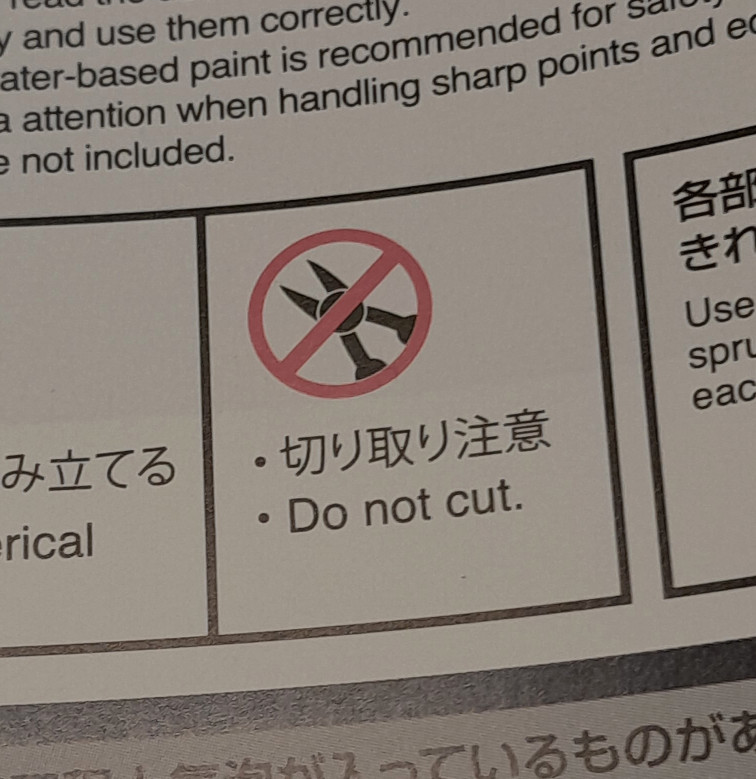
I’m usually a fan of clear symbols and iconography in these sorts of kits. They’re almost universal, and can transcend language barriers and other accessibility issues that people might have. A well designed icon can easily communicate what to do, or in this case, NOT to do. This right here – ‘Do no cut’. Pretty clear. Guess what I did? I cut. There was a small tab on one piece that slots into one of the wing sections that indicates which of the 4 wings in belongs in. Yeah, I noticed it, yeah I thought twice, no I didn’t consult the instructions. I sliced it right off and glued that section down.
It wasn’t until I went to the same step mirrored on one of the other wings that I noticed my mistake. By that stage the glue on the first had started to set. As I tried to lever the erroneously placed piece from the base of the wing, the plastic started to bend and was on the verge of breaking. Potential disaster. Step 1-1 and I was already having troubles. Thankfully I was able to wiggle the pieces away from each other with minimal damage. A close call. Obviously there’s a lesson here – even when you think you’re being careful and patient you’re not being careful enough.
Painting the pilot and interior
For the most part, assembly went fairly smoothly after this. I didn’t fully assemble the kit, I needed to be mindful of the painting and weathering process, so opted to keep the kit in a number of sub assemblies. The wings especially I wanted to keep seperate – I knew that painting the the classic Red Squadron markings on the wings was going to be easier if they were individual pieces.
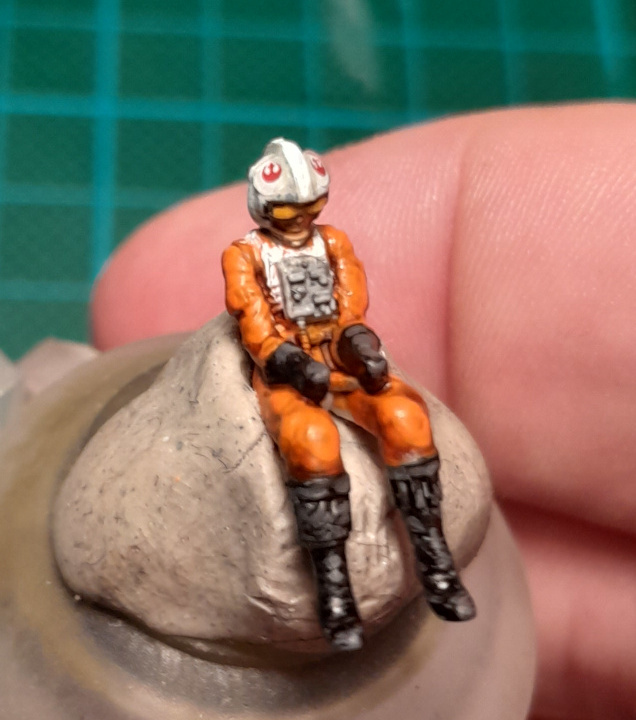
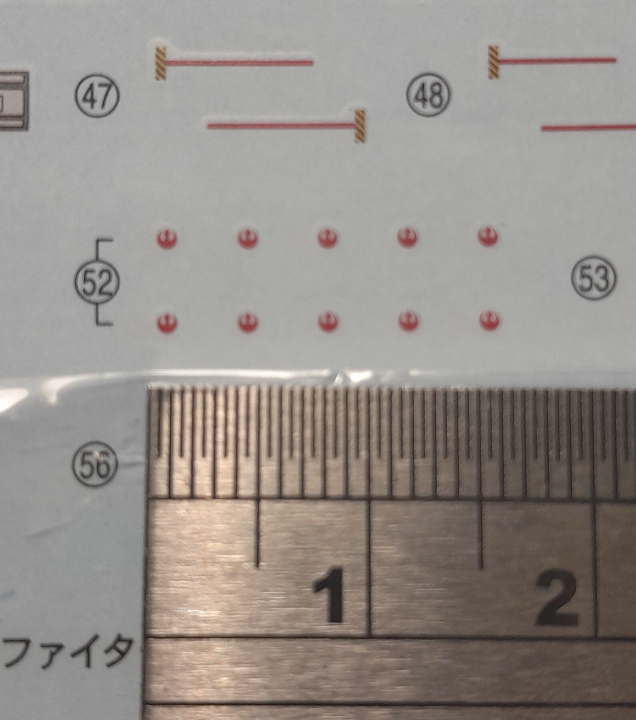
I gave the pilot a quick paint job – nothing too crazy, just some base colours and minimal highlights. The kit comes with a set of decals to use for the Rebel insignia on his helmet. A nice addition, but my god. Look at those lil’ buggers. They’re about 1mm wide. To my surprise, I didn’t have too much trouble with these, I only destroyed / lost 1 in the process. Thankfully there’s 10 on the sheet – I can understand why, there’s potential for serious frustration here.
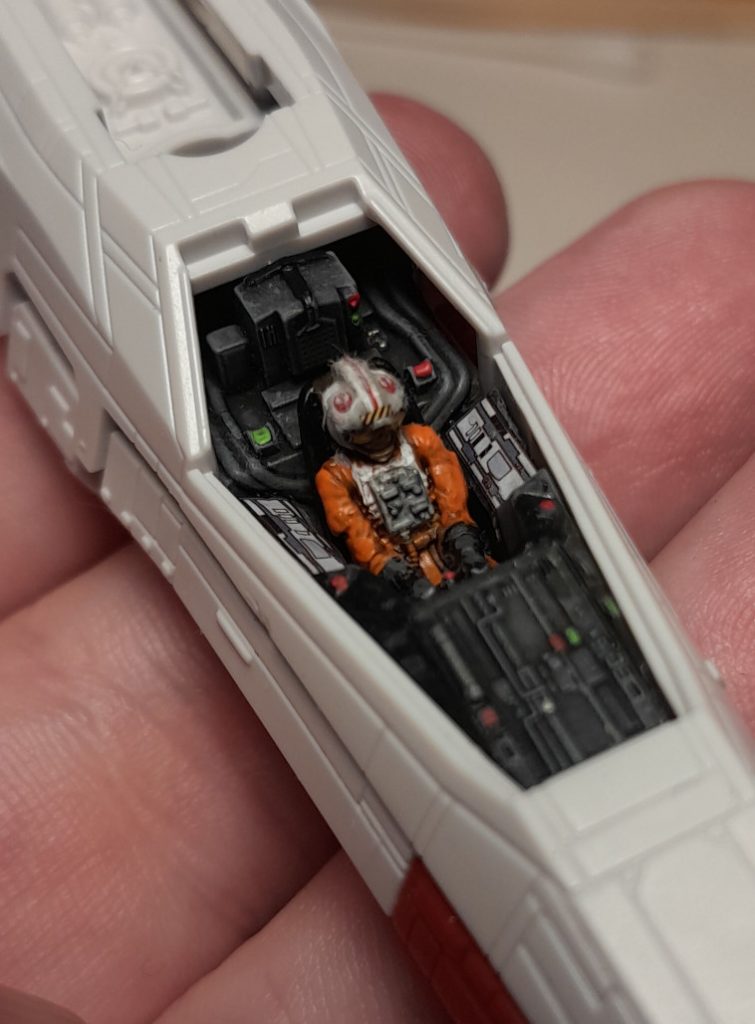
Next up, a pretty quick and dirty paint job on the cockpit interior. It took everything I had to keep this minimal; believe me, I really wanted to go all out here. But, I’m trying to actually focus on getting something finished with this project, so I kept it pretty basic with a dark grey base, a light drybrush with a lighter grey then picked out some knobs and dials in colour. The kit comes with a full set of decals for use here – I opted only to use two of them, directly to the left and right of the pilot. Honestly, I wish I’d skipped them completely. They’re okay, but clash a little with the paintjob. A quick prime of the top of the fuselage, glue the cockpit in place and I was happy enough.
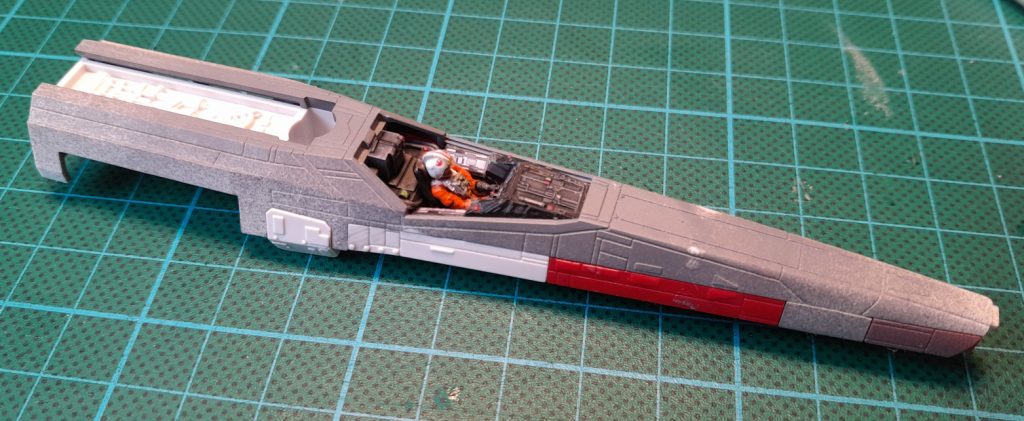
Next was something I’ve been itching to do for ages – masking off the canopy. I did a bit of research and there’s loads of different ways to achieve this. My initial plan was to using masking fluid, but its damn near impossible to get clean straight lines with that stuff. So I opted for tape.
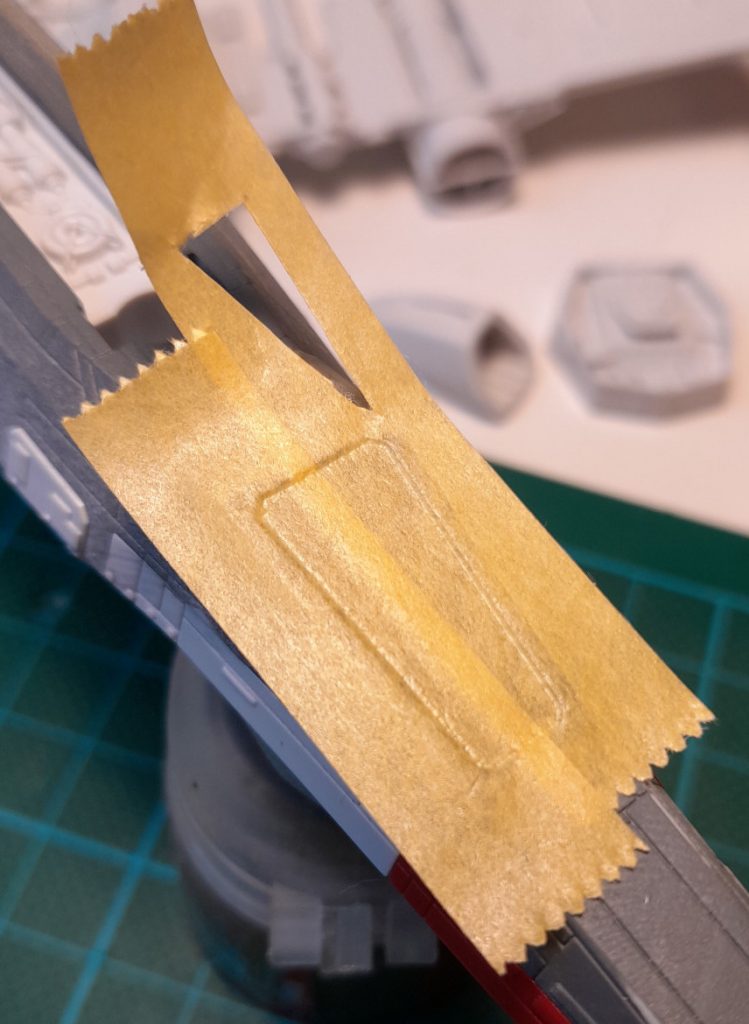
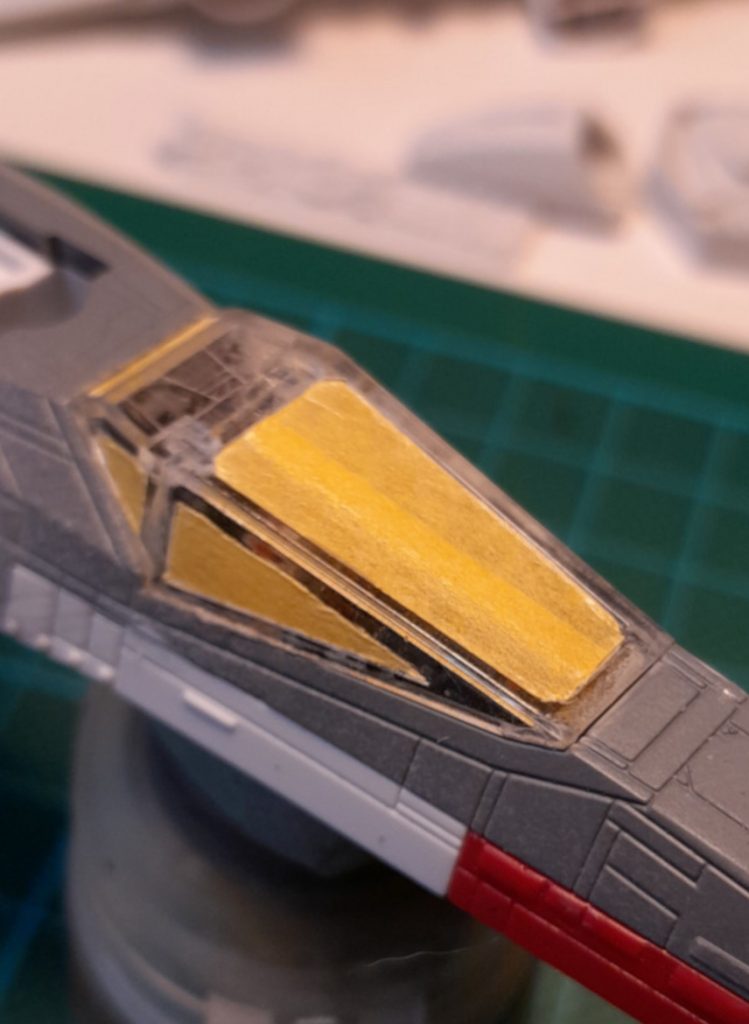
Laying a few strips of masking tape over each pane of glass in the canopy and then using a cocktail stick / skewer to burnish the tap into the canopy, you can get quite a good indication of where the panes of glass meet the frame. Then its a fairly straight forward process of running a scalpel (with a fresh blade, nice and sharp) along the edges to trim off the excess.
Call me crazy, but this was loads of fun. What’s scary though, is I won’t know how effective its been until the model is fully painted…. but then its probably too late to fix anything.
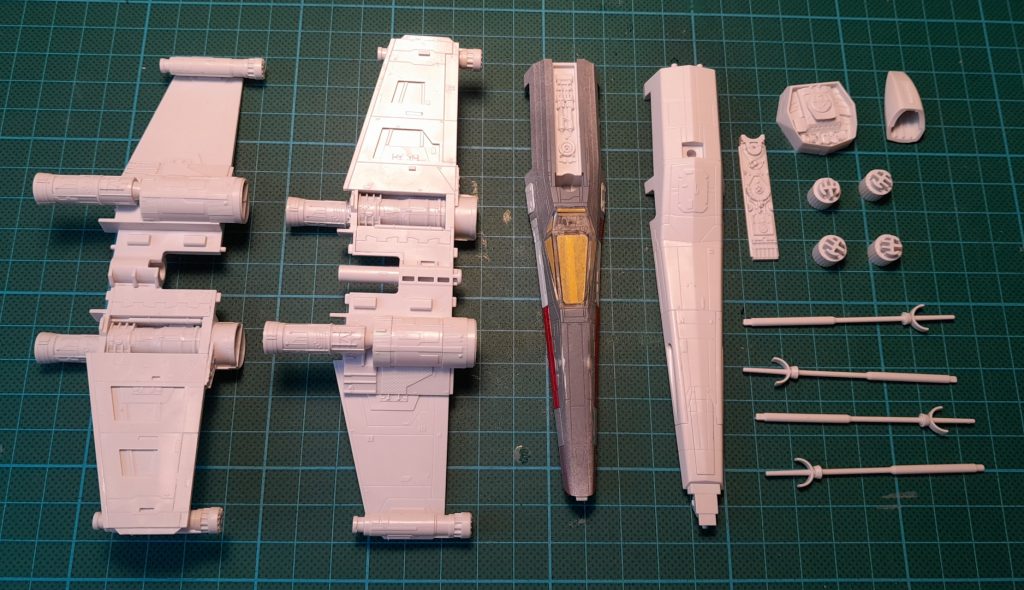
And with all that, I was pretty much ready to move onto a prime and begin the paint work. Certainly some cockups along the way, but all in all I’m fairly happy where this kit is going. I’ve no doubt that the paint job itself is going to be a real challenge and will really push my skills with the airbrush. But I’m excited – this model is all about learning new things and building up some new skills.
Musical Interlude
You know it – you love it, don’t lie. Top Gun is a pretty big obsession for me right now.
I’m not even a little bit sorry for this.
More from “Red 5”
- All wings report in
 Red 5 Part One