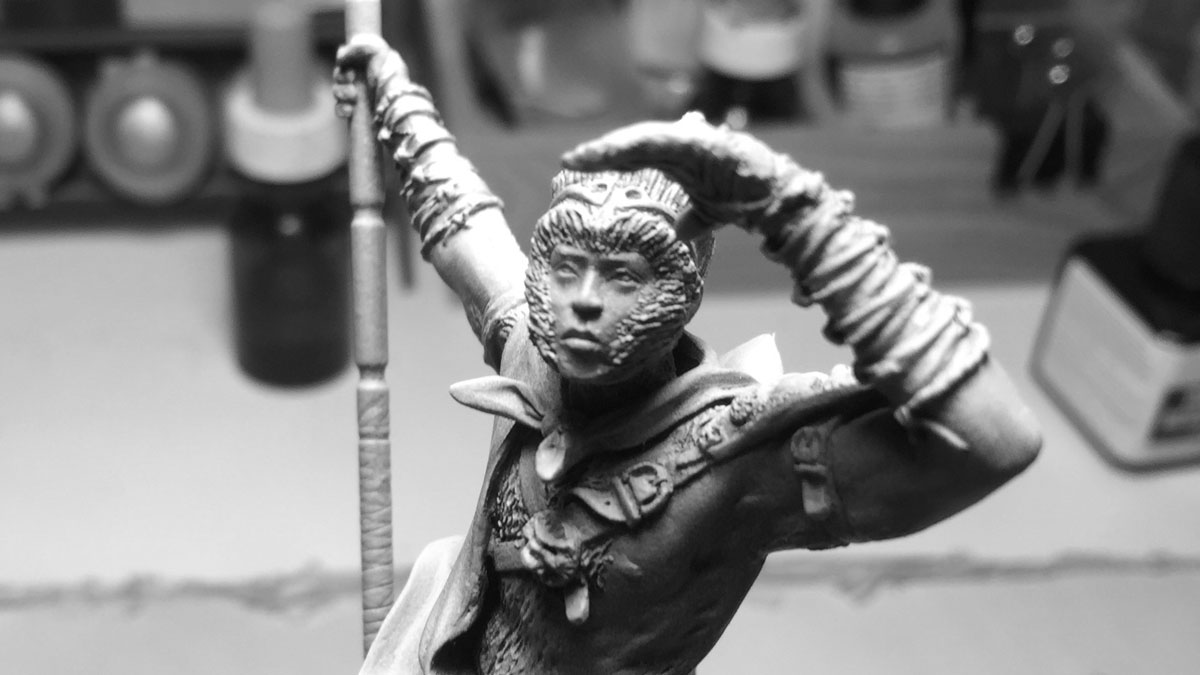
Like a lot of Aussie kids growing up in the 80’s, the seminal ABC tv-series “Monkey Magic” was a huge favourite of mine. At the time, I had knowledge of the roots of the stories and the character, it was just a fun Kung Fu romp with a cheeky main character with bad-ass Bo skills and magic powers. Now, I’m over 40, and despite years of practice I still can’t clone myself with a strand of hair plucked from my hirsute chest.
Assembly and Priming
When I saw this amazing figure from Revolution Miniatures, I had to have it, and I knew straight away it would be the first non-wargaming model I’d try my hand at (well, since the days of painting WW2 models with my Dad as a kid). The quality of the kit is amazing; assembly was really straight forward, with minimal clean-up and fixing required. There were a few divots caused air bubbles in the moulding process, but nothing that a bit of putty wouldn’t fix. The lower part of his robe comes in two pieces, and the seam between the two wasn’t perfect, so I had to fix that up with a little filler, but again, nothing too difficult..
During test fitting, I found that the lower part of his staff (which goes into the rocky base part) was a little too long for the whole, so I proceeded to try and trim it down. To my surprise this proved to be damn near impossible. The reason why? There is actually a metal rod through the length of his staff. This was a pleasant little discovery; it means the model will have enough strength to support its weight. A really smart touch, that shows the modellers / casters have given thought to how the model will actually stand once complete. I took my time, was very careful with test fitting, and triple checked everything for stray mould lines and seems before moving on. A good wash with an old toothbrush and some warm soapy water, and I was ready to prime
Zenithal Highlighting
Zenithal highlighting is a process of priming a miniature with 1-3 different monochromatic shades, each as a different layer, with the intention of simulating a light source from a particular point in space, in this case, the ‘zenith’. Its a technique I’ve long known about, but honestly, have never bothered with. Historically I’ve really only painted war gaming figures, in the scale of 25-28mm, and in that context I’ve never thought it would provide much benefit. Plus, the additional time required was a deterrent; painting a complete army of figures is time consuming enough as it is.
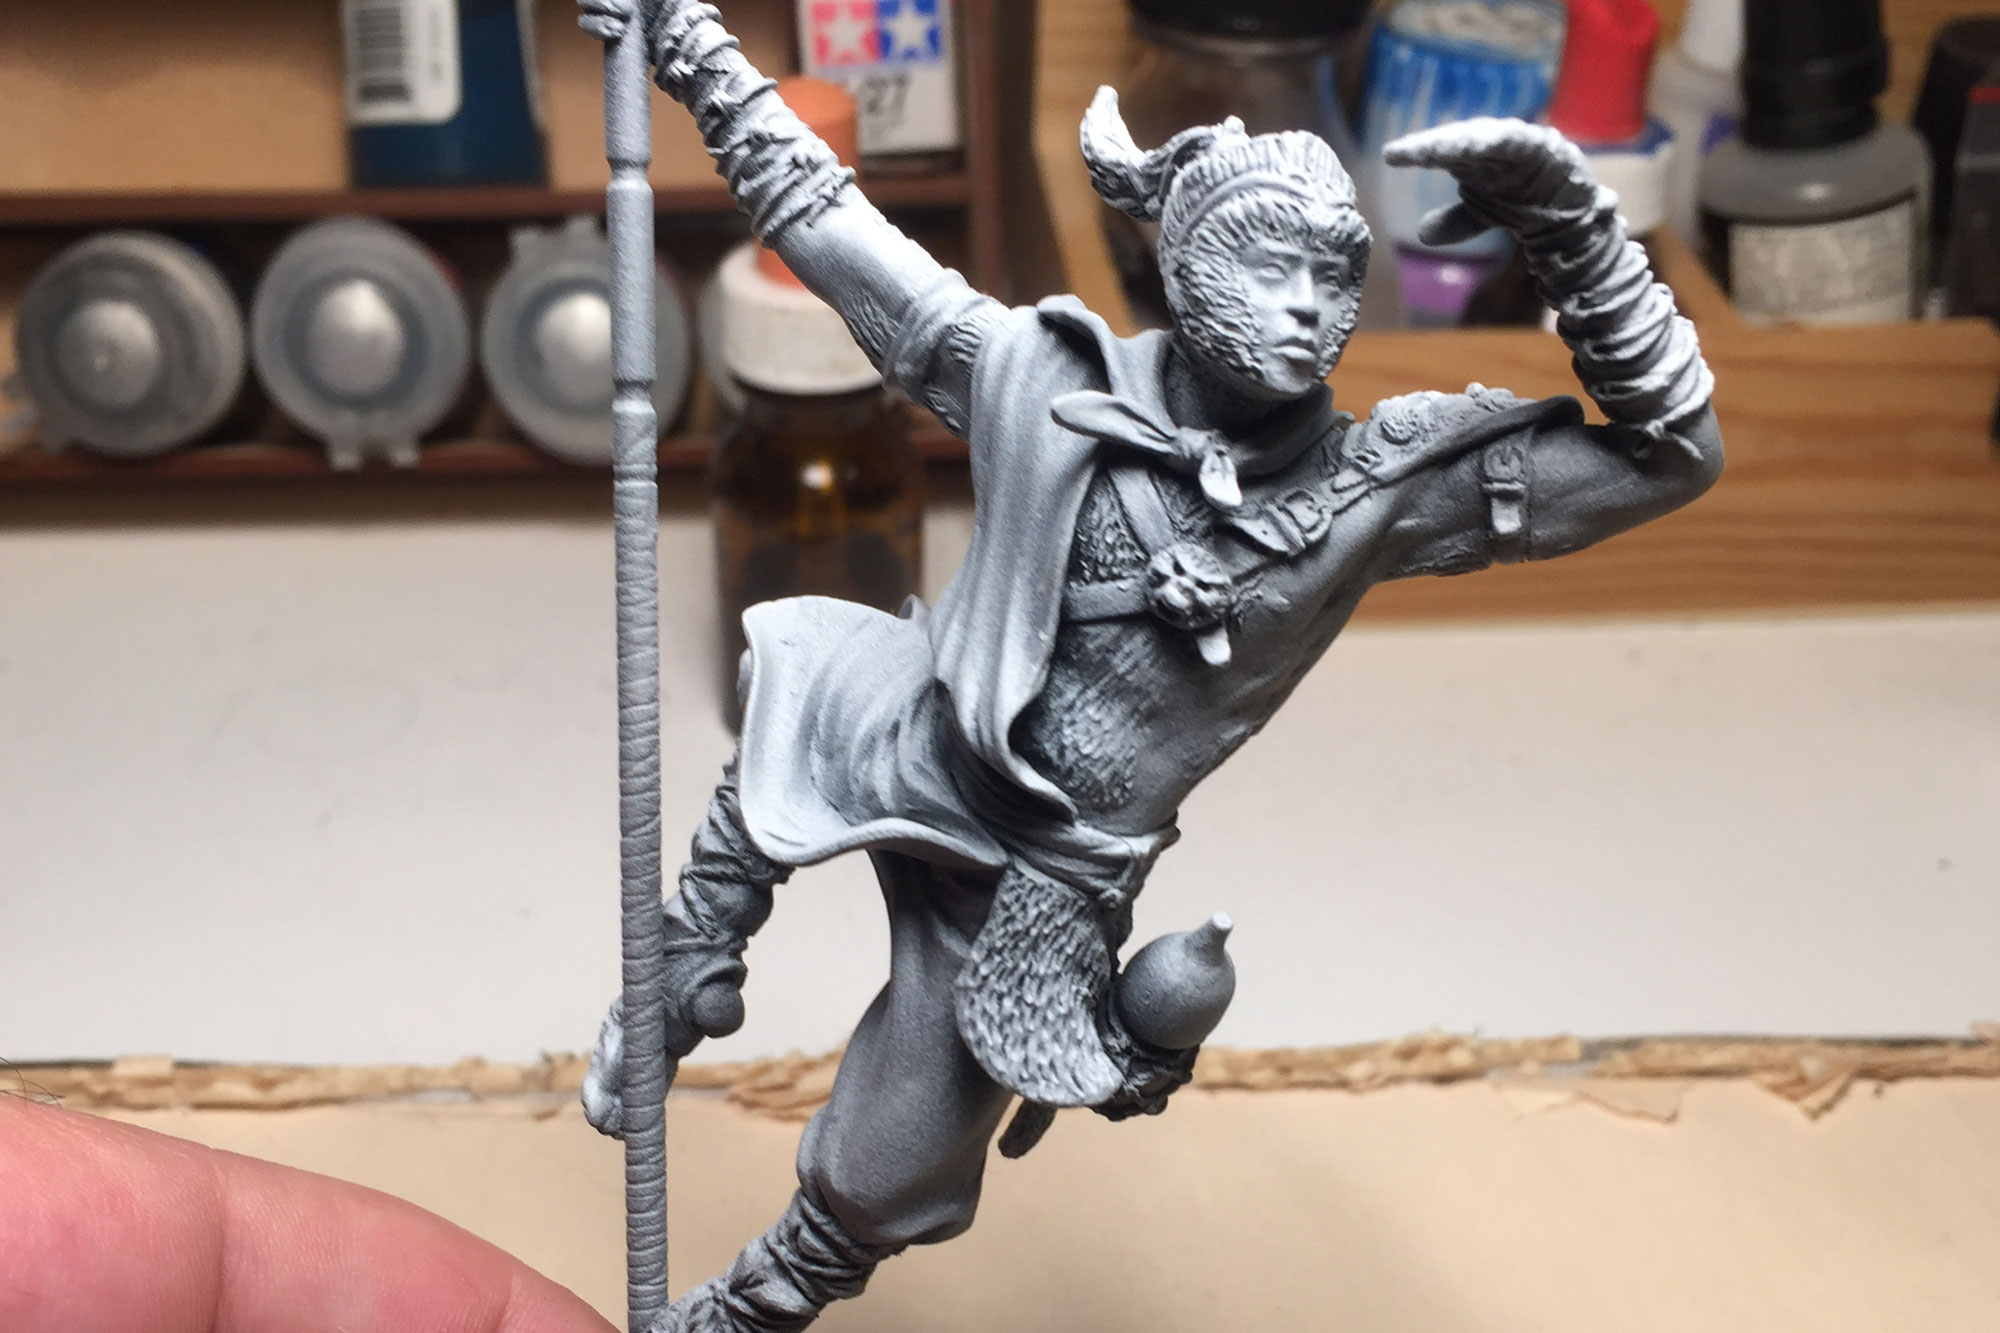
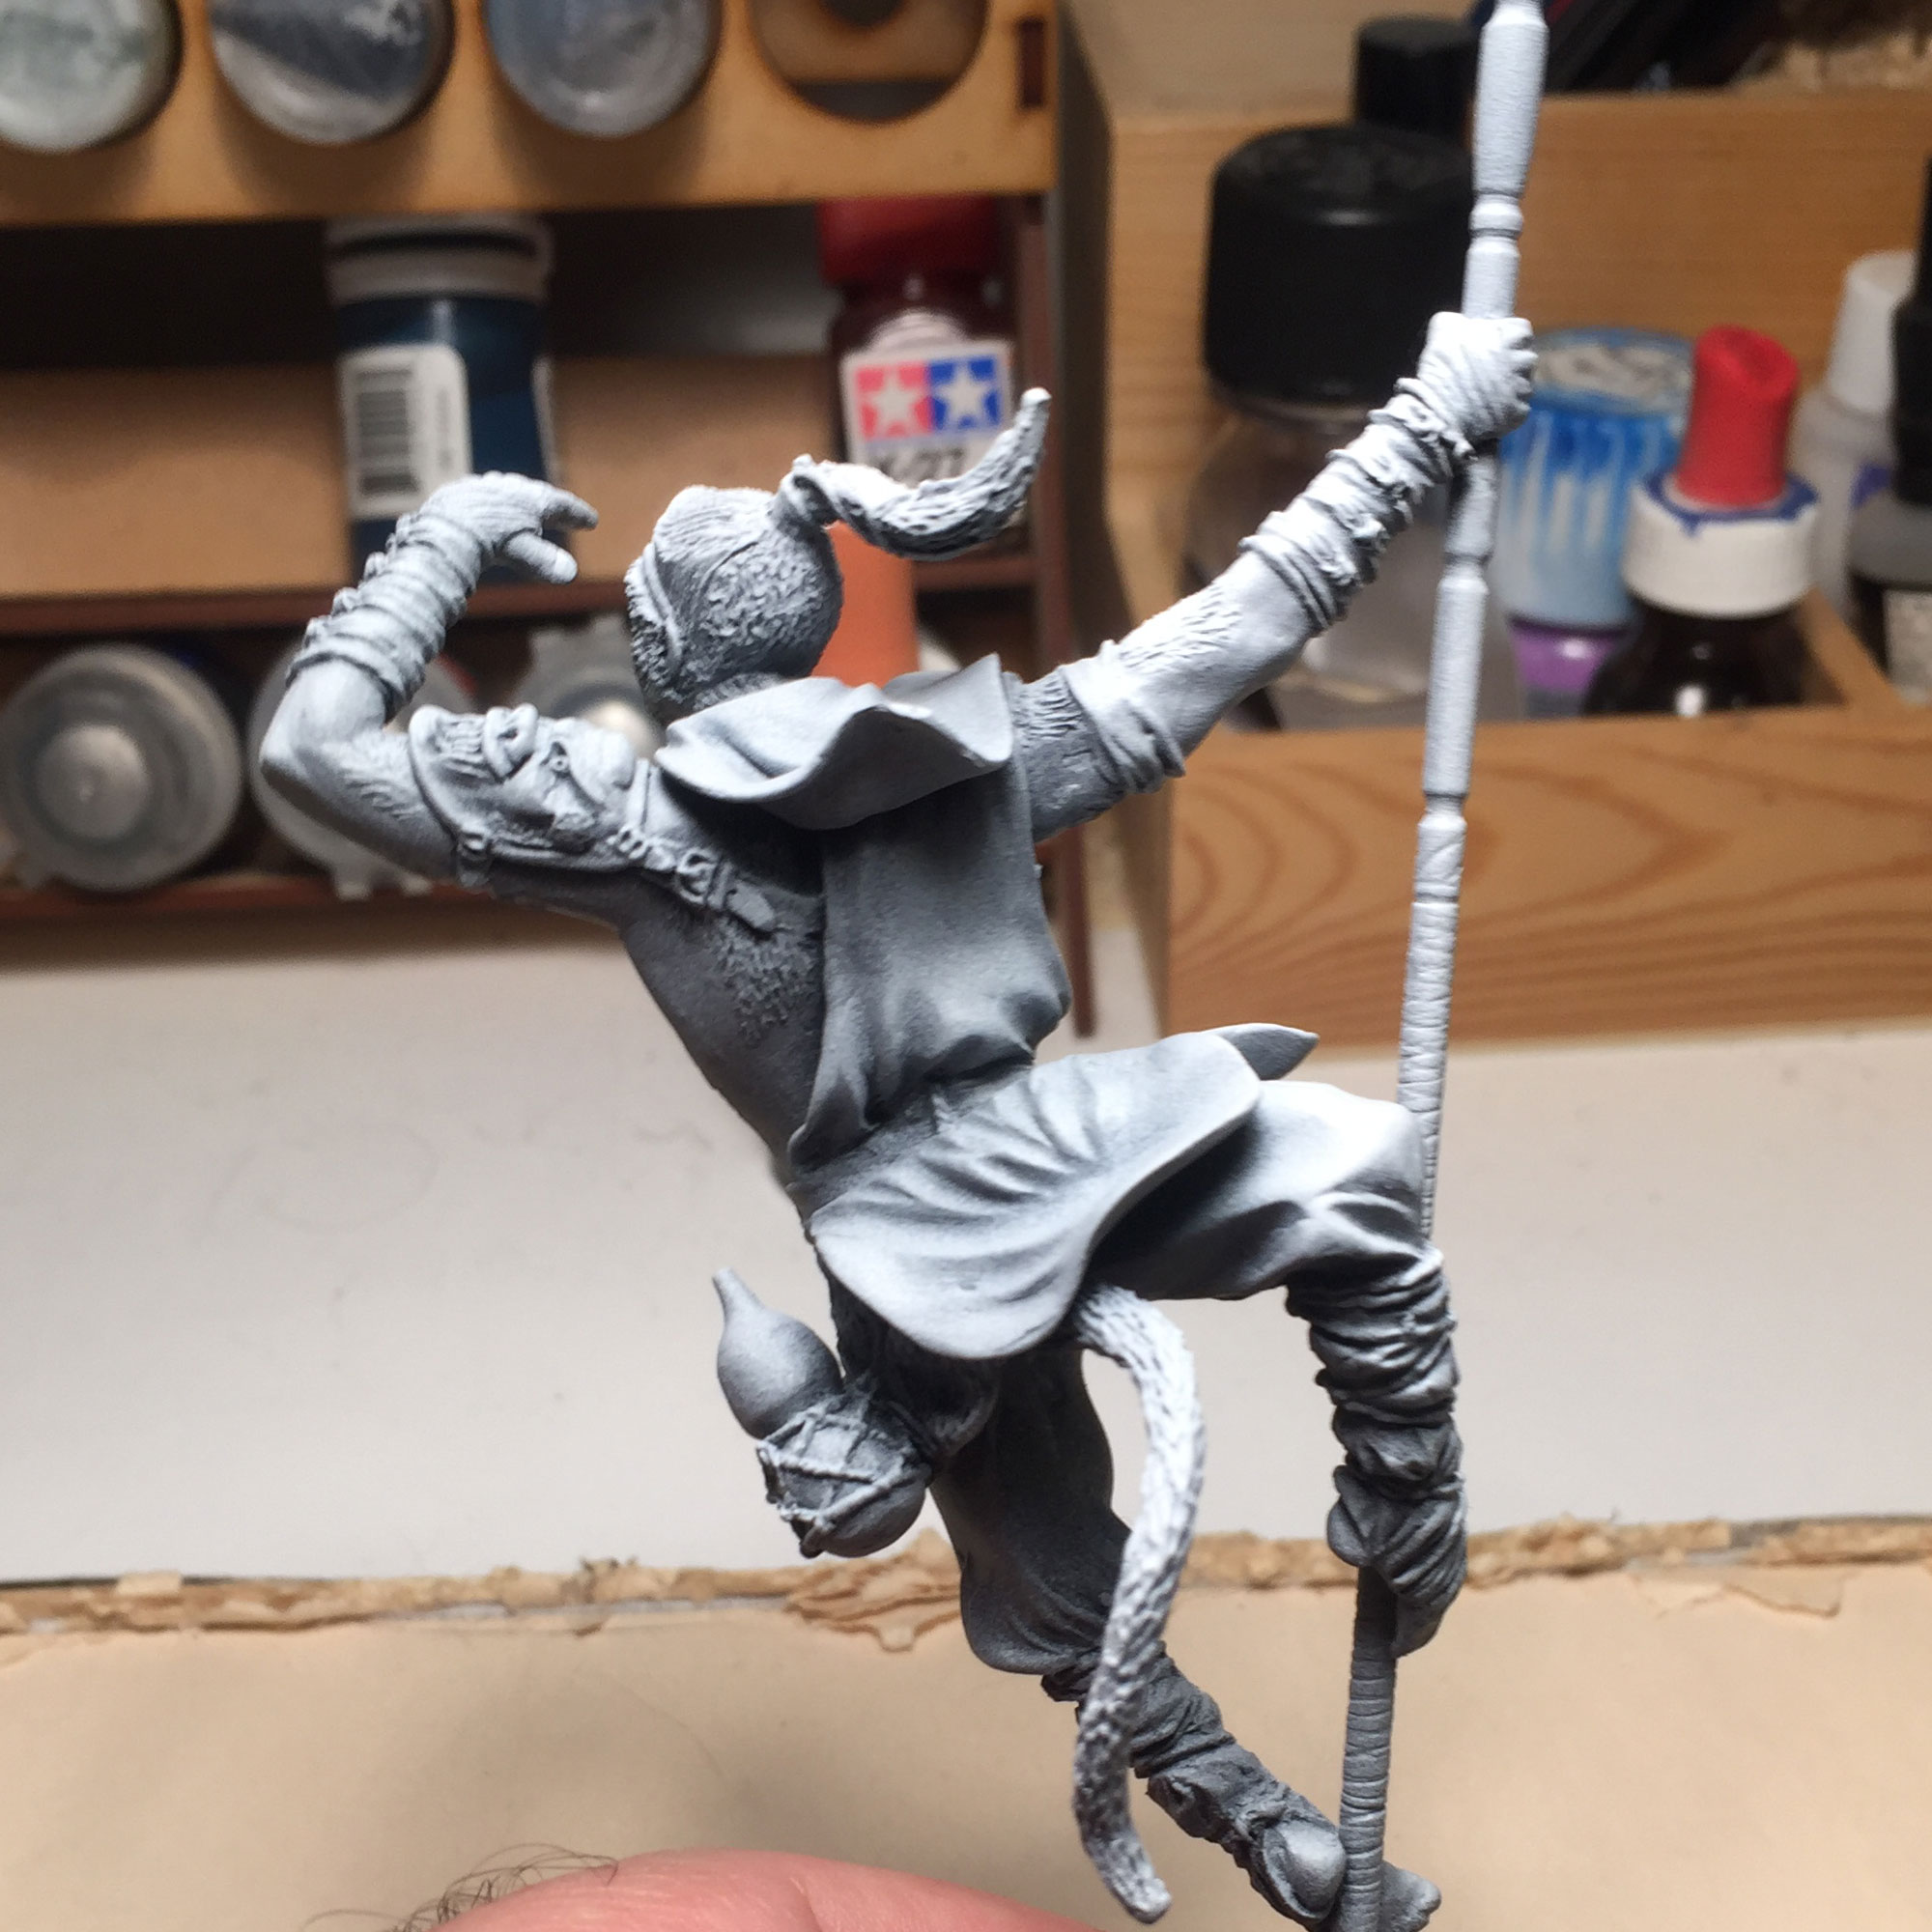
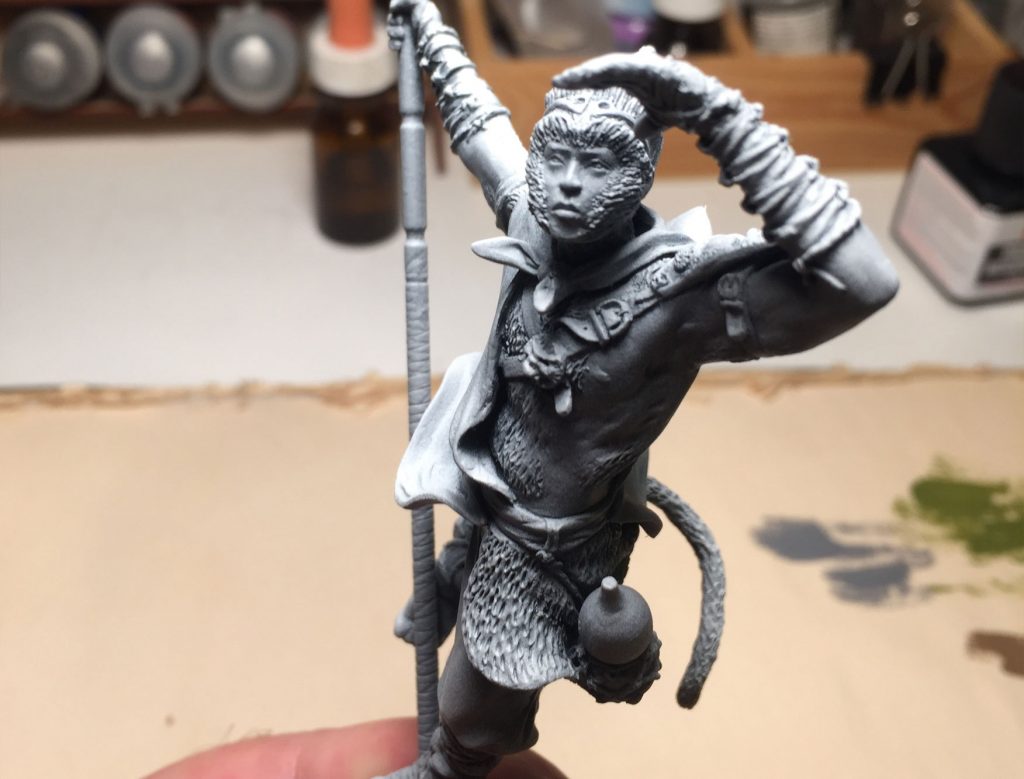
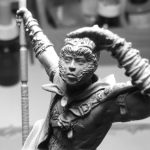
I was keen to give it a go for this piece; I wanted to see how I could incorporate it into my bag of tricks, and what effect it had on the painting process as a whole. Armed with a couple of new primers, I went to work. The end result, as seen here, is actually quite pleasing as it stands. The black and white look, with strong highlights; I’ll admit I was tempted to leave him at this stage! This was also the first time I’d used the much loved Tamiya fine primers. I have to say, they did not disappoint and may have just become my favourite primers of all time. Its going to be hard to go back to other brands
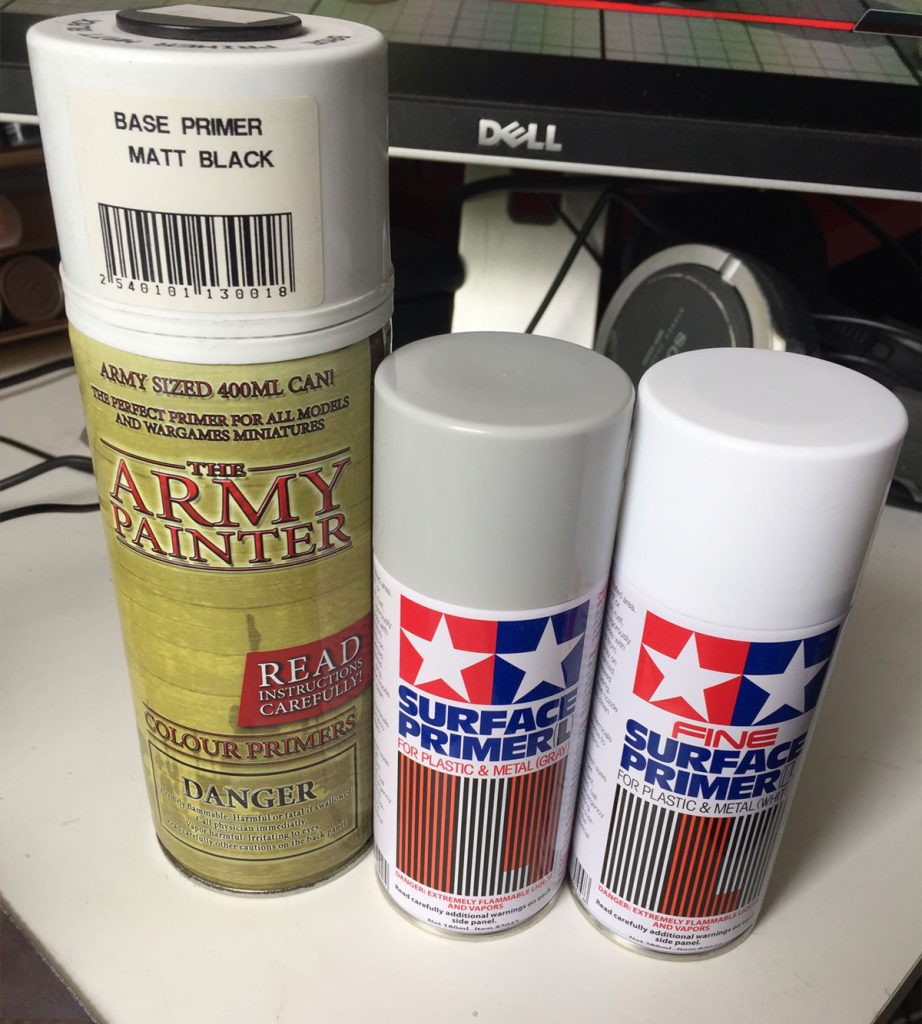
The three primers used 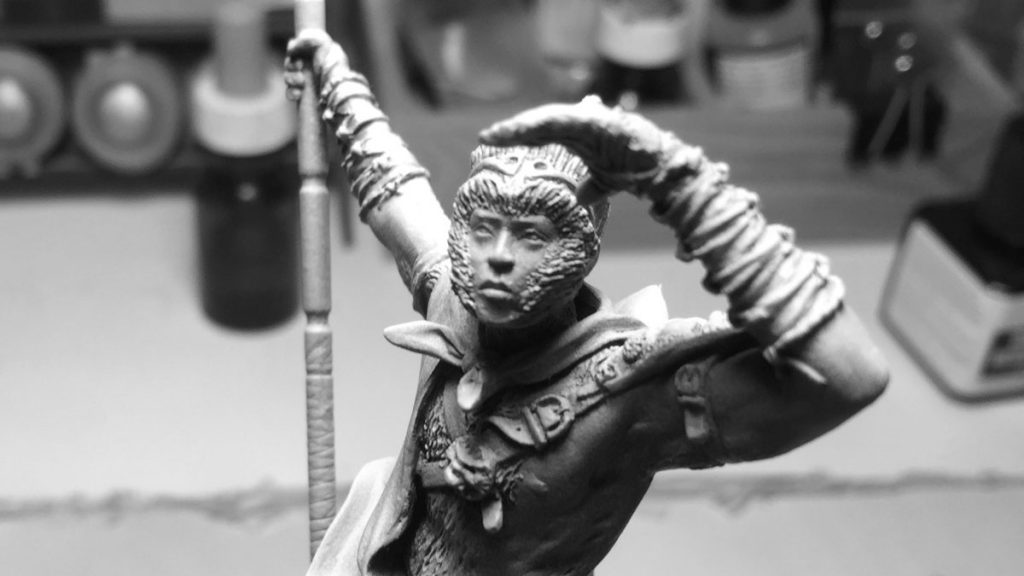
Time for your close up, Monkey!
Next step, is laying down some paint. Ironically, I’ve spent longer fixing this post in WordPress than it took me to clean, assemble and prime this guy. Visual editors and bloated code – just say no. I’m trying to put my perfectionist tendencies assist and move on. The spacing and layout of this page is drive me f*ckin’ mental, but its time and effort better spent actually painting.
More Monkey…
- The ashes before the phoenix rises
 Monkey King Part 4
- Lessons learned the hard way
 Monkey King Part 3
- Simply Red.
 Monkey King Part 2
- Born from an egg on a mountain top
 Monkey King Part 1